How to Backup your Data
This guide will show you how to backup your data on Windows 10 and Windows 7. The methods shown demonstrate how to store data on external drives (USB flash drives or external hard drives) or network drives. If you are using a cloud location (Google Drive, OneDrive, Dropbox, etc.) please see the Cloud Storage section.
Table of Contents
Windows 10
-
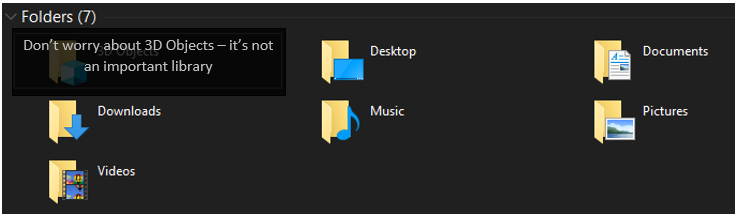
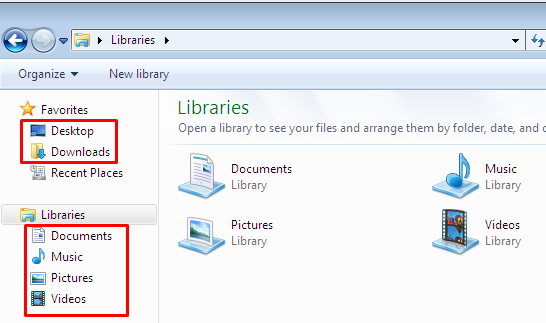
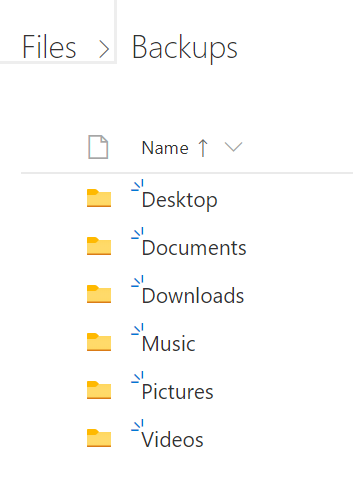
Find the important areas to backup. You will want to save all files from the following libraries: Desktop, Downloads, Documents, Pictures, Music, and Videos.
-
Prepare your backup location.
-
If you are using a cloud location, continue to use the below steps, following that platform’s procedures for creating new folders and uploading files/folders.
-
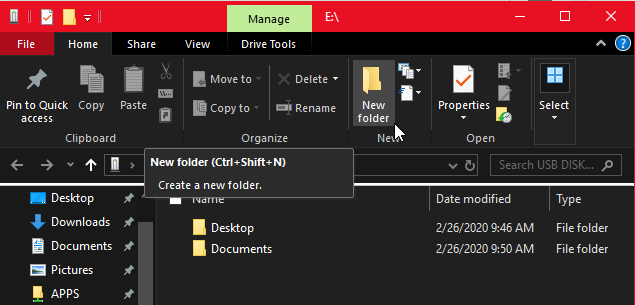
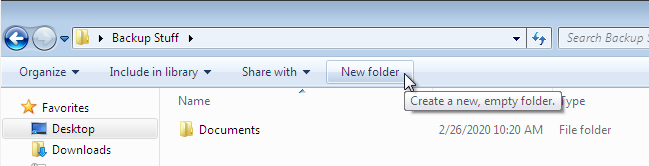
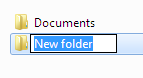
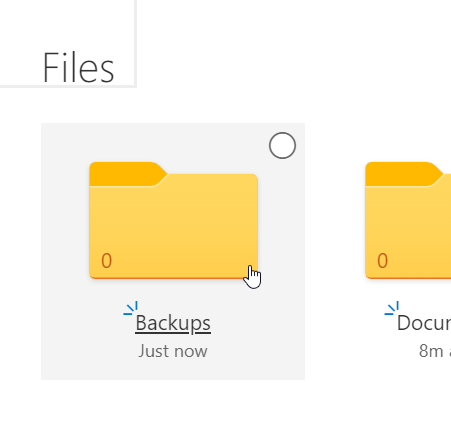
Create folders for each library you are backing up. To do this, click Home in the Ribbon Menu and select New folder under the New category. A new folder will appear and you will be prompted to enter a name. Once the name is entered the folder is created.
-
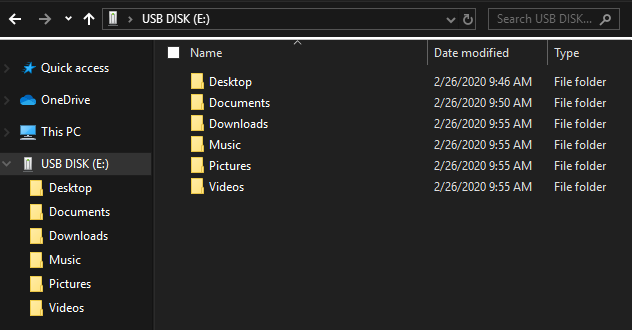
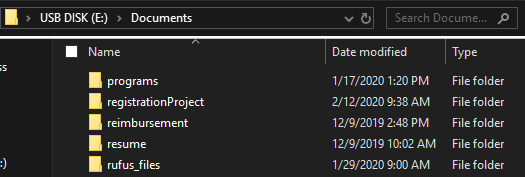
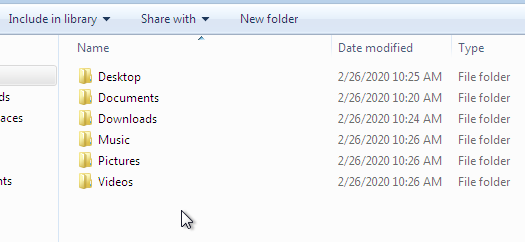
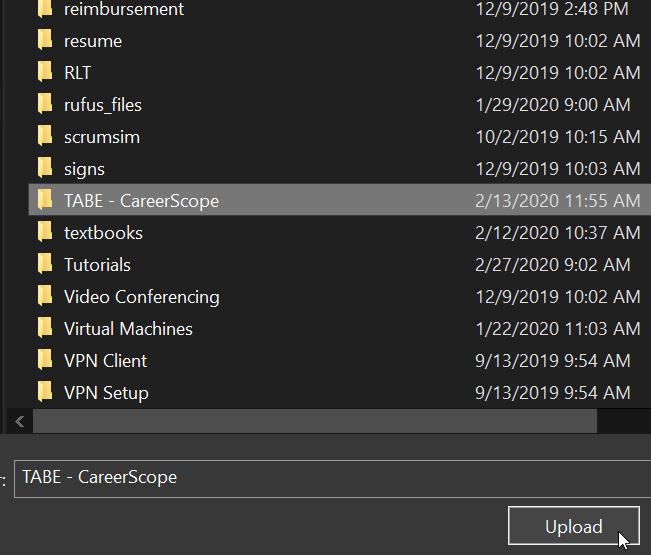
Your backup location should now look like the below image. You should have an empty folder for each location you plan to backup.
-
-
Begin backing up your data.
-
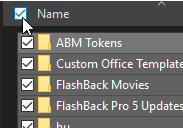
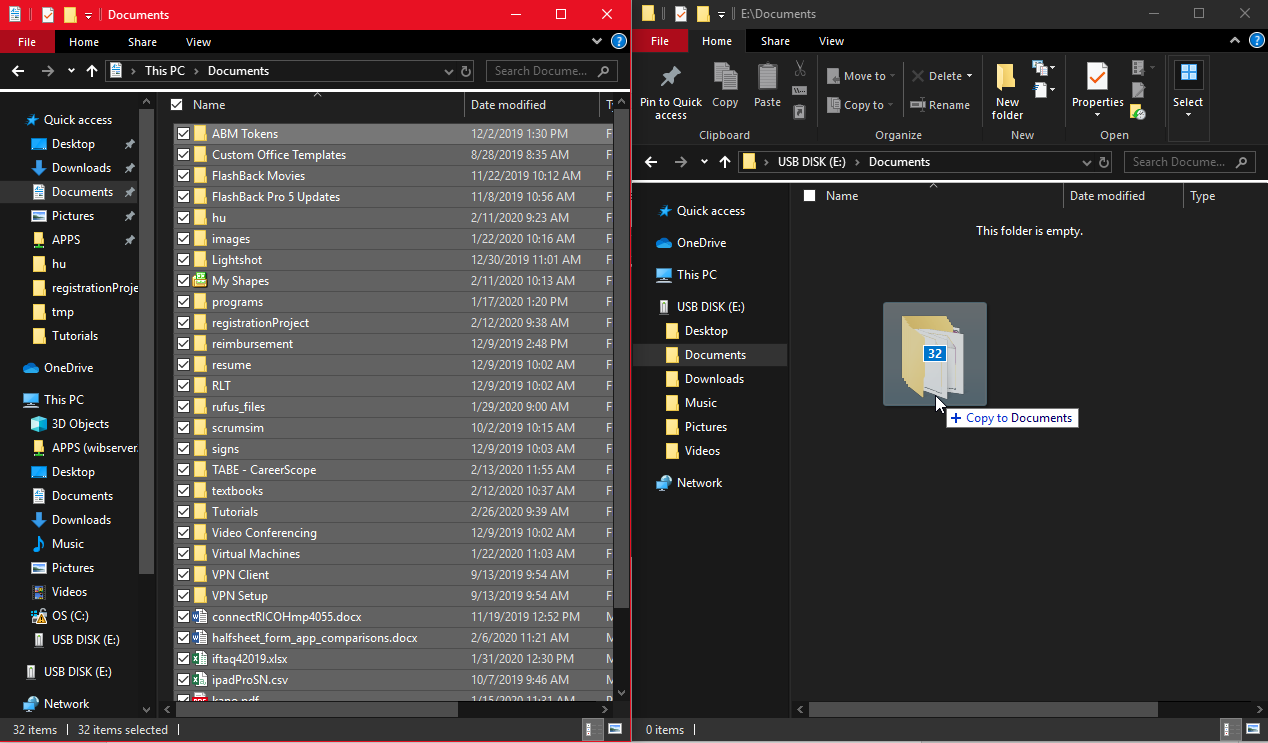
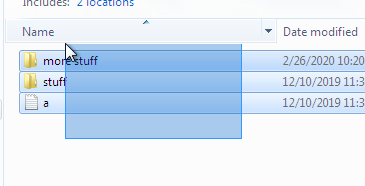
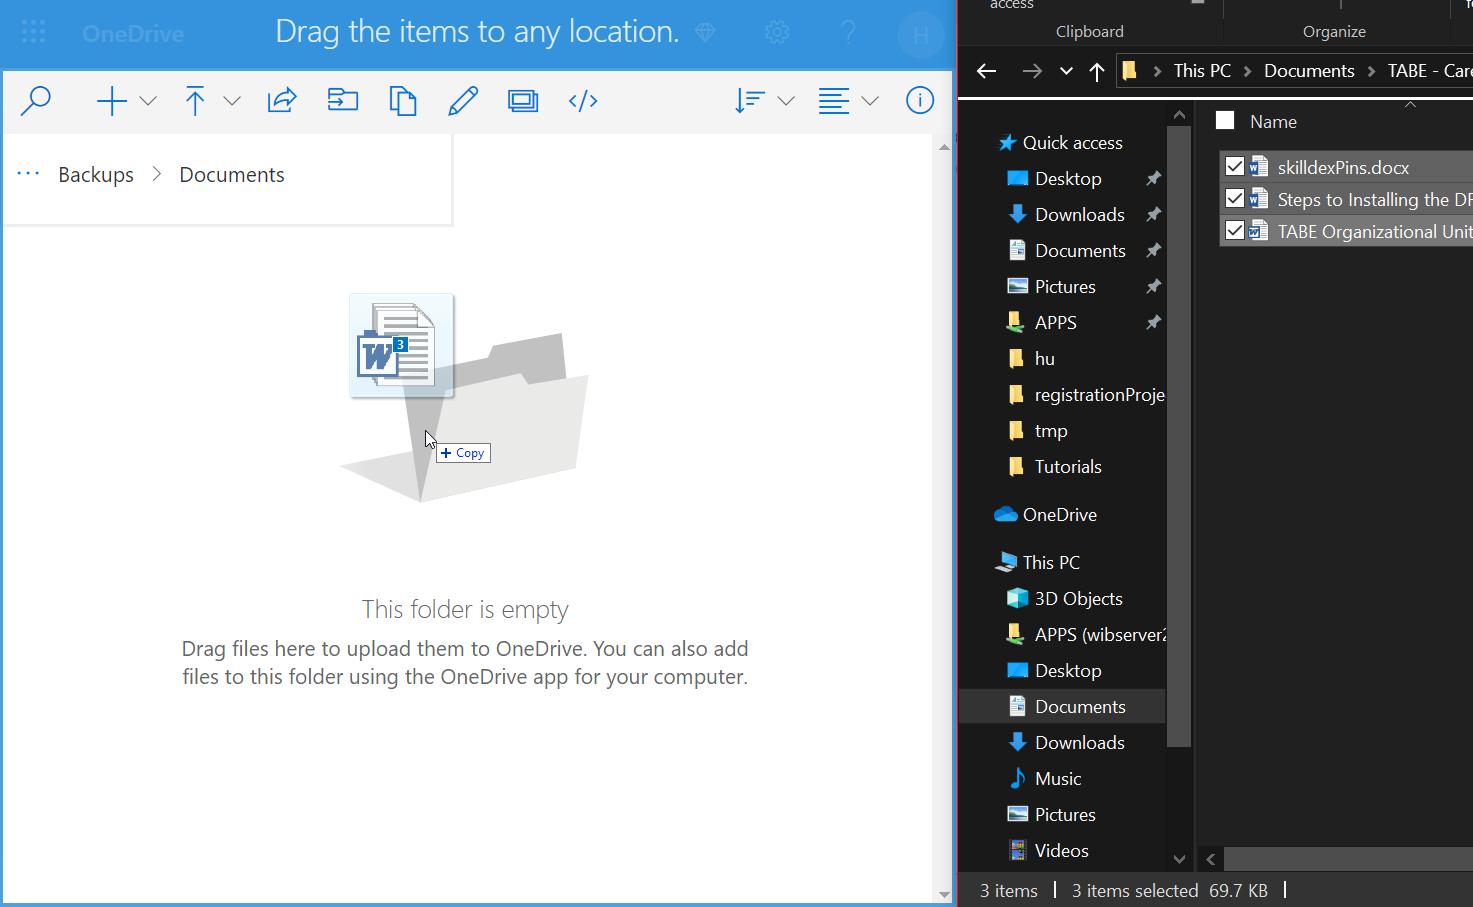
Go to the folder you want to backup and select all the files. Either press Ctrl + A or click the checkbox at the top of the file list to select everything.
-
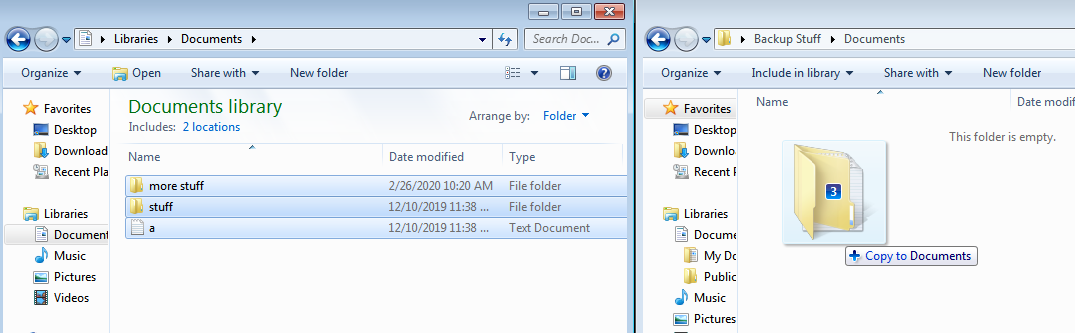
Drag the files to the new location. Ensure the tooltip says Copy to [location]. Instead of dragging, you can also press Ctrl+C to copy the selected files and paste them using Ctrl+V into the new location.
-
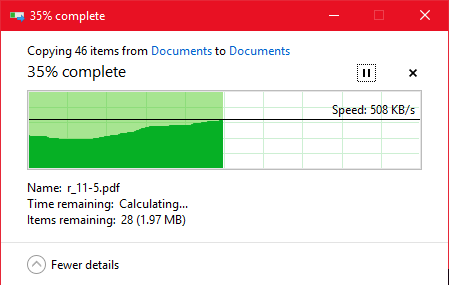
The transfer should begin. Do not interrupt this process.
-
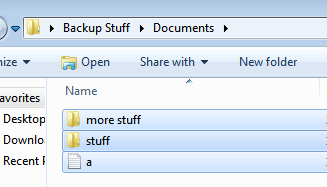
Once the transfer is finished, ensure all your files are there. Check any folders to see that subdirectories copied over correctly.
-
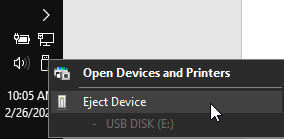
Repeat this process for all libraries until all your data is backed up. Don’t forget to safely eject your USB or hard drive if you are using a USB device!
-
Windows 7
-
Find the important areas to backup. You will want to save all files from the following libraries: Desktop, Downloads, Documents, Pictures, Music, and Videos.
-
Prepare your backup location.
-
If you are using a cloud location, continue to use the below steps, following that platform’s procedures for creating new folders and uploading files/folders.
-
Create folders for each library you are backing up. To do this, click New folder on the menu bar. You will be prompted to enter a name for the folder. Type a name and the folder will be created.
-
Your backup location should now look like the below image. You should have an empty folder for each location you plan to backup.
-
-
Begin backing up your data.
-
Go to the folder you want to backup and select all the files. Either press Ctrl + A or click and drag over the desired files.
-
Drag the files to your backup location. Ensure the tooltip says Copy to [location] rather than Move to [location]. You can press and hold Ctrl while dragging to force a copy. Instead of dragging, you can also press Ctrl+C to copy the selected files and paste them using Ctrl+V into the new location.
-
Once the transfer is complete, ensure all your files are present. Check all subdirectories to make sure they transferred over successfully.
-
Repeat this process for all libraries until all your data is backed up. When you are finished, don’t forget to safely eject your USB drive (if you are using one).
-
Cloud Services
The procedure for each cloud storage location will differ. Refer to the official help documentation for your particular service if the below guide does not assist you.
Google Drive / Gsuite
-
Refer to the above guide for your operating system to find important files to back up.
-
Begin preparing your storage location for the files.
-
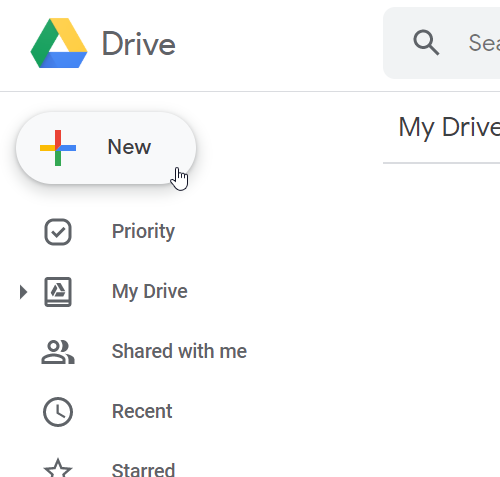
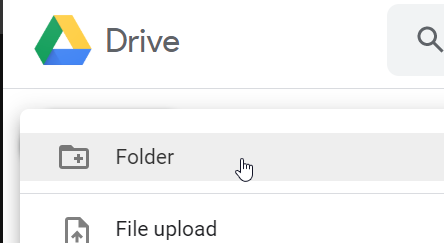
Create a new folder for your backup. Click New > Folder and give it a name (i.e. Backup).
-
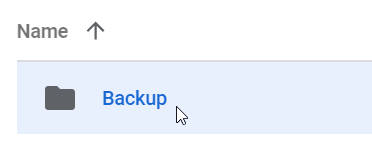
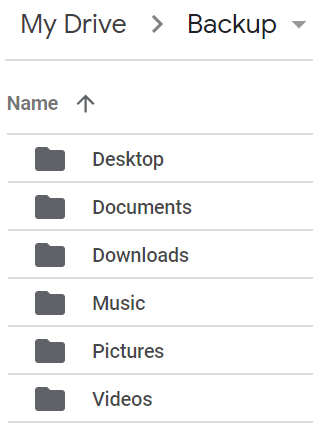
Navigate to your new folder by double-clicking on it. Make a new folder for each library you are backing up.
-
-
Begin uploading files to Google Drive, storing them in their corresponding folders.
-
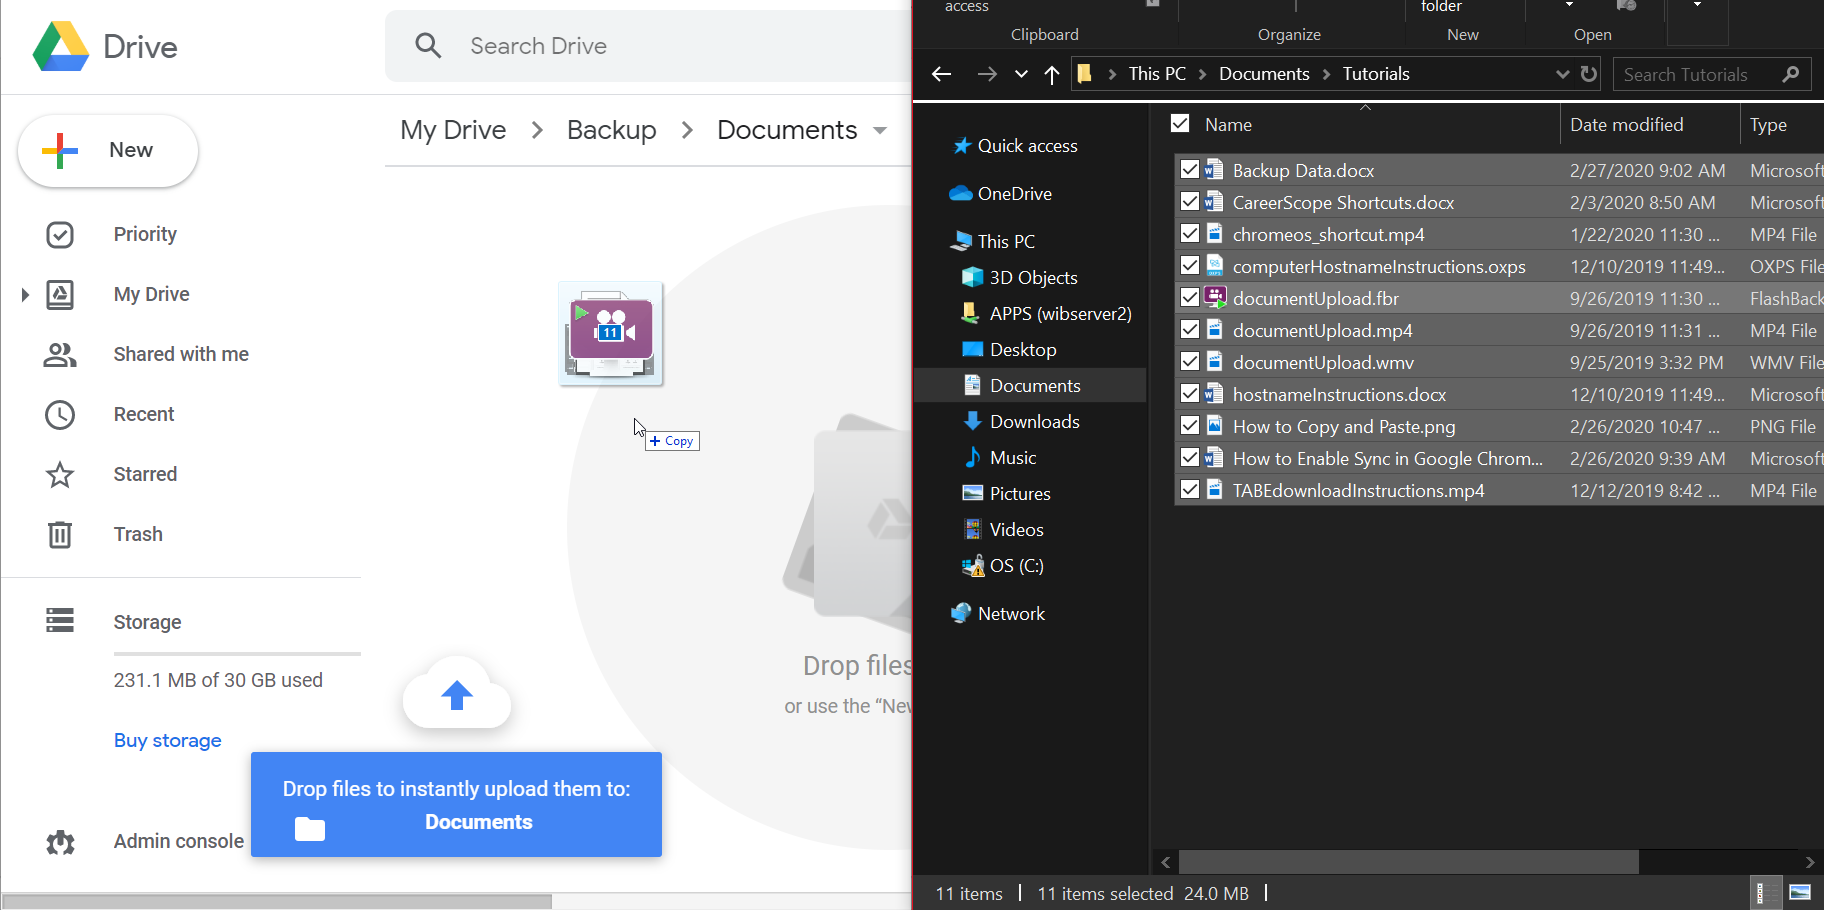
You can drag and drop selected files into your directory in Drive to upload them. To do this, select all files you’d like to save and drag them to the Drive window. If you need assistance on selecting files, refer to the above OS-specific tutorials.
-
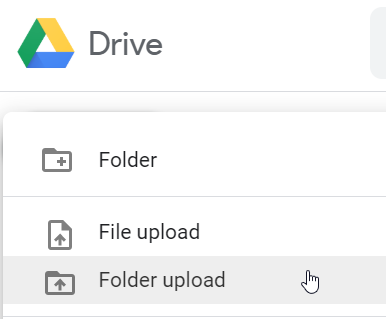
Alternatively, you can upload by folder to save the entire contents of a directory to Drive. Click New > Folder upload and select the folder(s) you’d like to add.
-
Repeat the uploading process until all files you want backed up are stored in your Google Drive. Double-check each directory and subdirectories to ensure all files transferred correctly.
-
Microsoft OneDrive
-
Refer to the guide for your operating system to find the important files to back up.
-
Begin preparing your OneDrive storage location.
-
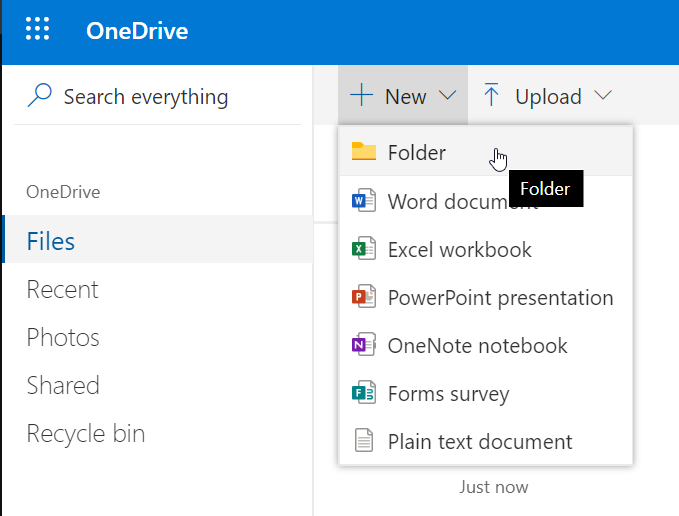
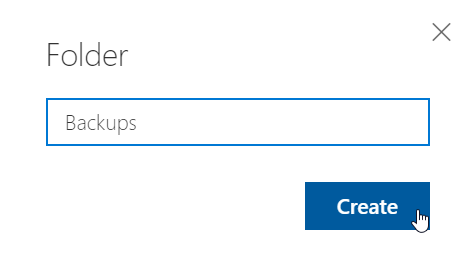
Create a new folder for your backup (i.e. Backups). To do this, click New > Folder and enter a name.
-
Navigate into your new folder by clicking it. Create a folder for each directory you plan to back up on your OneDrive.
-
-
Begin uploading files to OneDrive, storing them in their corresponding folders.
-
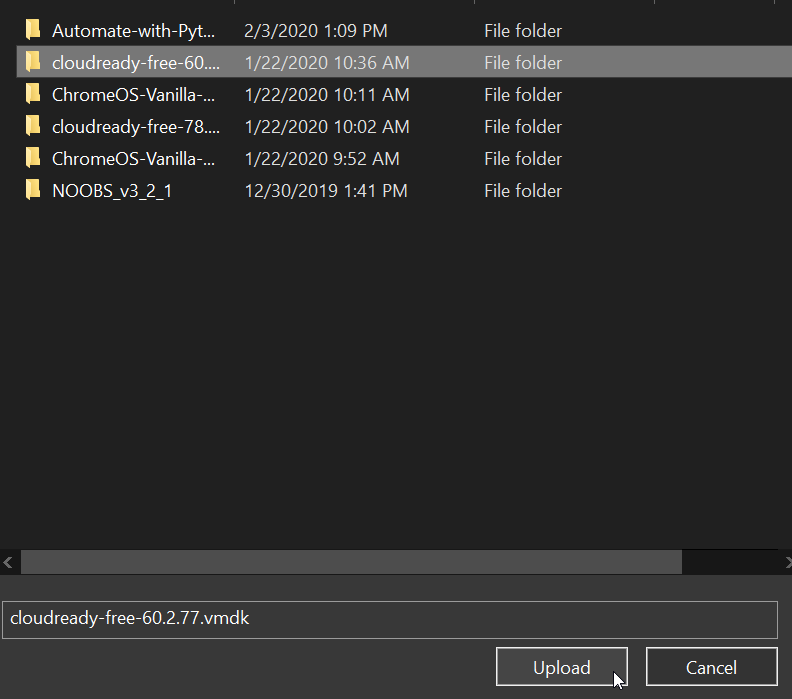
You can drag and drop selected files into a OneDrive directory. For assistance selecting files, refer to the guide for your operating system above.
-
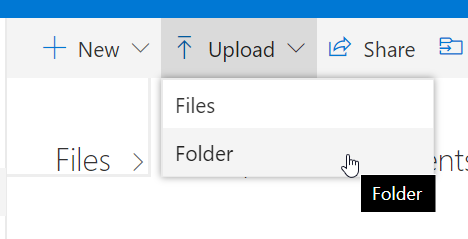
Alternatively, you can upload files by folder using the Upload button. Click Upload > Folder and select the folder you want to upload.
-
Repeat the uploading process until all files you want backed up are stored in your Google Drive. Double-check each directory and subdirectories to ensure all files transferred correctly.
-
Other Cloud Service
Please refer to the two above guides. The process for other cloud services (Dropbox, MEGA, etc.) should be very similar to OneDrive and Google Drive. If you run into problems, check the official help documentation provided with that service.