Getting Started
Table of Contents
- How to Register an Account
- How to Log In
- How to Submit a Ticket
- How to Respond to a Ticket
- How to Close a Ticket
This tutorial is under revision. Please be aware that the user interface may differ significantly from the current release.
How to Register an Account
-
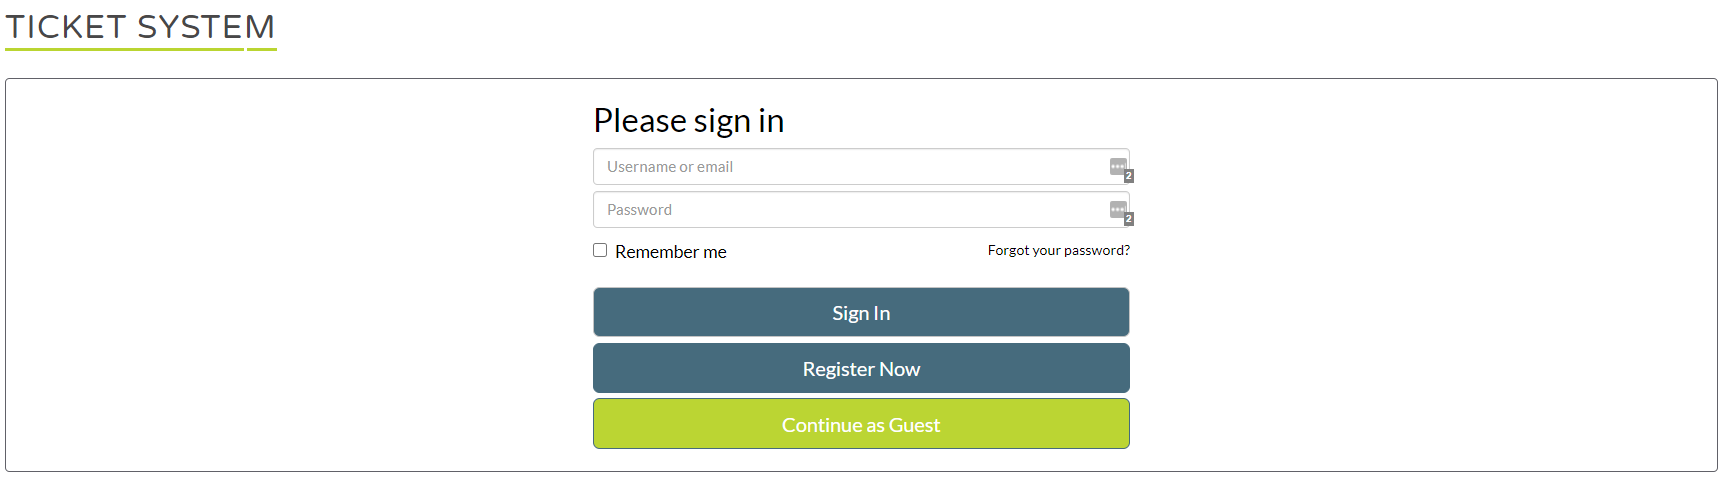
Navigate to the Ticket System homepage by following the URL you were provided.
-
Click the Register Now button below the login form.
-
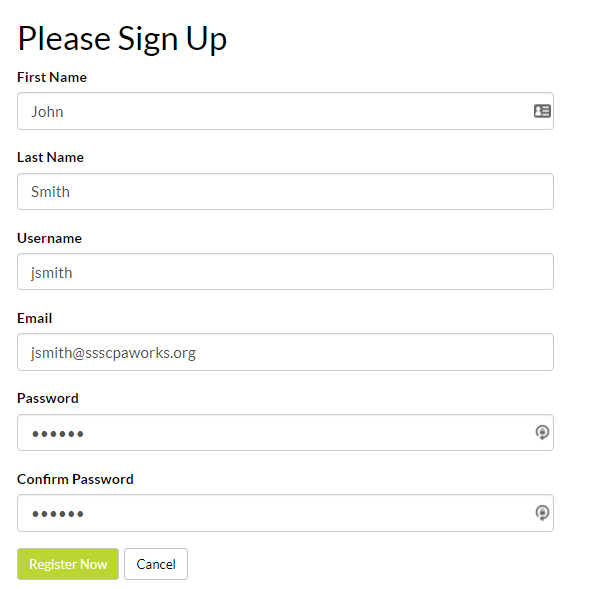
Fill out the registration form with the following information:
- First name and last name - the name that is displayed on your tickets
- Username - a unique identifier for your account
- Email - a valid email address where communication for the Help Desk will be sent
- Password - a strong password to log into your account
-
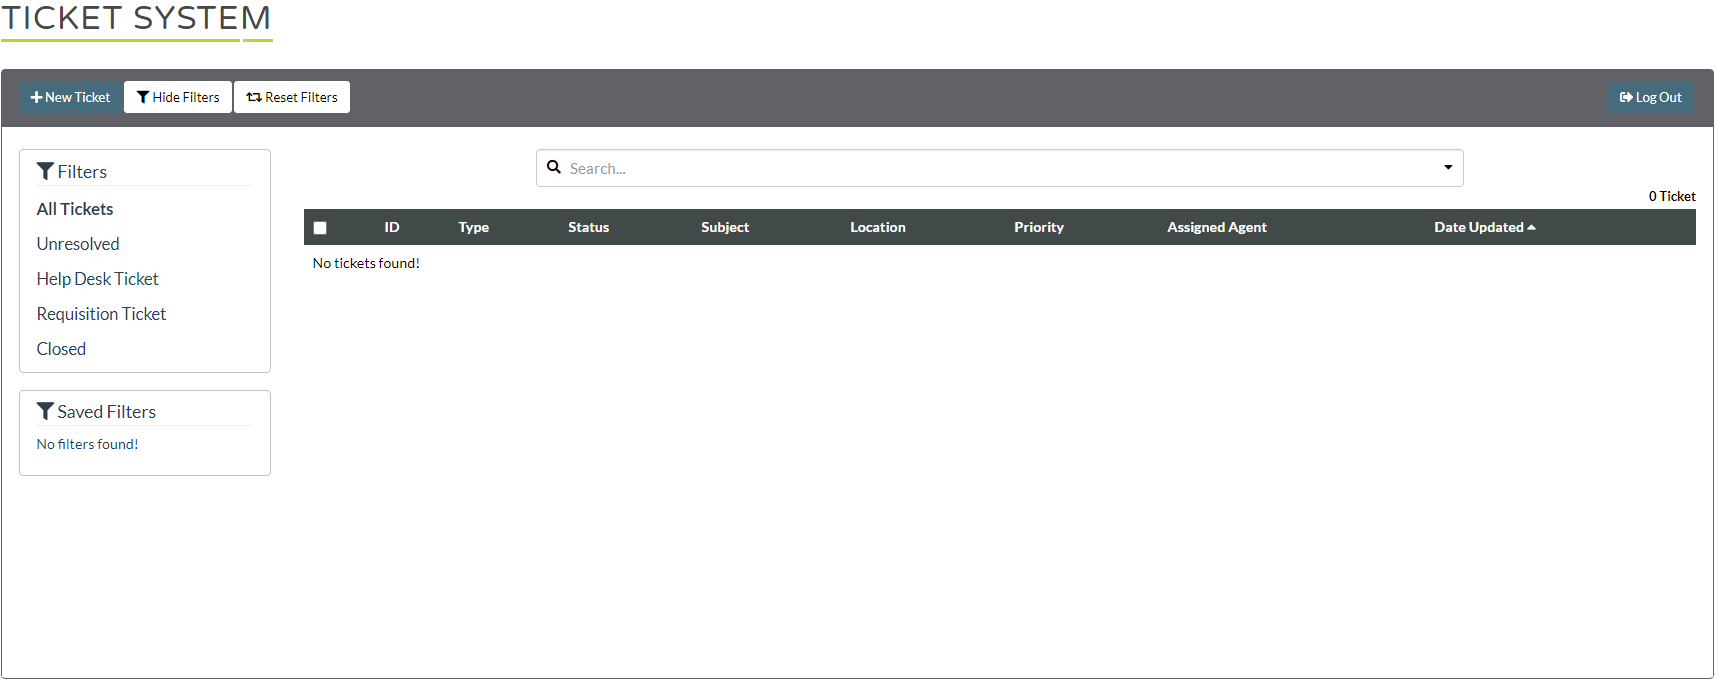
Once you complete the registration, you will be redirected to the main Help Desk screen. Here you can see any tickets you have created and view their status. Most recently updated tickets will appear at the top of the list.
How to Log In
If you already have an account, you can log in on the Help Desk homepage.
-
Go to the Help Desk homepage by following the URL you were provided.
-
In the login field, enter your username and password for the system.
-
Click Sign In.
-
On successful login, you will be redirected to the ticket list.
How to Submit a Ticket
-
Log into your account.
-
On the ticket list, click the New Ticket button on the top-left of the toolbar. The toolbar is located directly under the Ticket System title, on a gray bar.
-
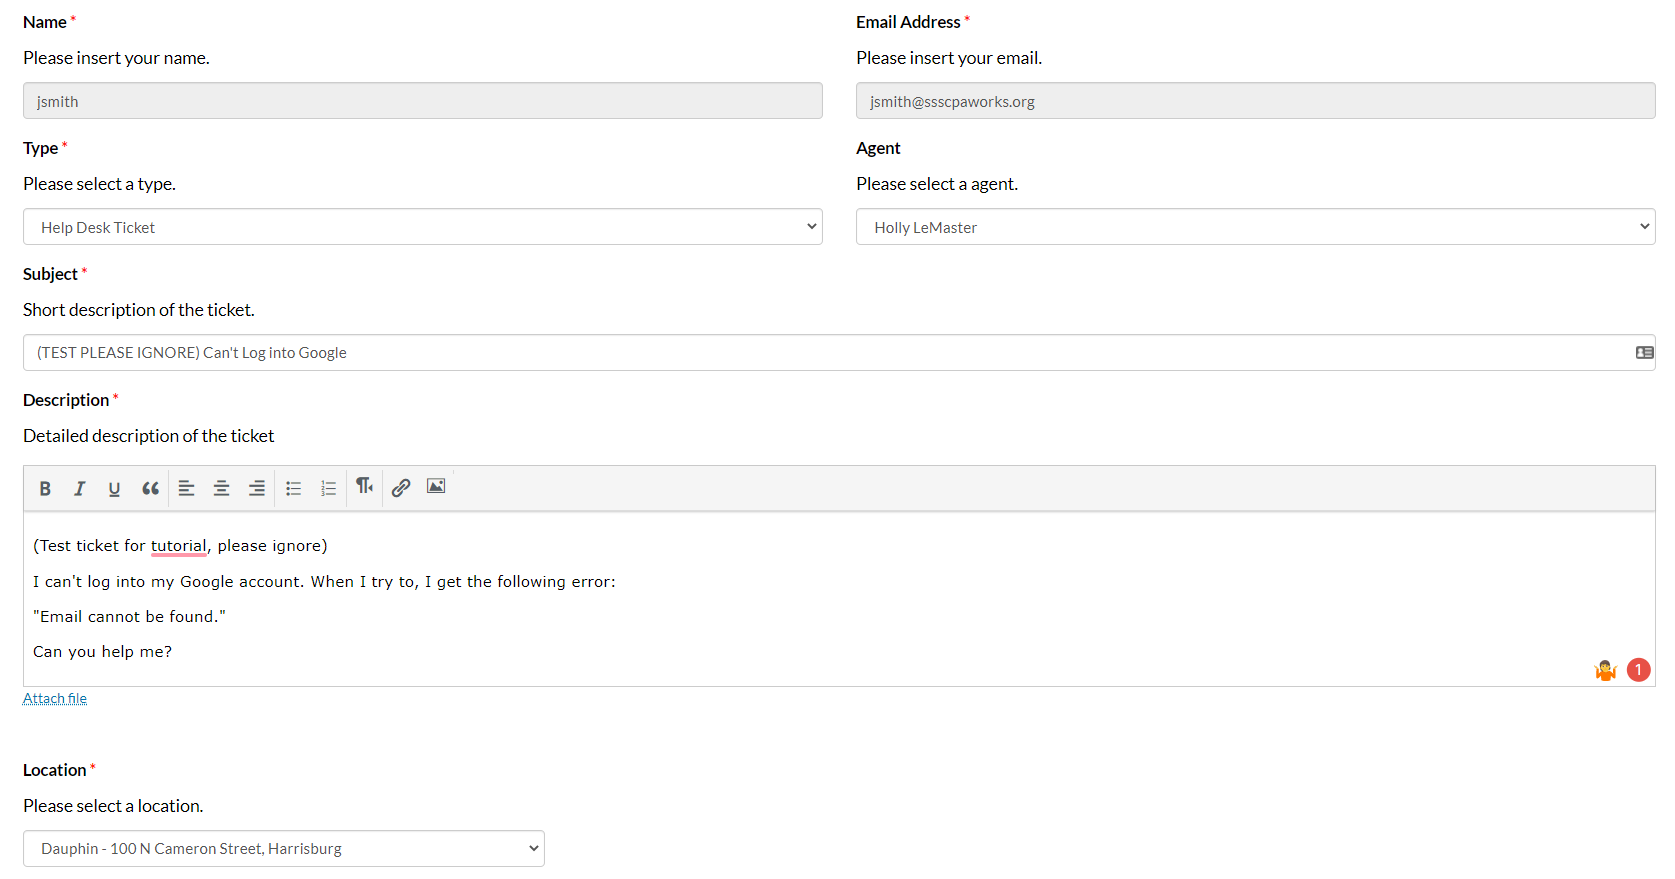
Begin filling out your ticket. See below for an example ticket.
- Type - make sure to select Help Desk
- Agent - select the relevant agent for your ticket if you already know who you want assigned
- Subject - enter a descriptive, short title for your issue
- Description - the body of your ticket. Make sure you describe in detail what the issue is and how it came about. If you have any supporting images, attach those with the Attach file link below the Description field.
- Location - the office location of the ticket. If you are off-site, enter the office you normally report to.
- Grants - ignore this category. This is for requisition tickets only.
-
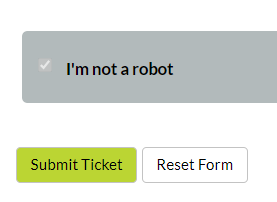
At the bottom of the ticket form, make sure to check the I’m not a robot checkbox.
-
Click Submit Ticket to save and process your ticket.
-
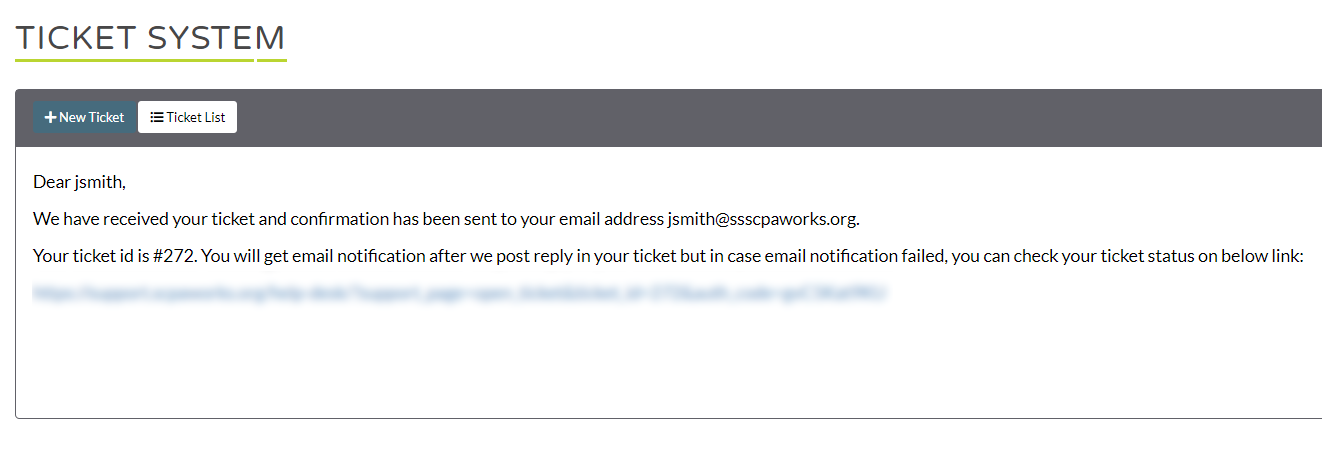
Your ticket has submitted successfully when you see the below message:
-
Your ticket will appear on the ticket list. You can view information about it by reading the fields to the right, or by clicking on it to open more details.

How to Respond to a Ticket
When you view a ticket’s details, responses will be listed in newest to oldest order.
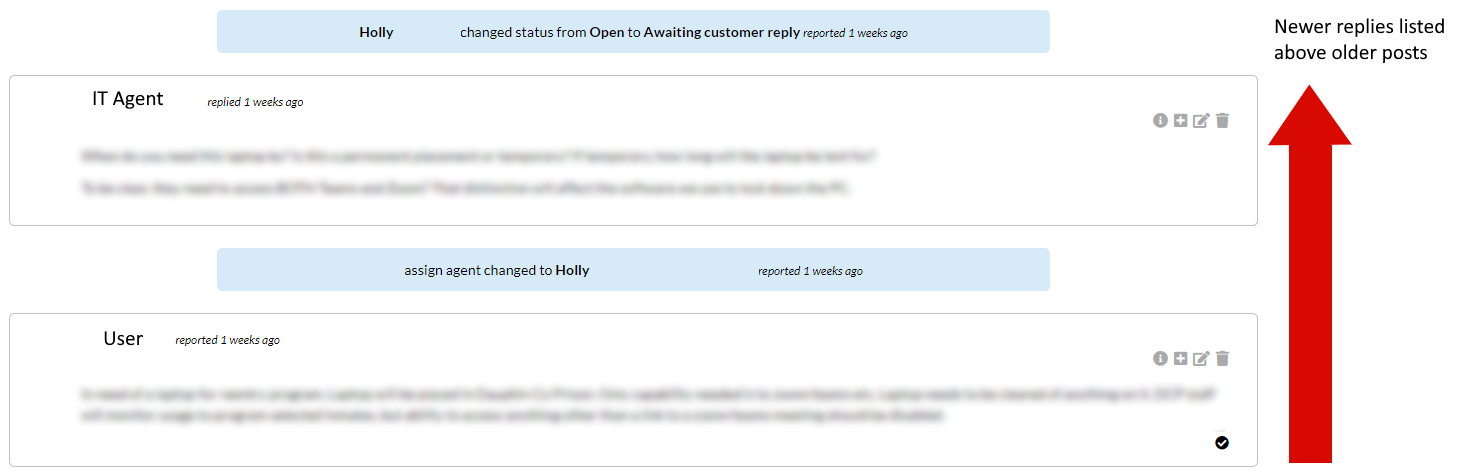
To respond to a ticket:
- Click on the desired ticket in the ticket list.
- In the WYSIWYG editor, enter the response you want. You can attach a file using the Attach file link below the editor.
- If the ticket is ready to be closed, post your new response first. Then, close the ticket.
How to Close a Ticket
-
Click the name of the ticket you want to close to go to its details page.
-
In the gray toolbar, click the Close button.

-
You will be moved to the ticket list. Your ticket’s status should be changed to Closed.
