ScanSnap Hardware Setup
This guide will assist you in setting up your ScanSnap scanner. This guide assumes you have a ScanSnap iX1500. However, these steps remain mostly unchanged for other Fujitsu ScanSnap models. For specifics about your model, check the documentation provided in your box, or search for your model on Fujitsu’s website.
Contents
It is recommended that you read the documentation provided in your scanner’s box before setup.
The below video can help get you started with setup for your scanner in most cases. Note that you do NOT need a ScanSnap account unless you plan to use ScanSnap Cloud services.
Video Setup Guide (Windows)
Hardware Setup
Unboxing and Assembly
-
Check that all parts have been included. You should have the following items:
- ScanSnap Scanner

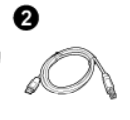
- USB Type-B cable
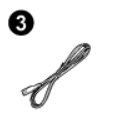
- AC power cable
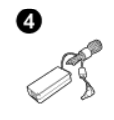
- AC power adapter
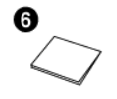
- Receipt guide
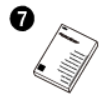
- Welcome Guide paper
- Safety Precautions paper
- License certificate for Kofax/Nuance Power PDF

- ScanSnap Scanner
-
Unwrap the scanner, AC power cable and adapter, and USB type-B cable from their plastic coverings.
-
Insert the AC power cable into the AC adapter.
-
Plug the USB type-B cable into the scanner and your computer. Plug the type-B end into the scanner, and the USB end into your computer.
-
Make sure you remove all tape from the scanner and remove the protective card inside.
-
Open the scanner and ensure the screen lights up, then proceed to Configuring the Scanner.


Configuring the Scanner
-
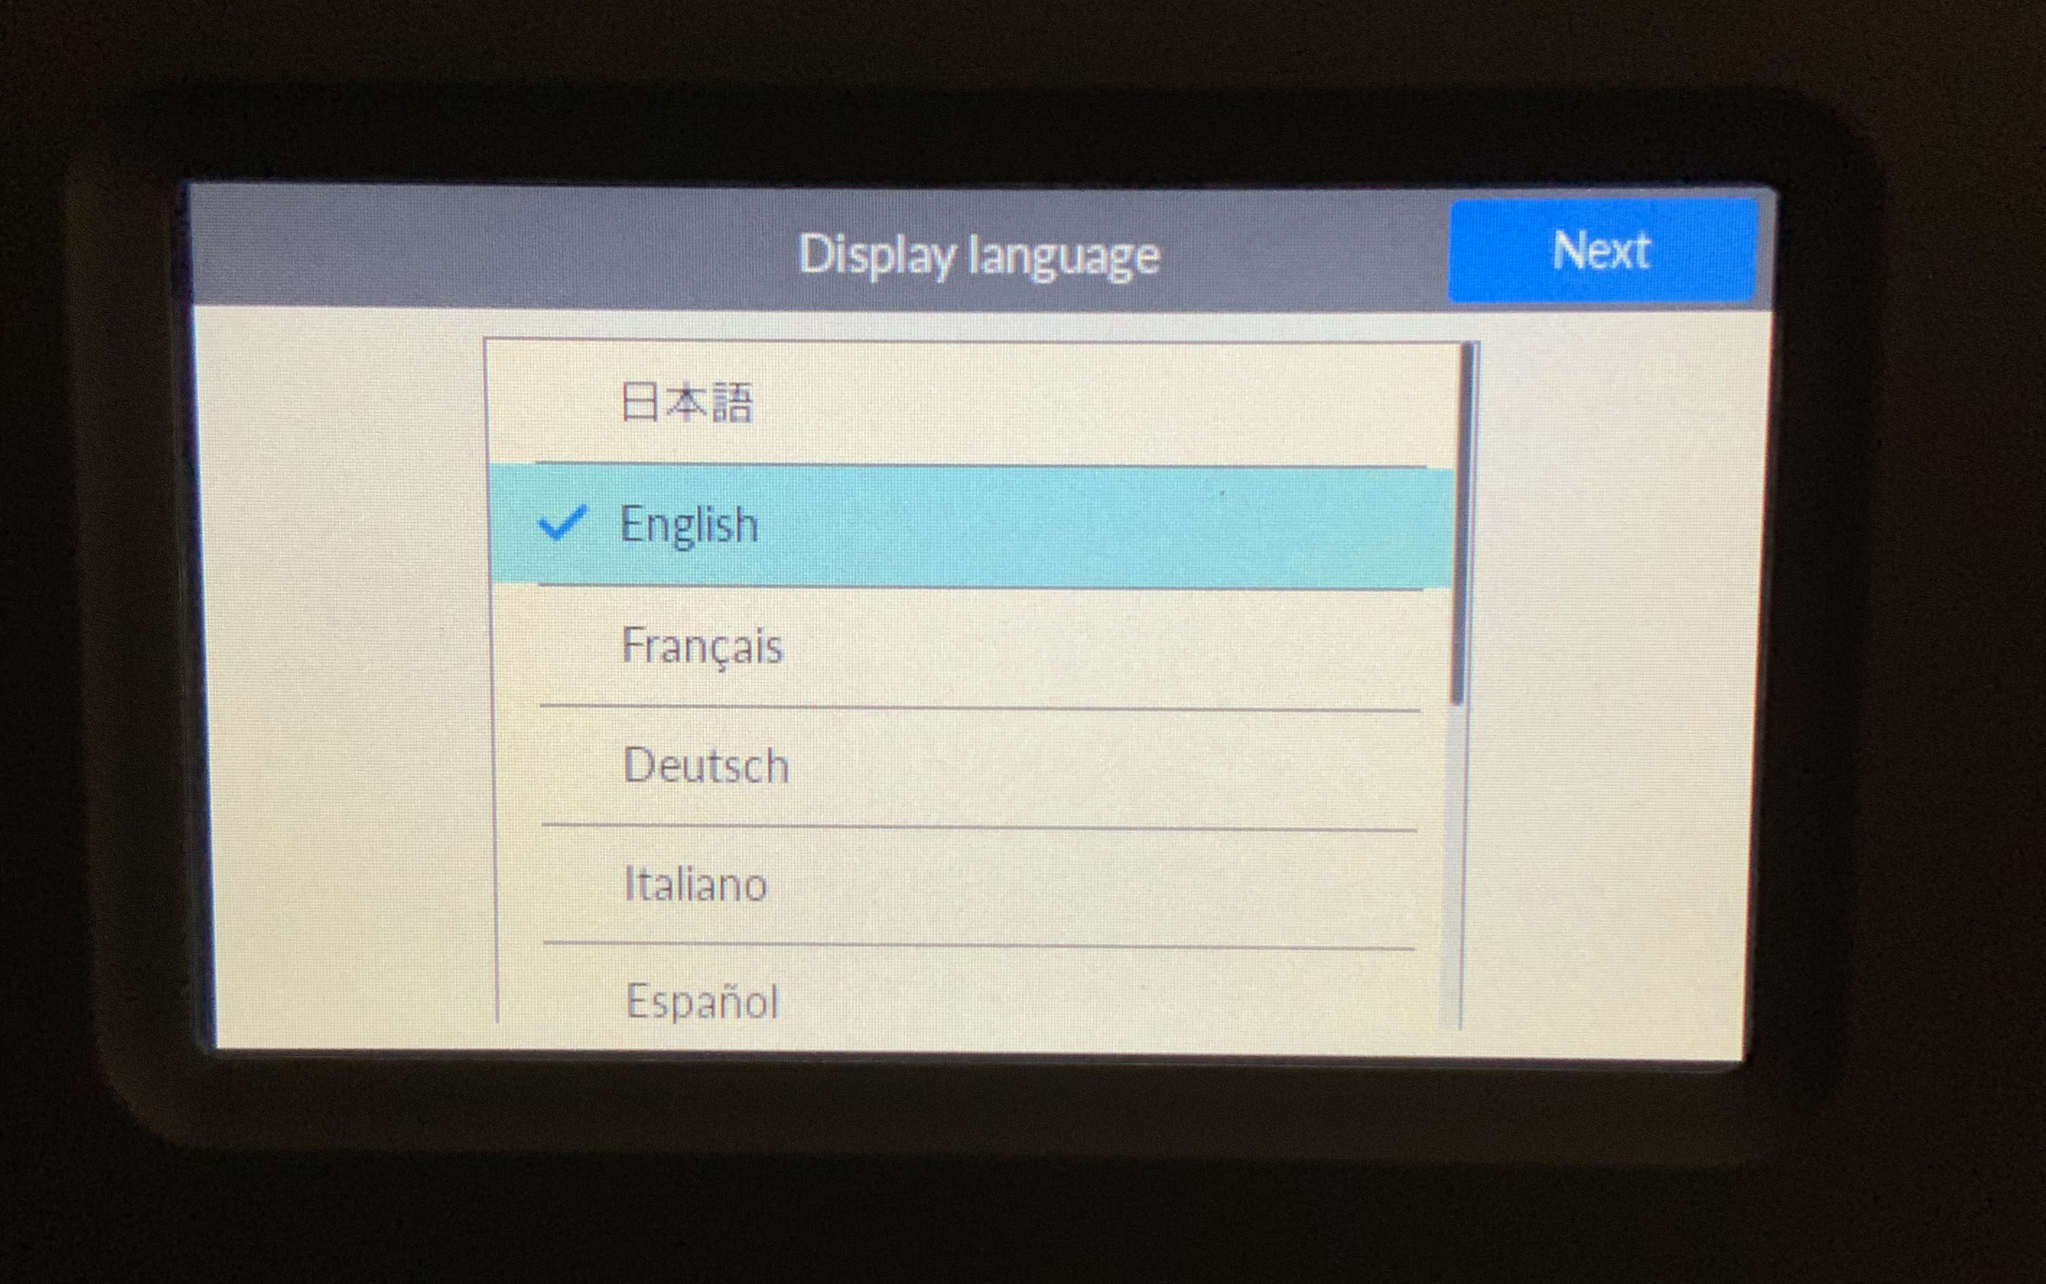
Before you configure the software on your computer, you’ll need to set up the ScanSnap. On the first screen that appears, select your preferred language.
-
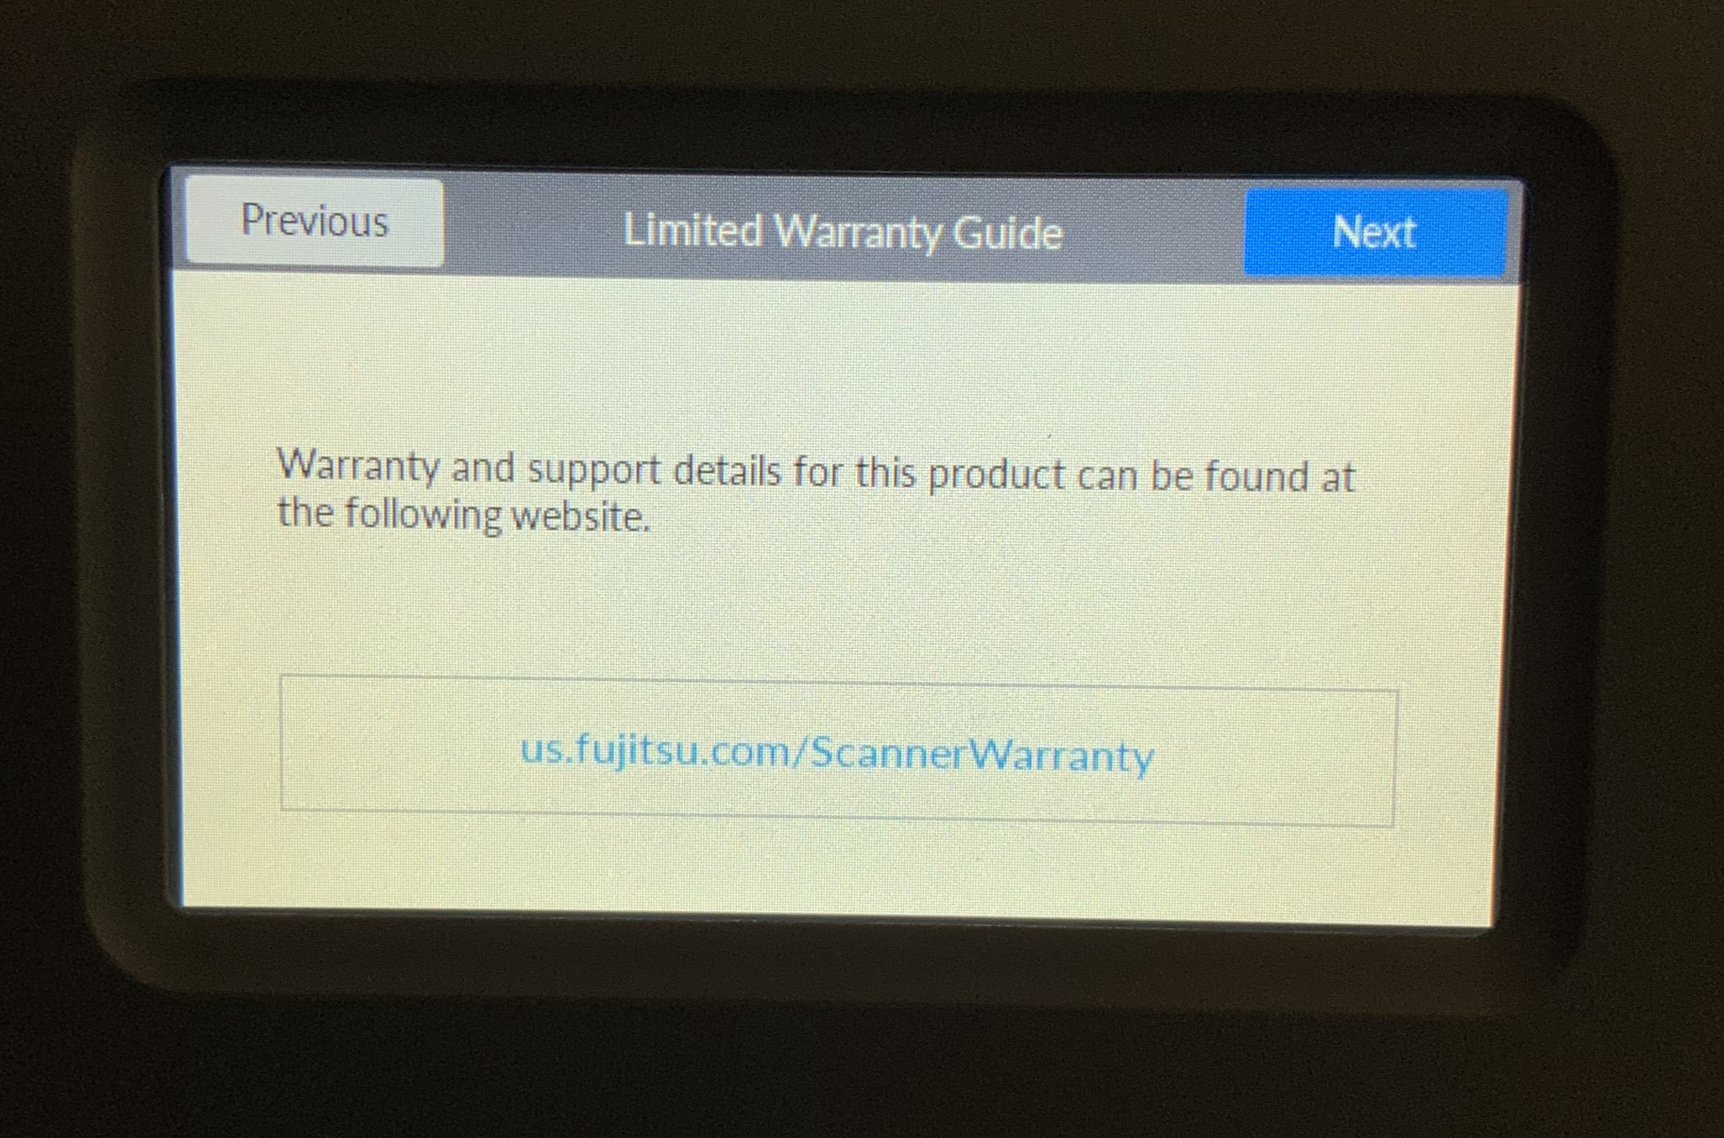
The Limited Warranty Guide page will appear. Tap Next to proceed.
-
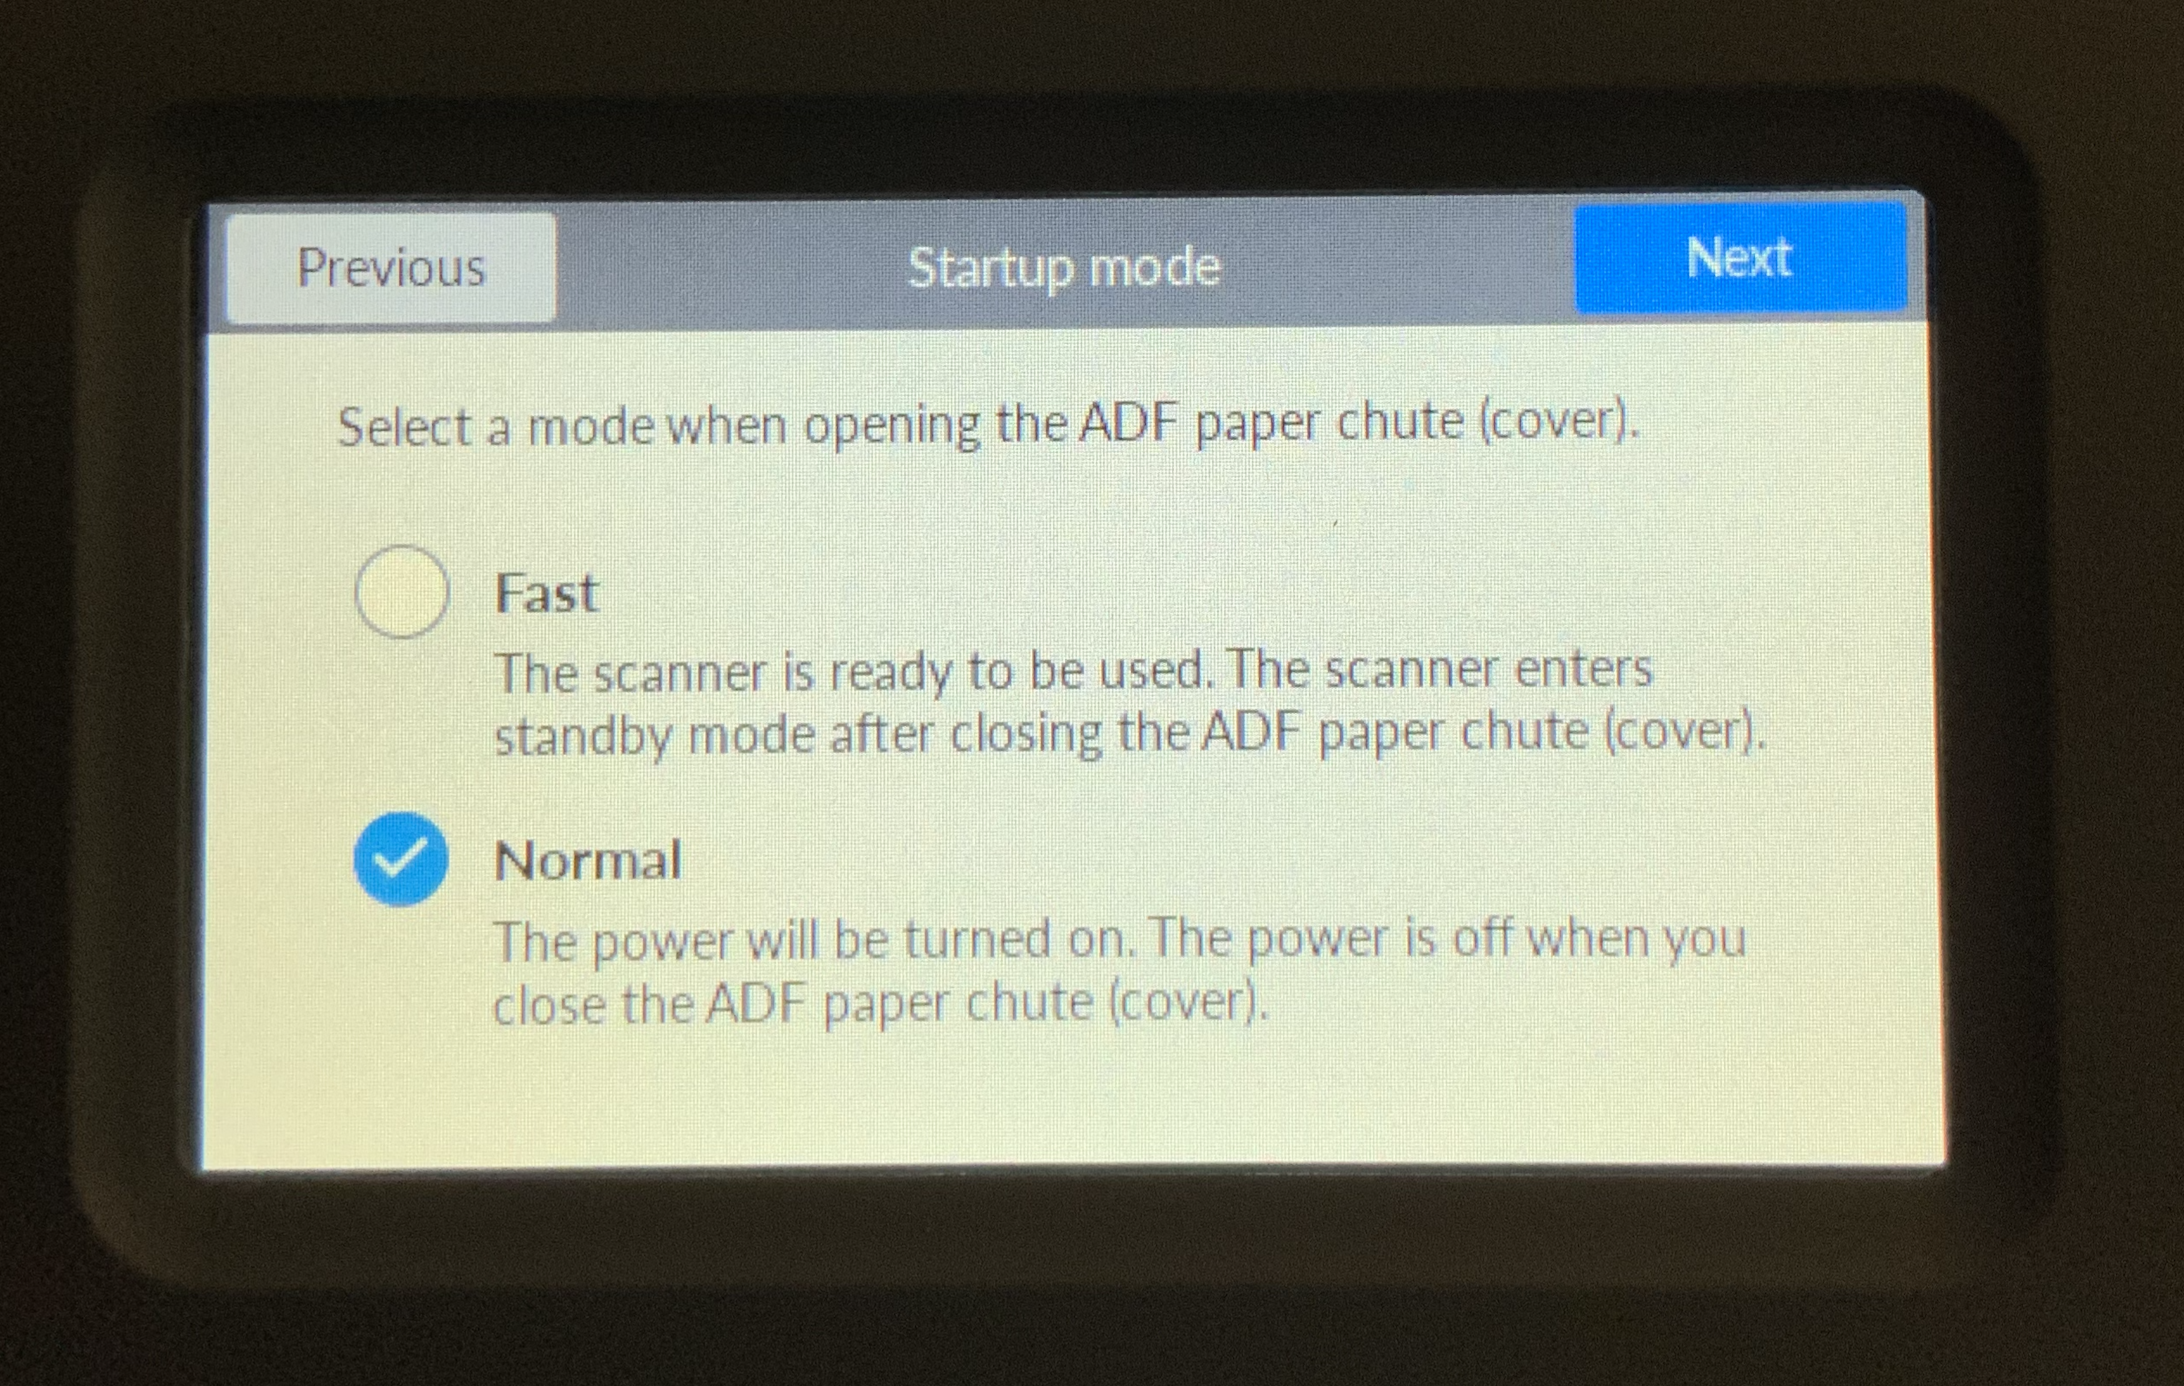
Select a Startup mode according to your needs. In Fast startup mode, the scanner is always in standby and is ready for use as soon as the scanner lid is opened. In Normal startup mode, the scanner will power off when the lid is closed, and power on when it is opened. Fast mode is about 5-10 seconds faster than Normal mode. Tap to select your preferred startup mode, then tap Next to continue.
-
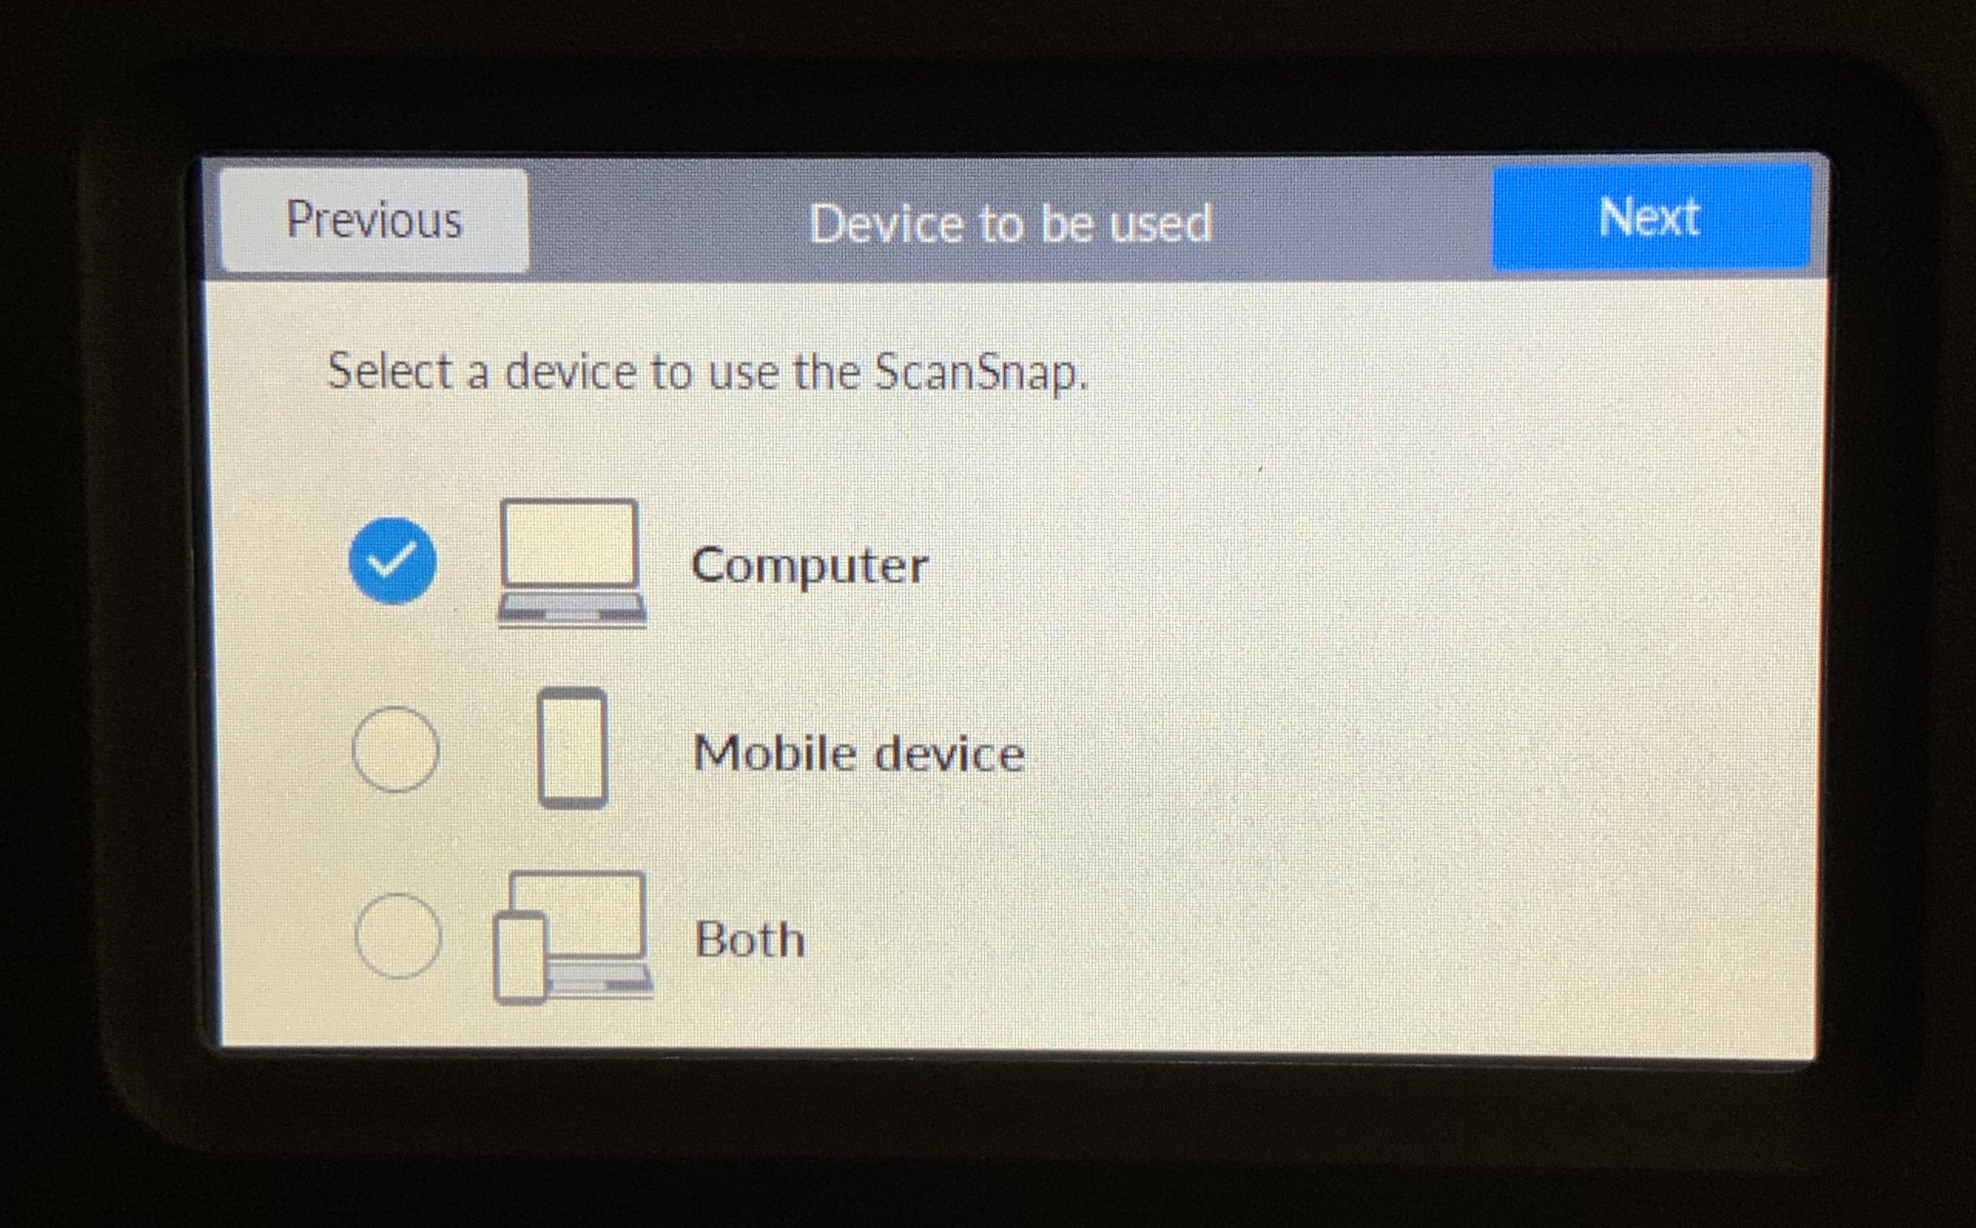
Select the type of device to which you are connecting your ScanSnap. Computer is recommended. Note that mobile device scanning will not be covered in this tutorial. Click Next to continue.
-
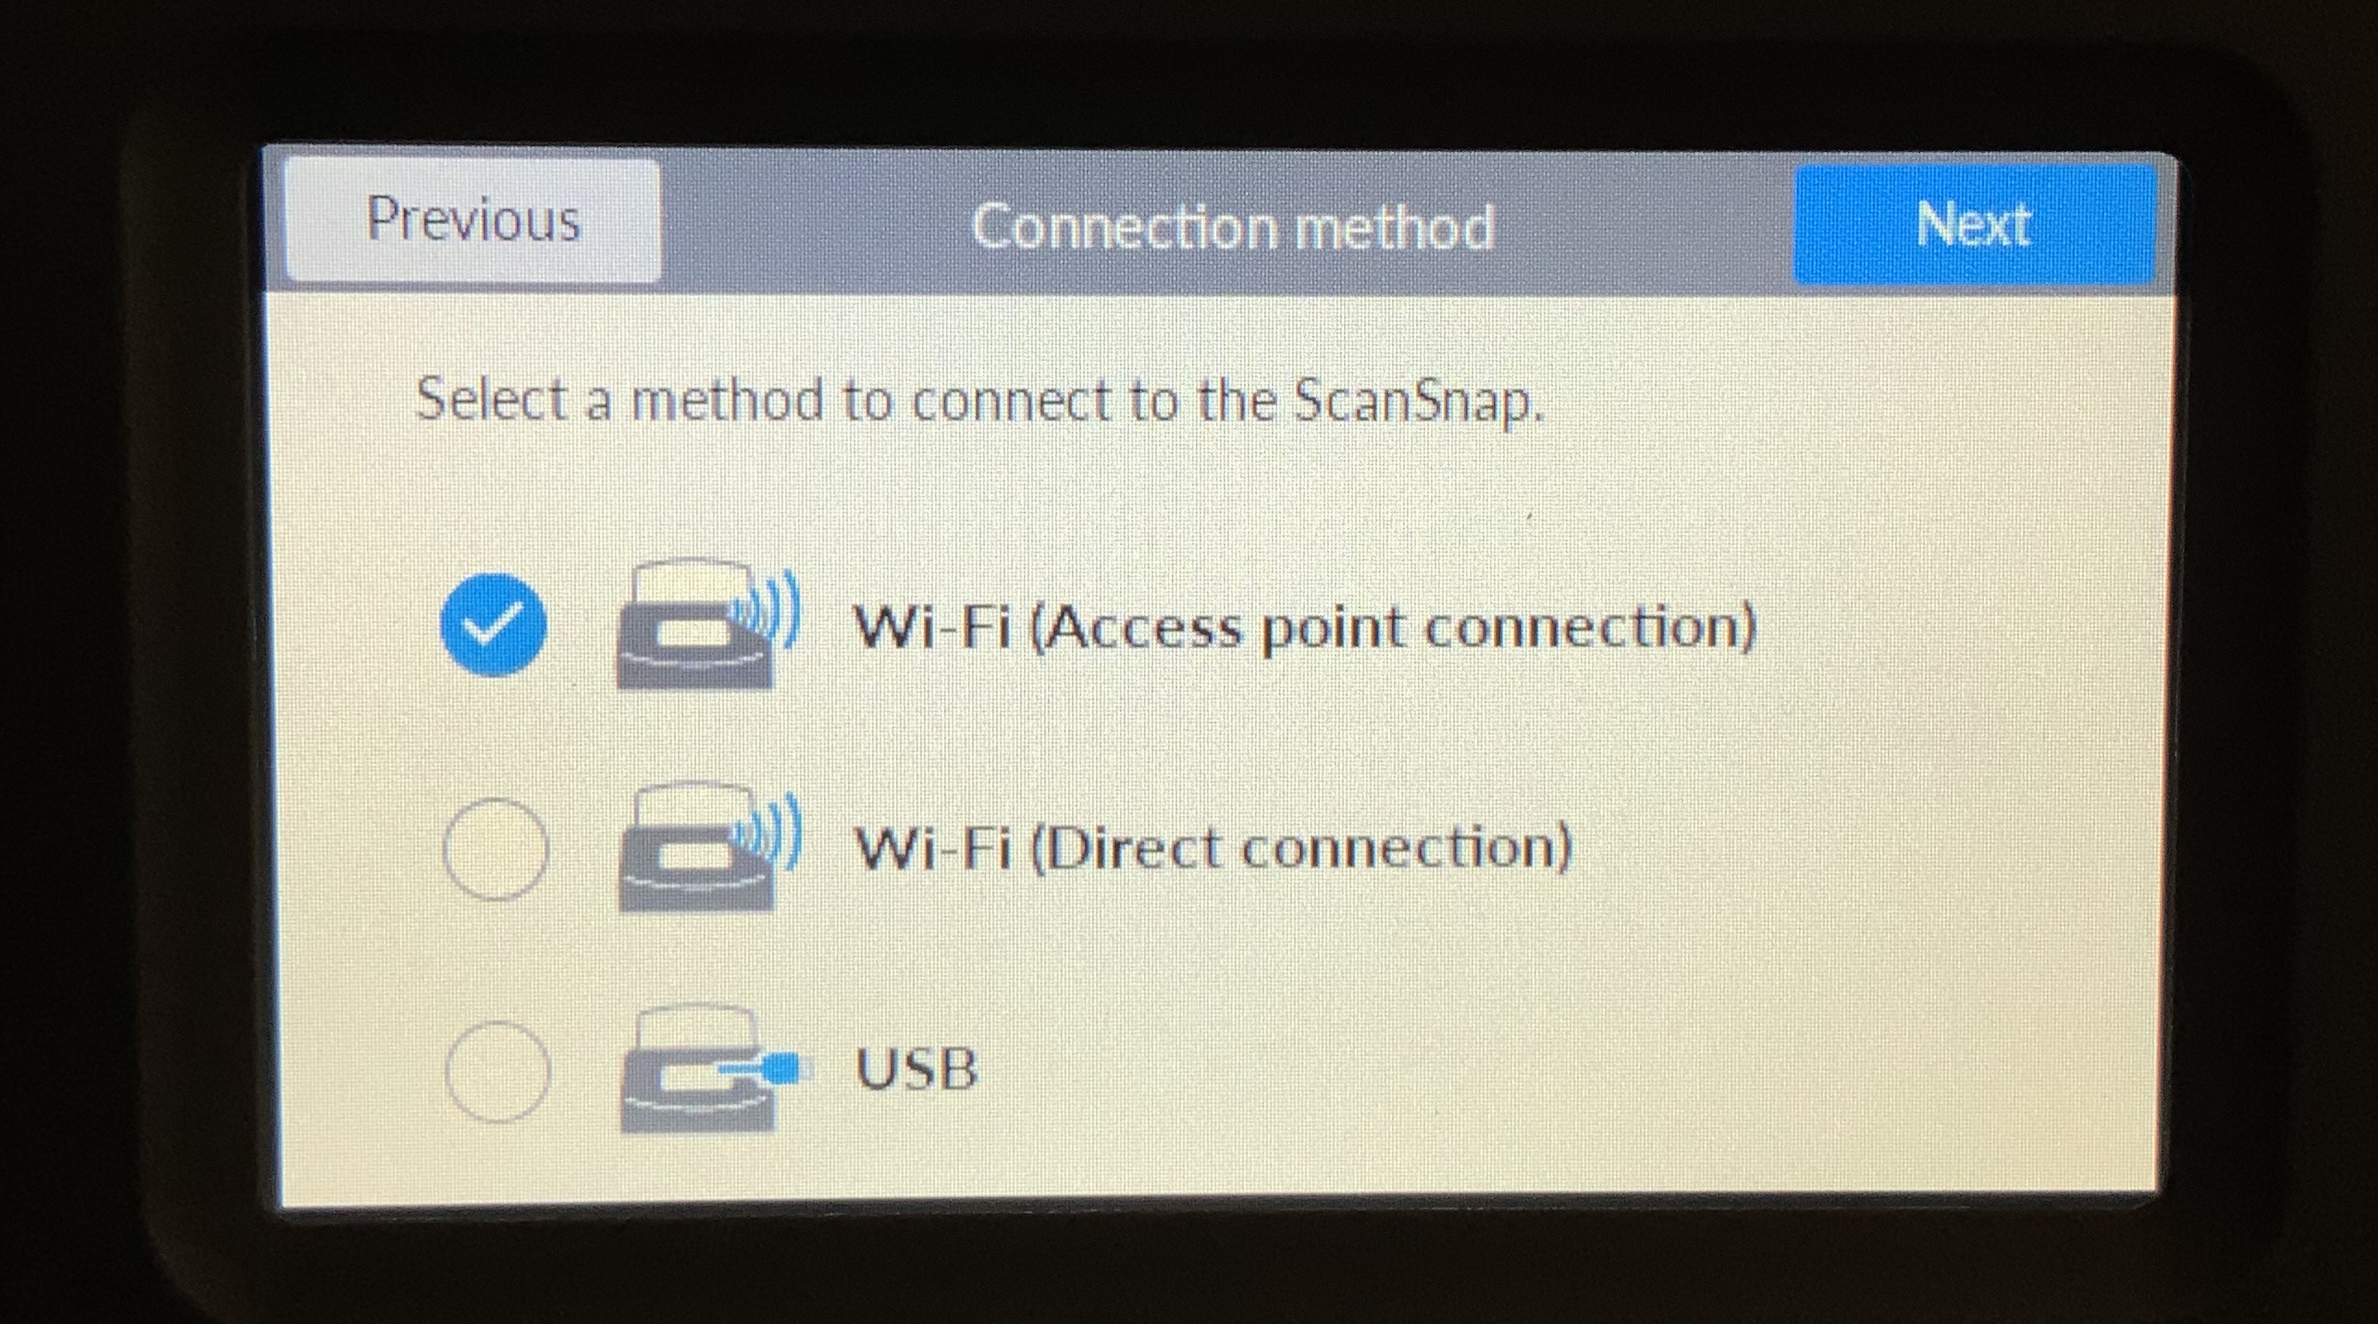
On the Connection Method page, select the mode through which you will be connecting your scanner to your computer. USB is recommended, and you can set up Wi-Fi connection during the USB setup process. If you would like to connect directly through Wi-Fi, select Wi-Fi (Access point connection). Tap to select your choice, then tap Next to proceed.
-
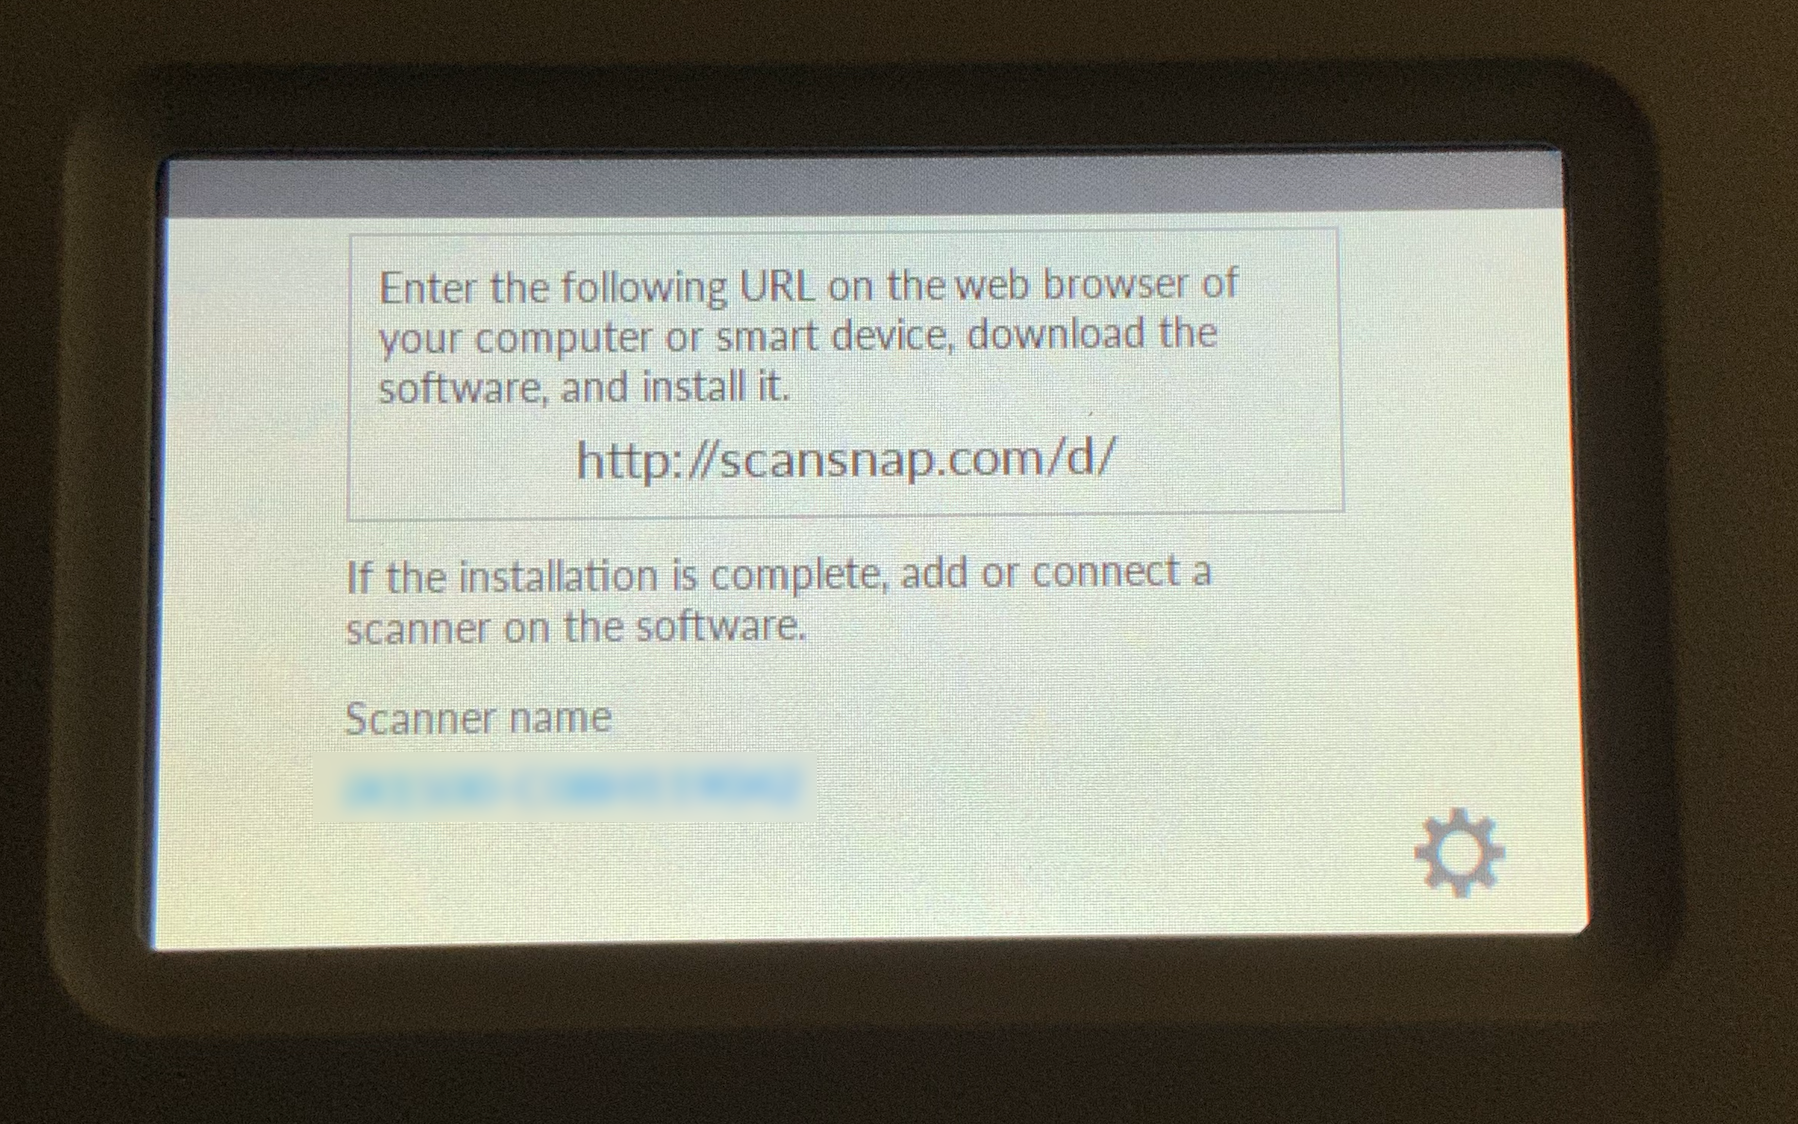
(USB Connection Only) Enter the displayed URL into your web browser and download the ScanSnap Home software. Continue following the software tutorial here.
-
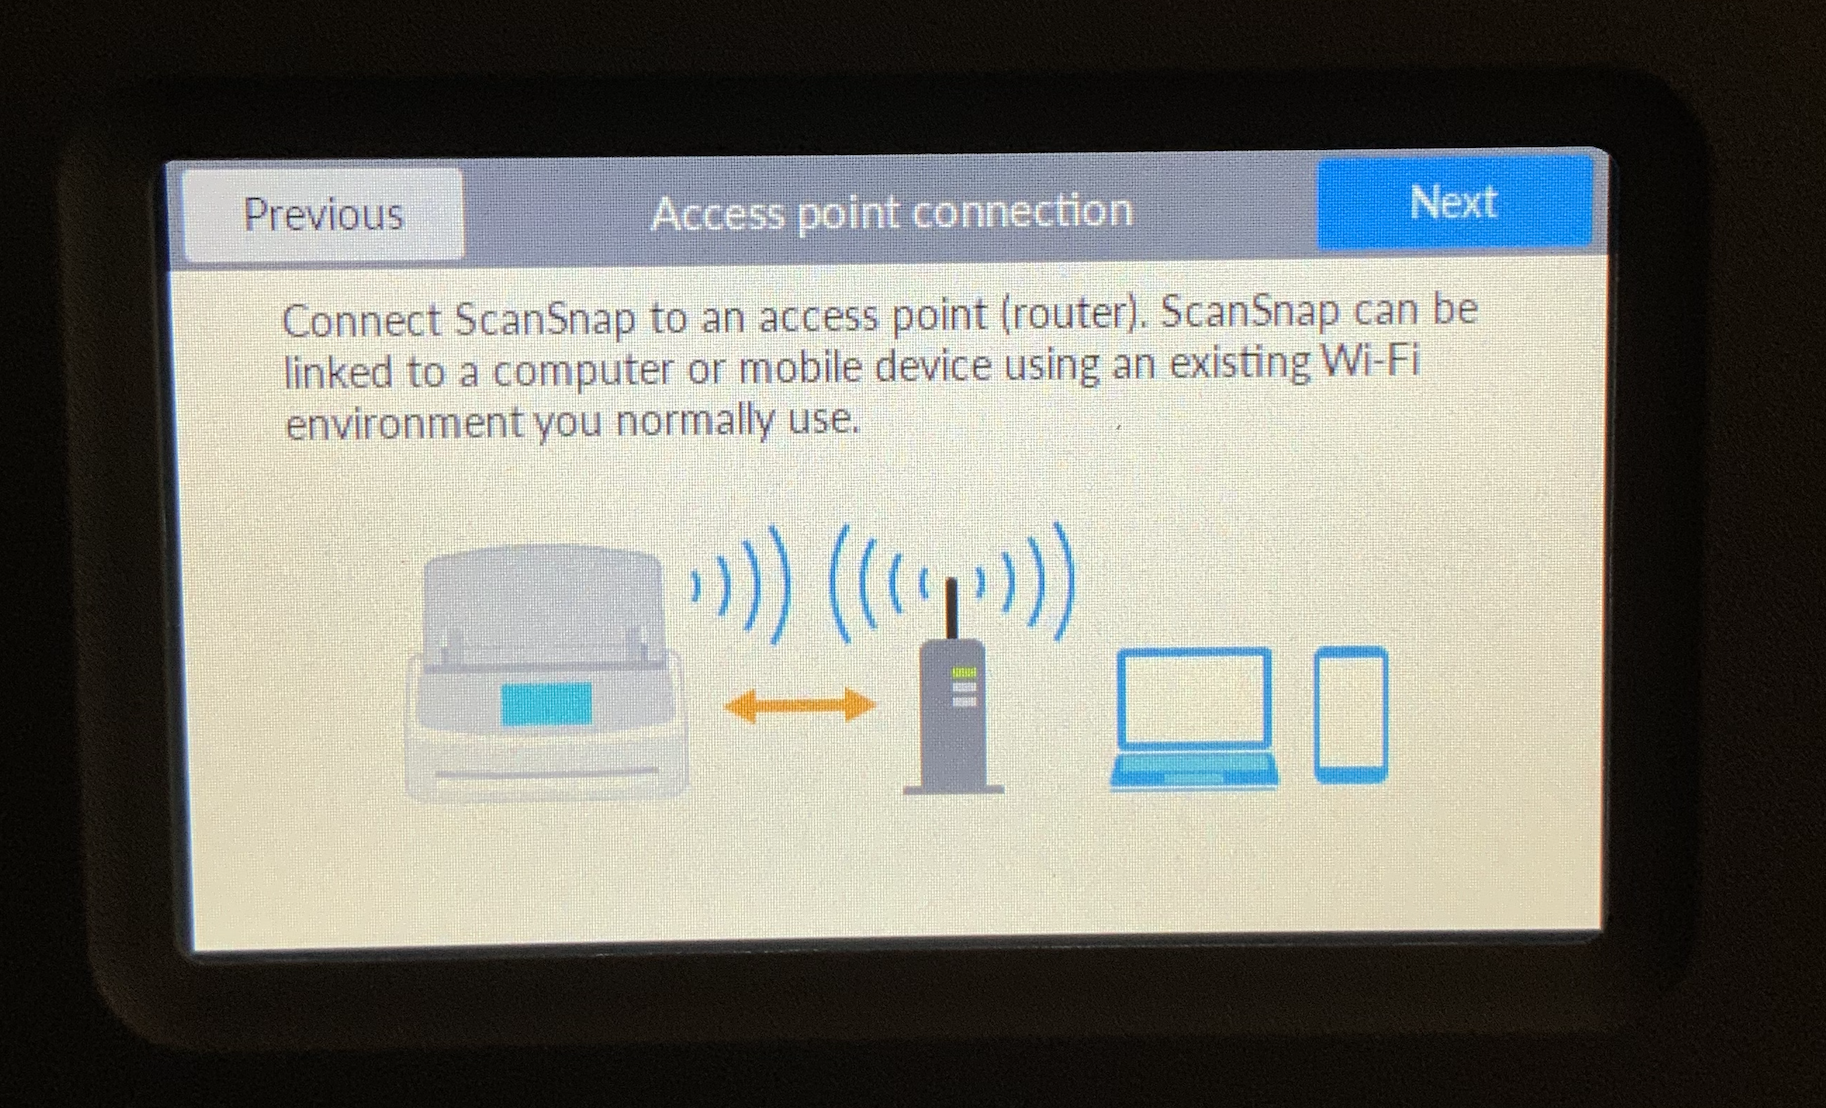
(Wi-Fi Access Point only) The instructional Access Point Connection page will appear. Tap Next to begin setting up the Wi-Fi connection.
-
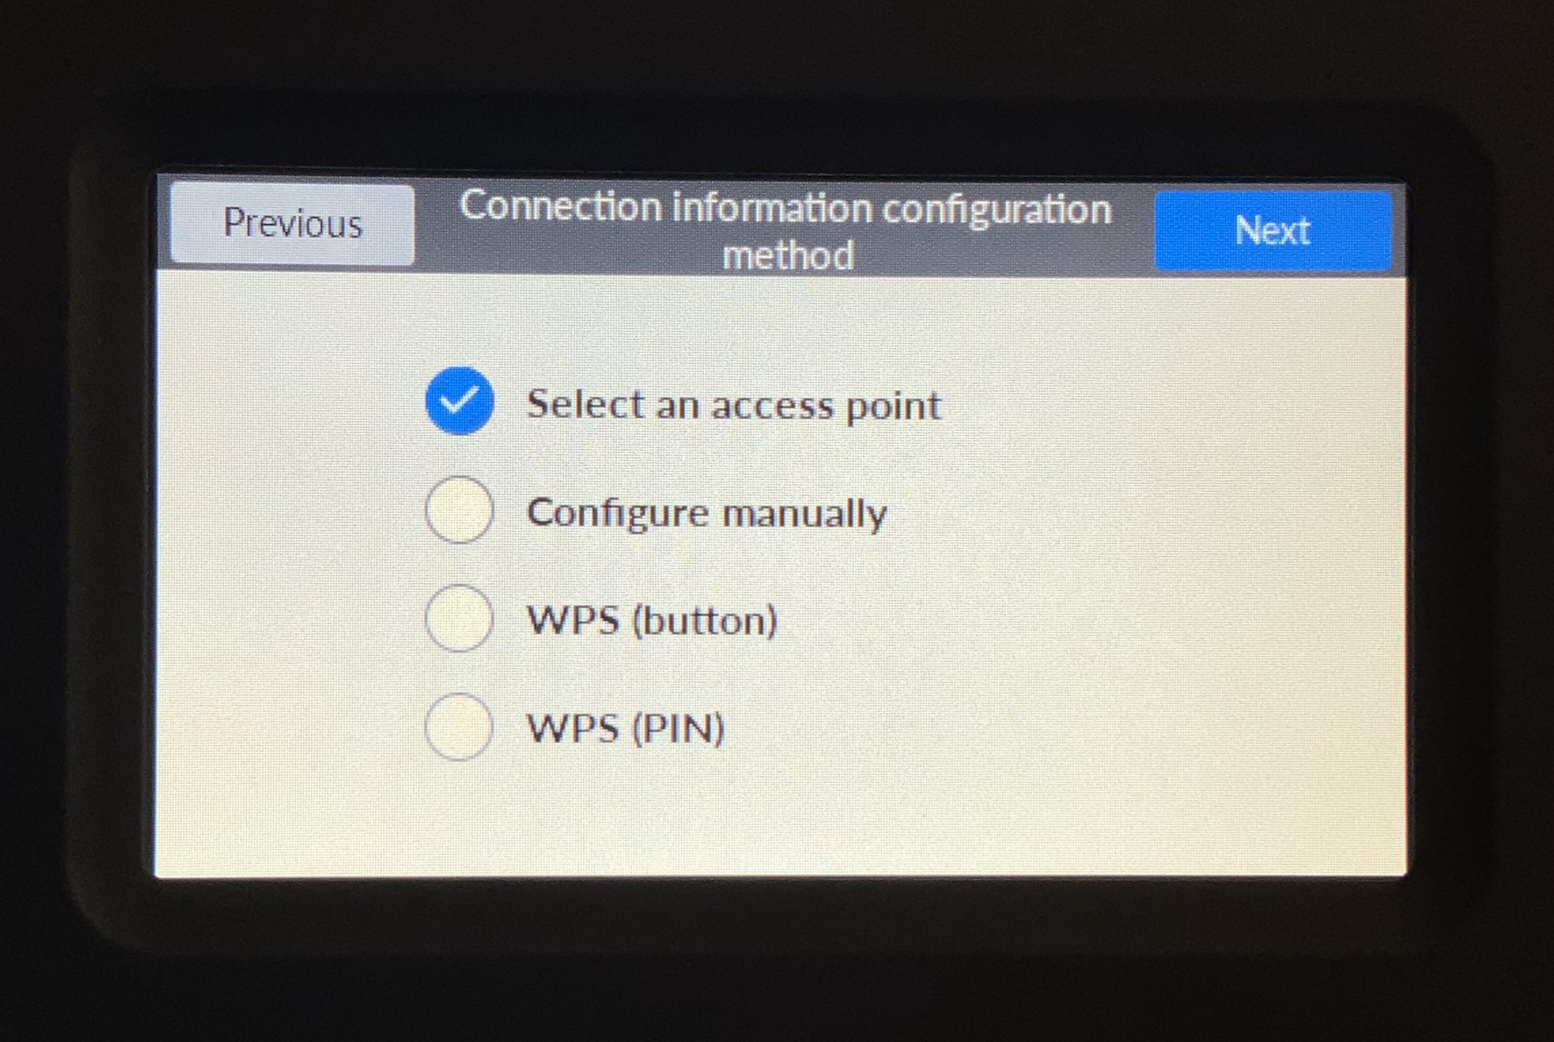
(Wi-Fi AP) On the Connection Information Configuration Method page, select how you’d like to find your router. The easiest method is Select an access point, and this tutorial will follow those steps. If you prefer to enter your network manually, select Configure Manually. Alternatively, if you use a PIN or button to connect to your network, you can choose that method. Tap Next to proceed once you’ve made your selection.
-
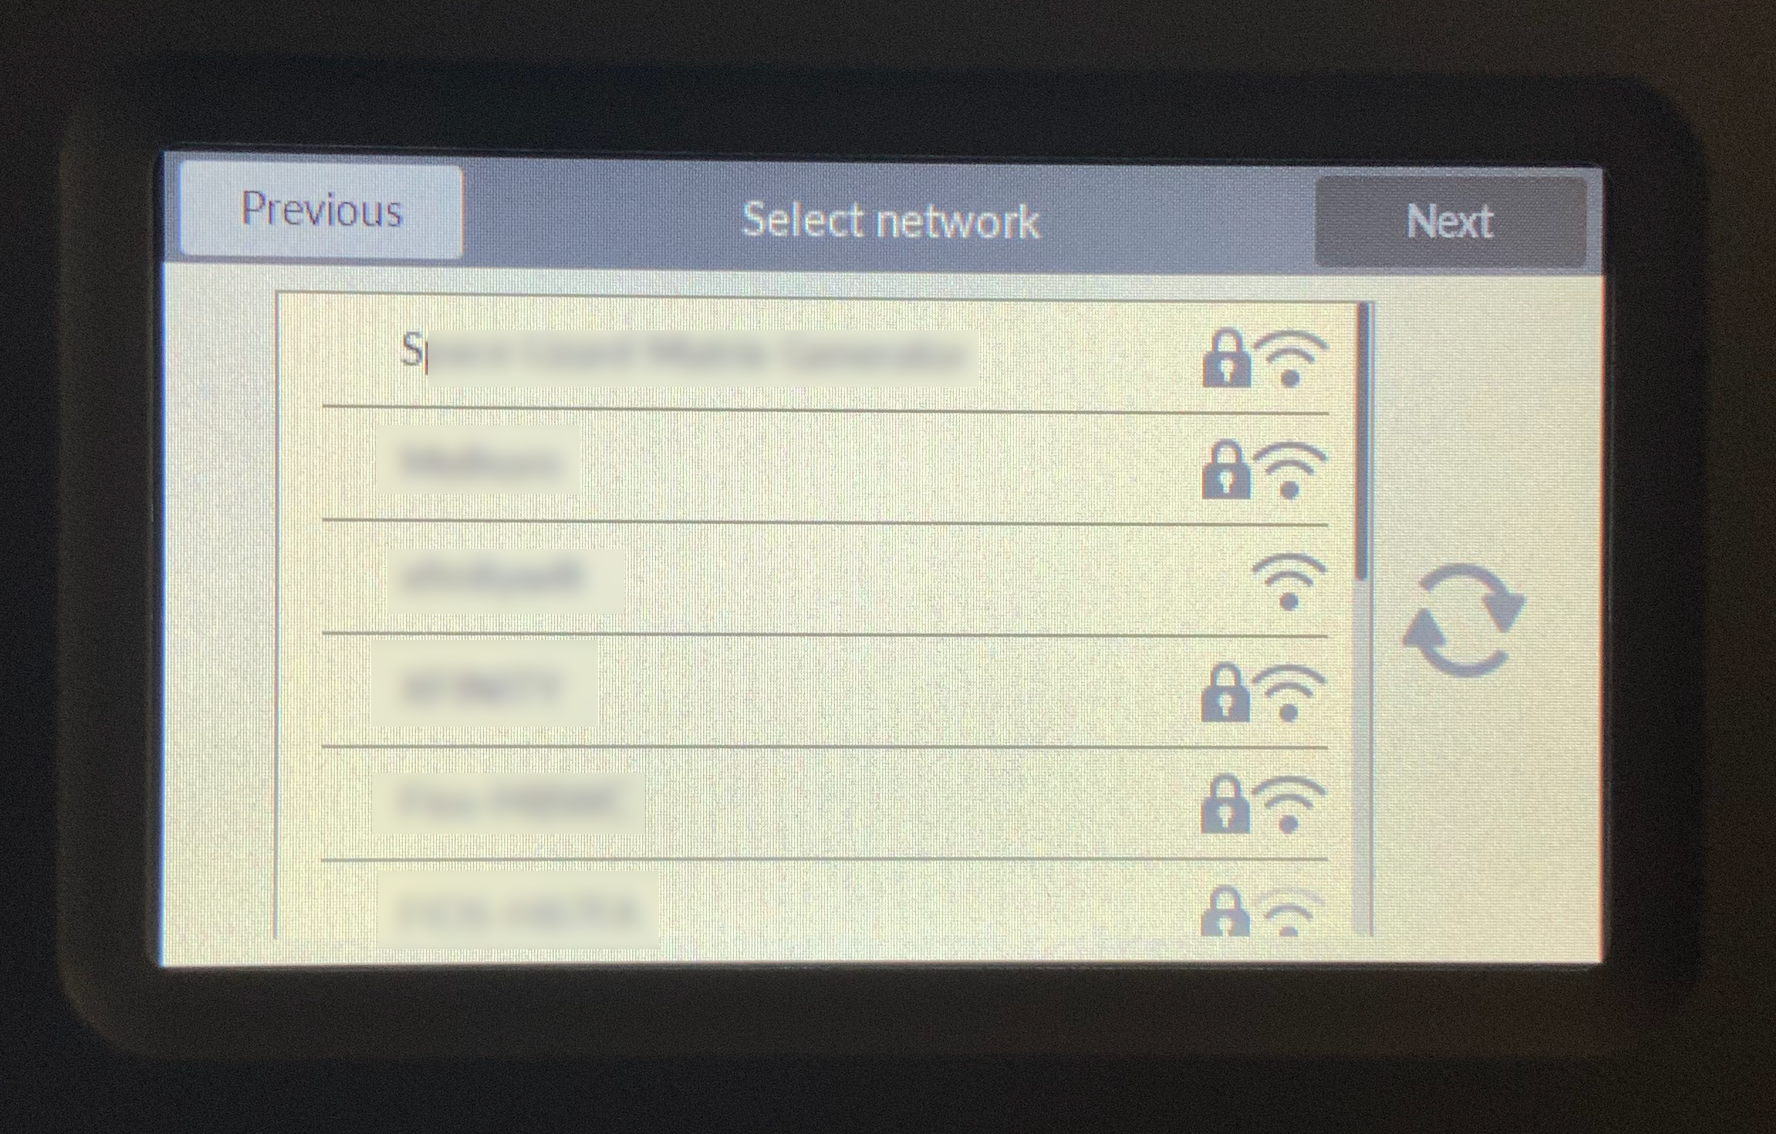
(Wi-Fi AP) From the list of networks that appears, tap your Wi-Fi network to select it. The Next button will turn blue. Tap it to proceed. In the image below, I am selecting the network named S——.
-
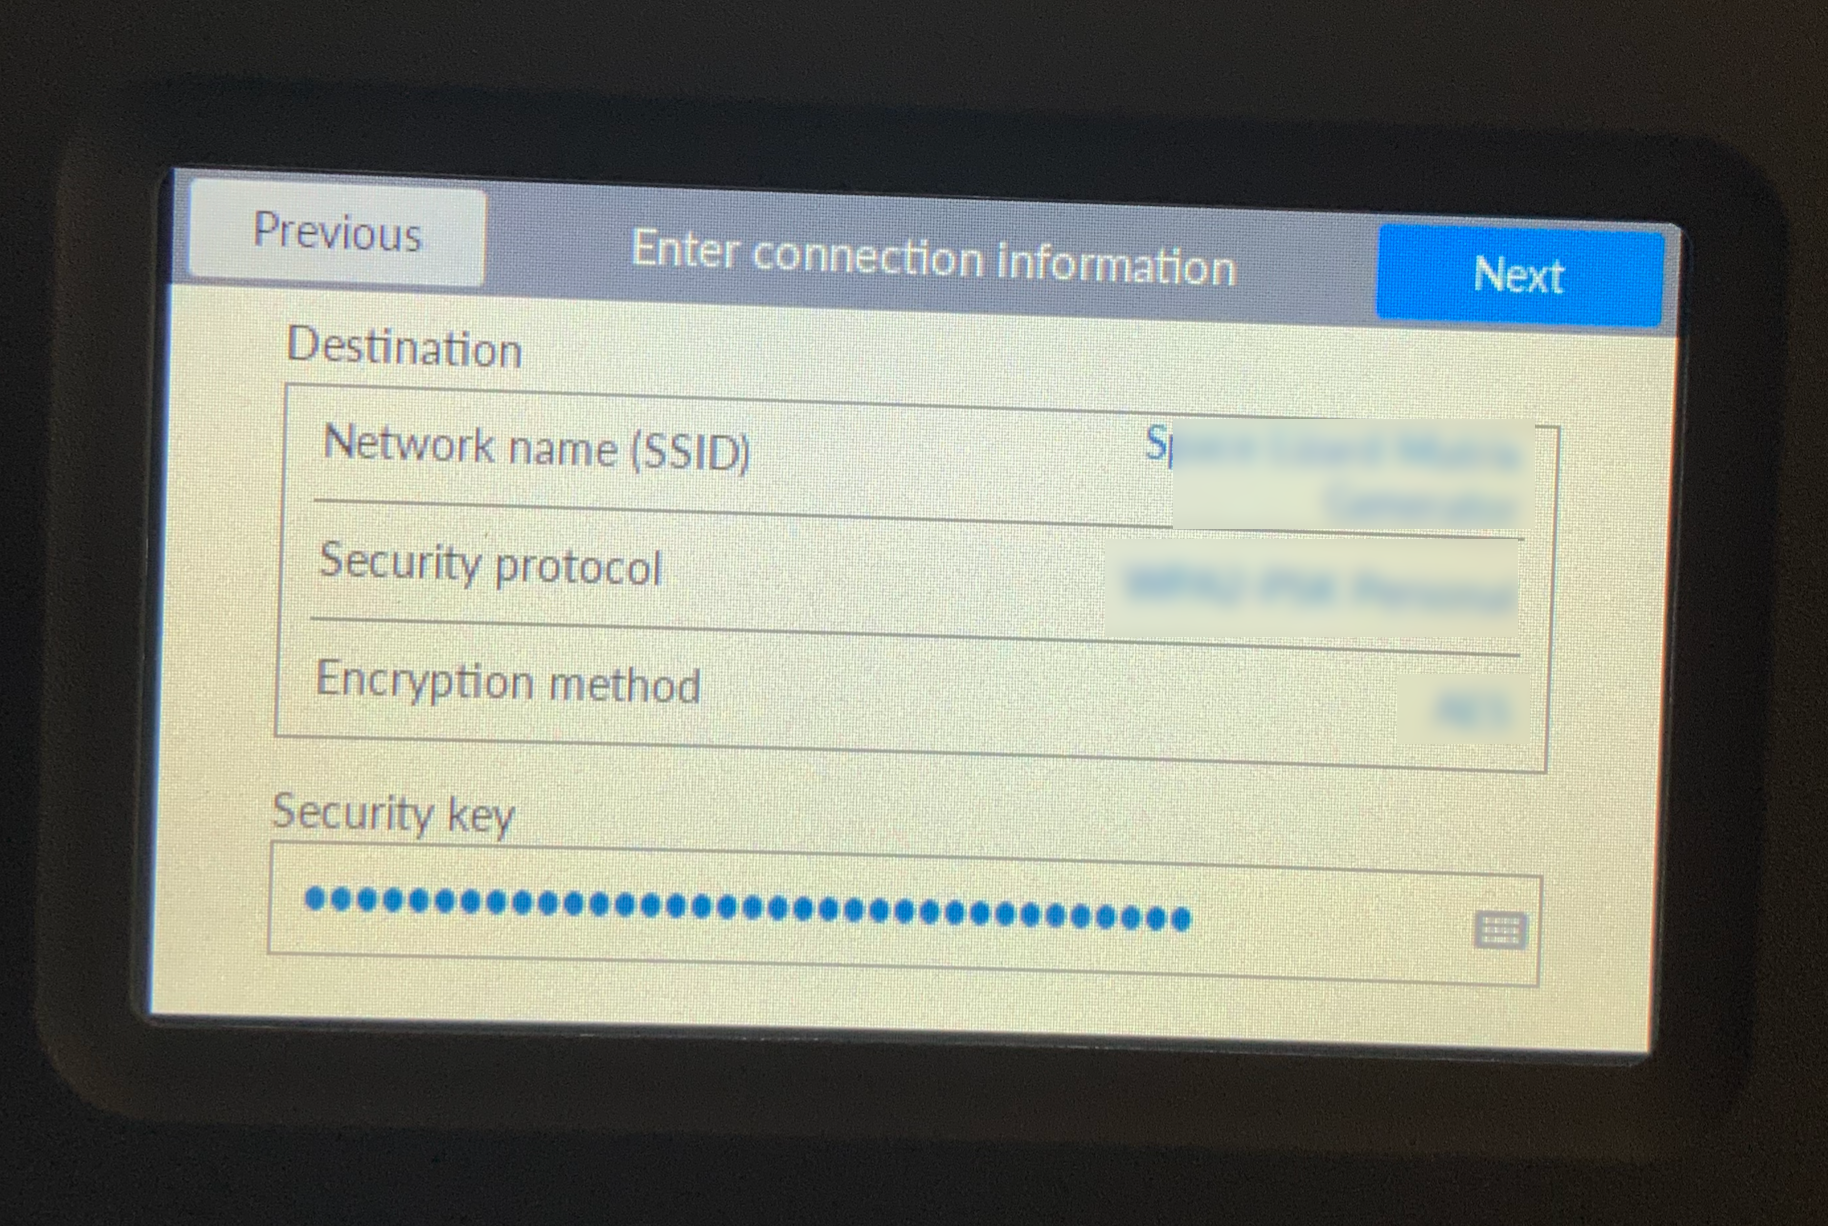
(Wi-Fi AP) The Enter Connection Information page will appear. View the fields for correctness, and then tap the field labeled Security Key. If you did not set a password for your network, check the underside of your router for a sticker with the default credentials.
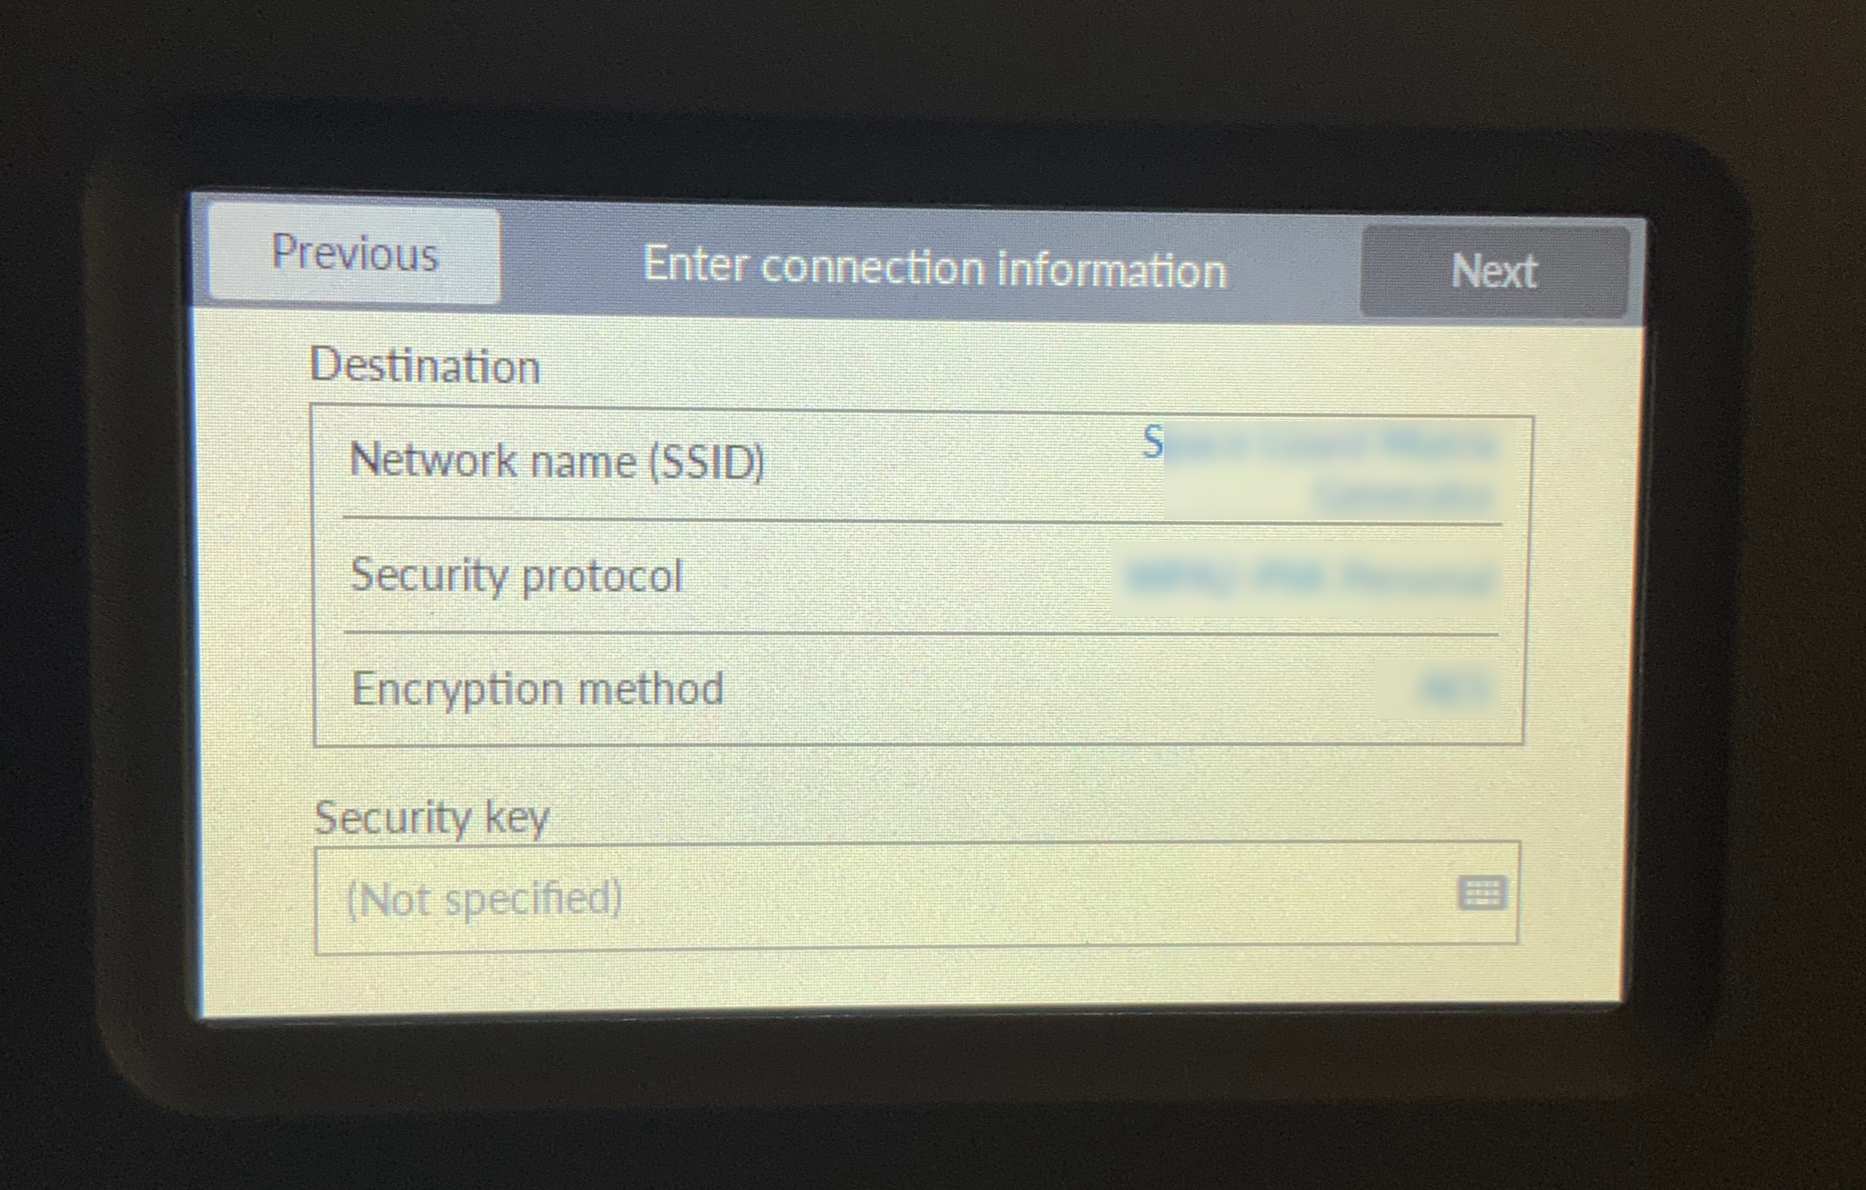
-
(Wi-Fi AP) The keyboard will appear once you tap the Security Key field. Type your Wi-Fi network’s password. You can find symbols by tapping the
@?#button, and change to capital letters with the upward-facing arrow button to the left side of the keyboard. Tap OK to save your input and return to the Connection Information page.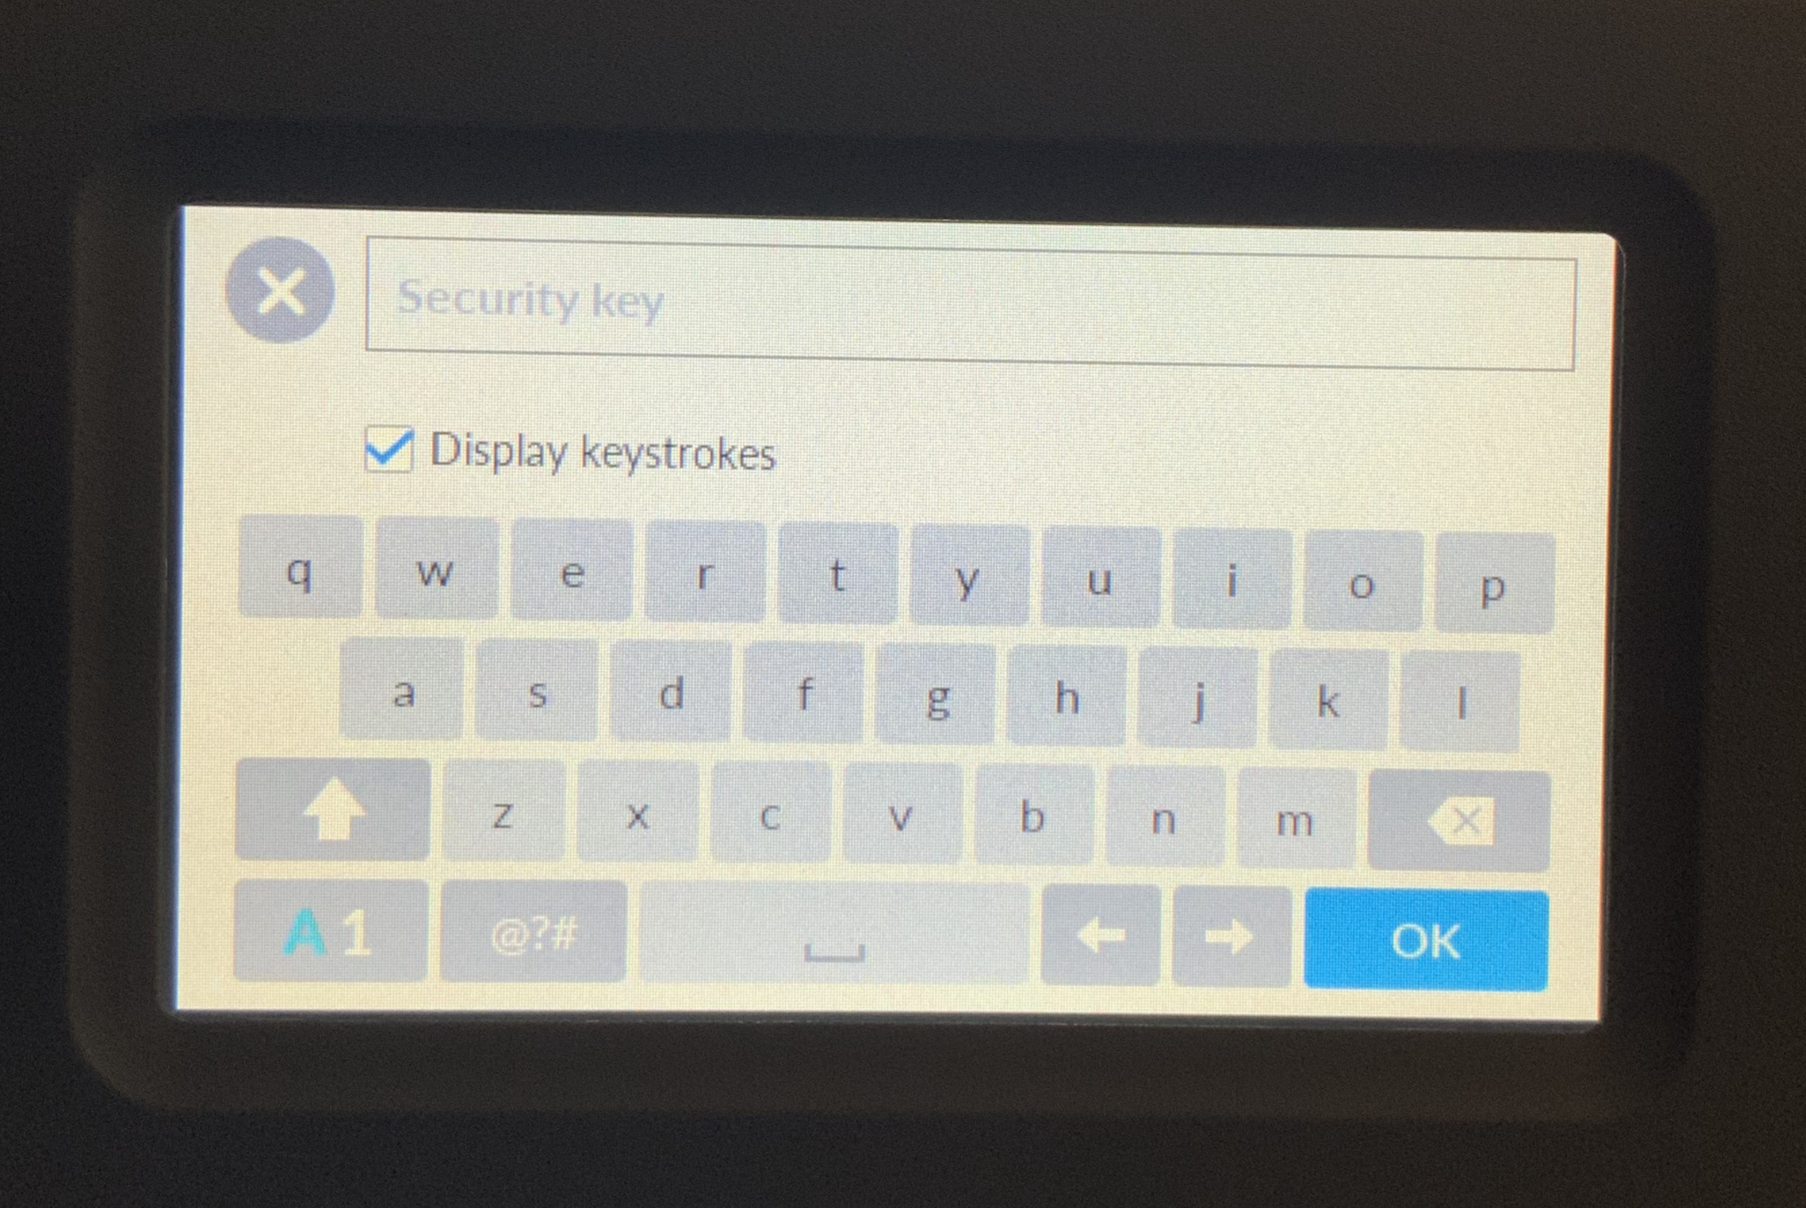
-
(Wi-Fi AP) Once your network key has been entered into the Security Key field, tap Next to connect.
-
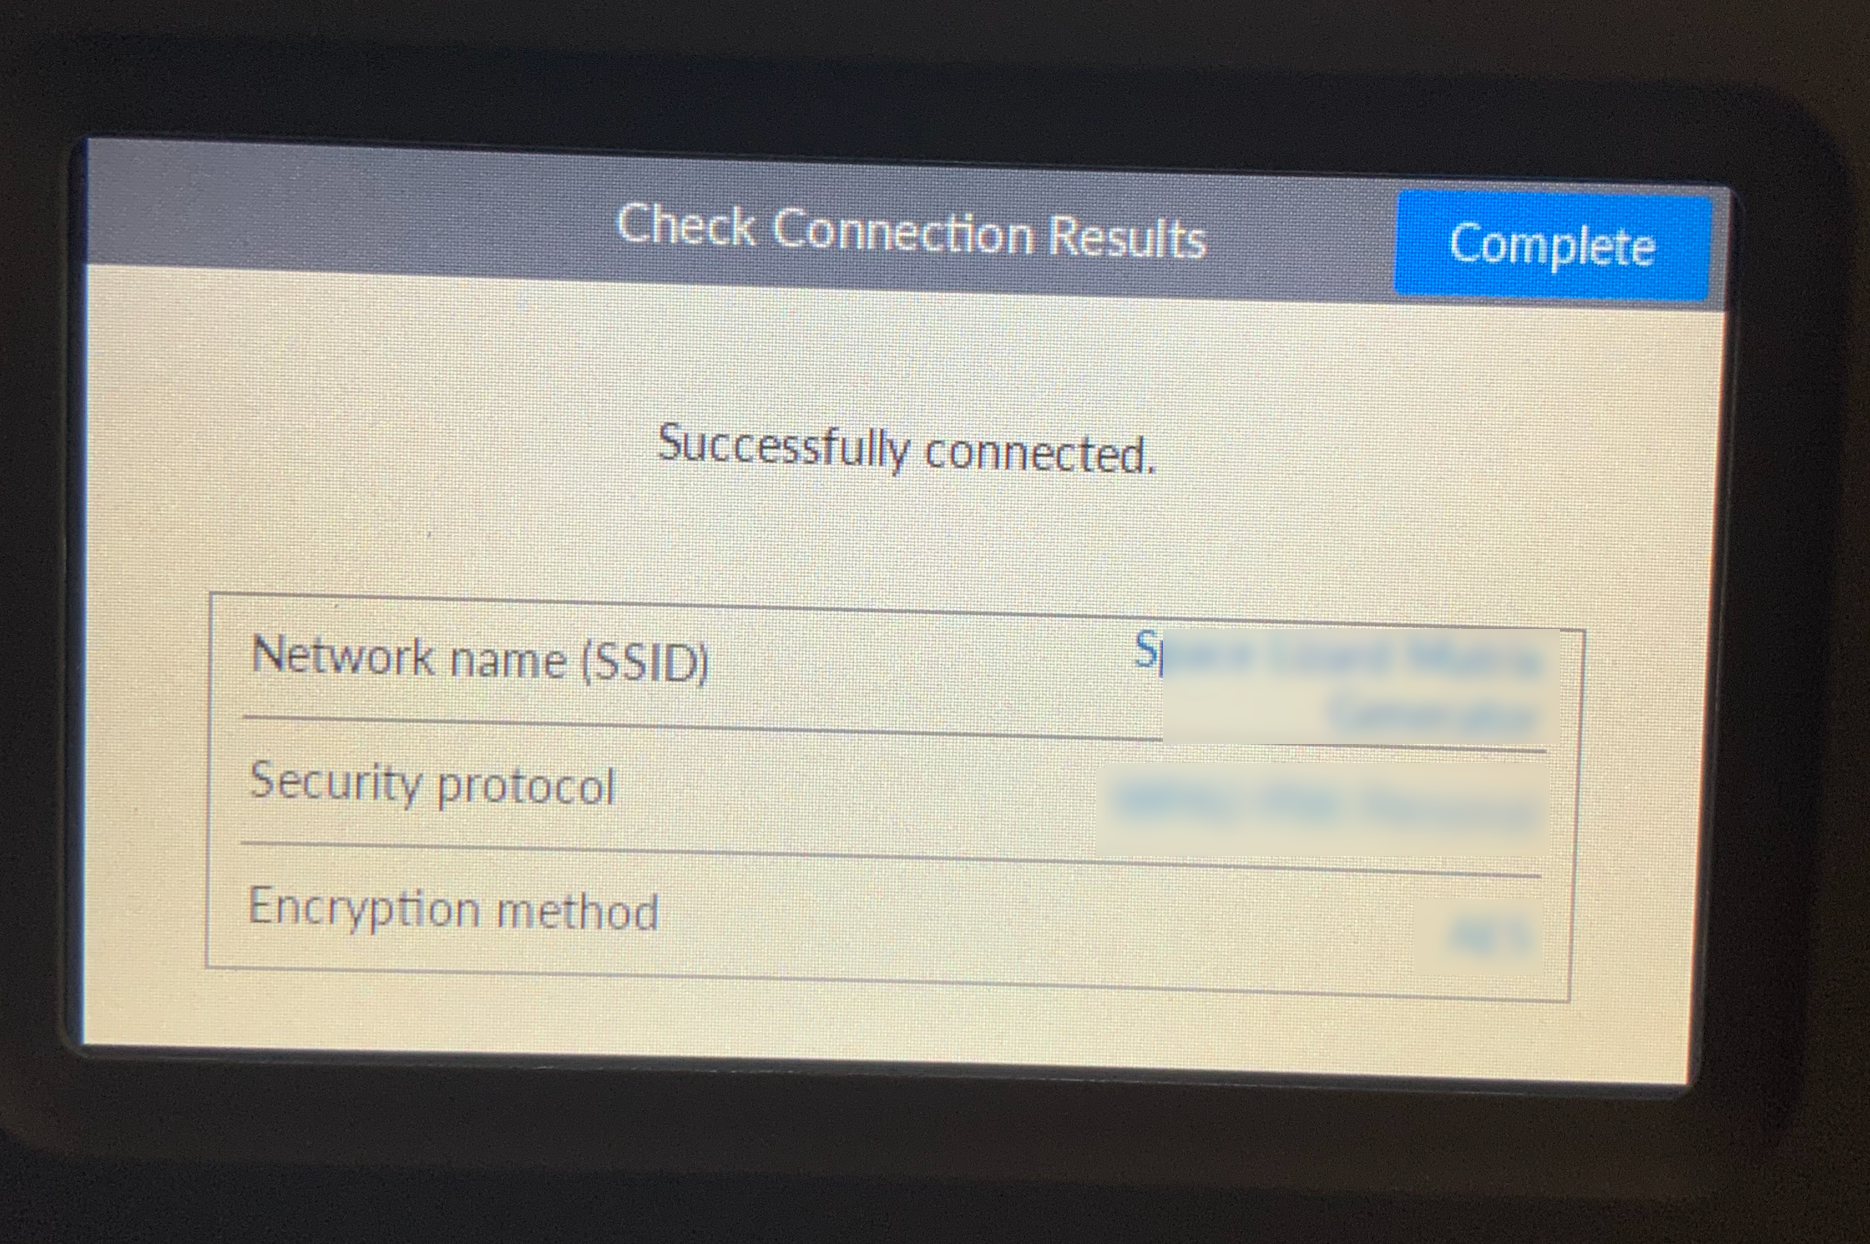
(Wi-Fi AP) If the connection was successful you will see the following page. If it did not work, read the error message and try to enter the information again. Should issues persist, contact your IT department.
-
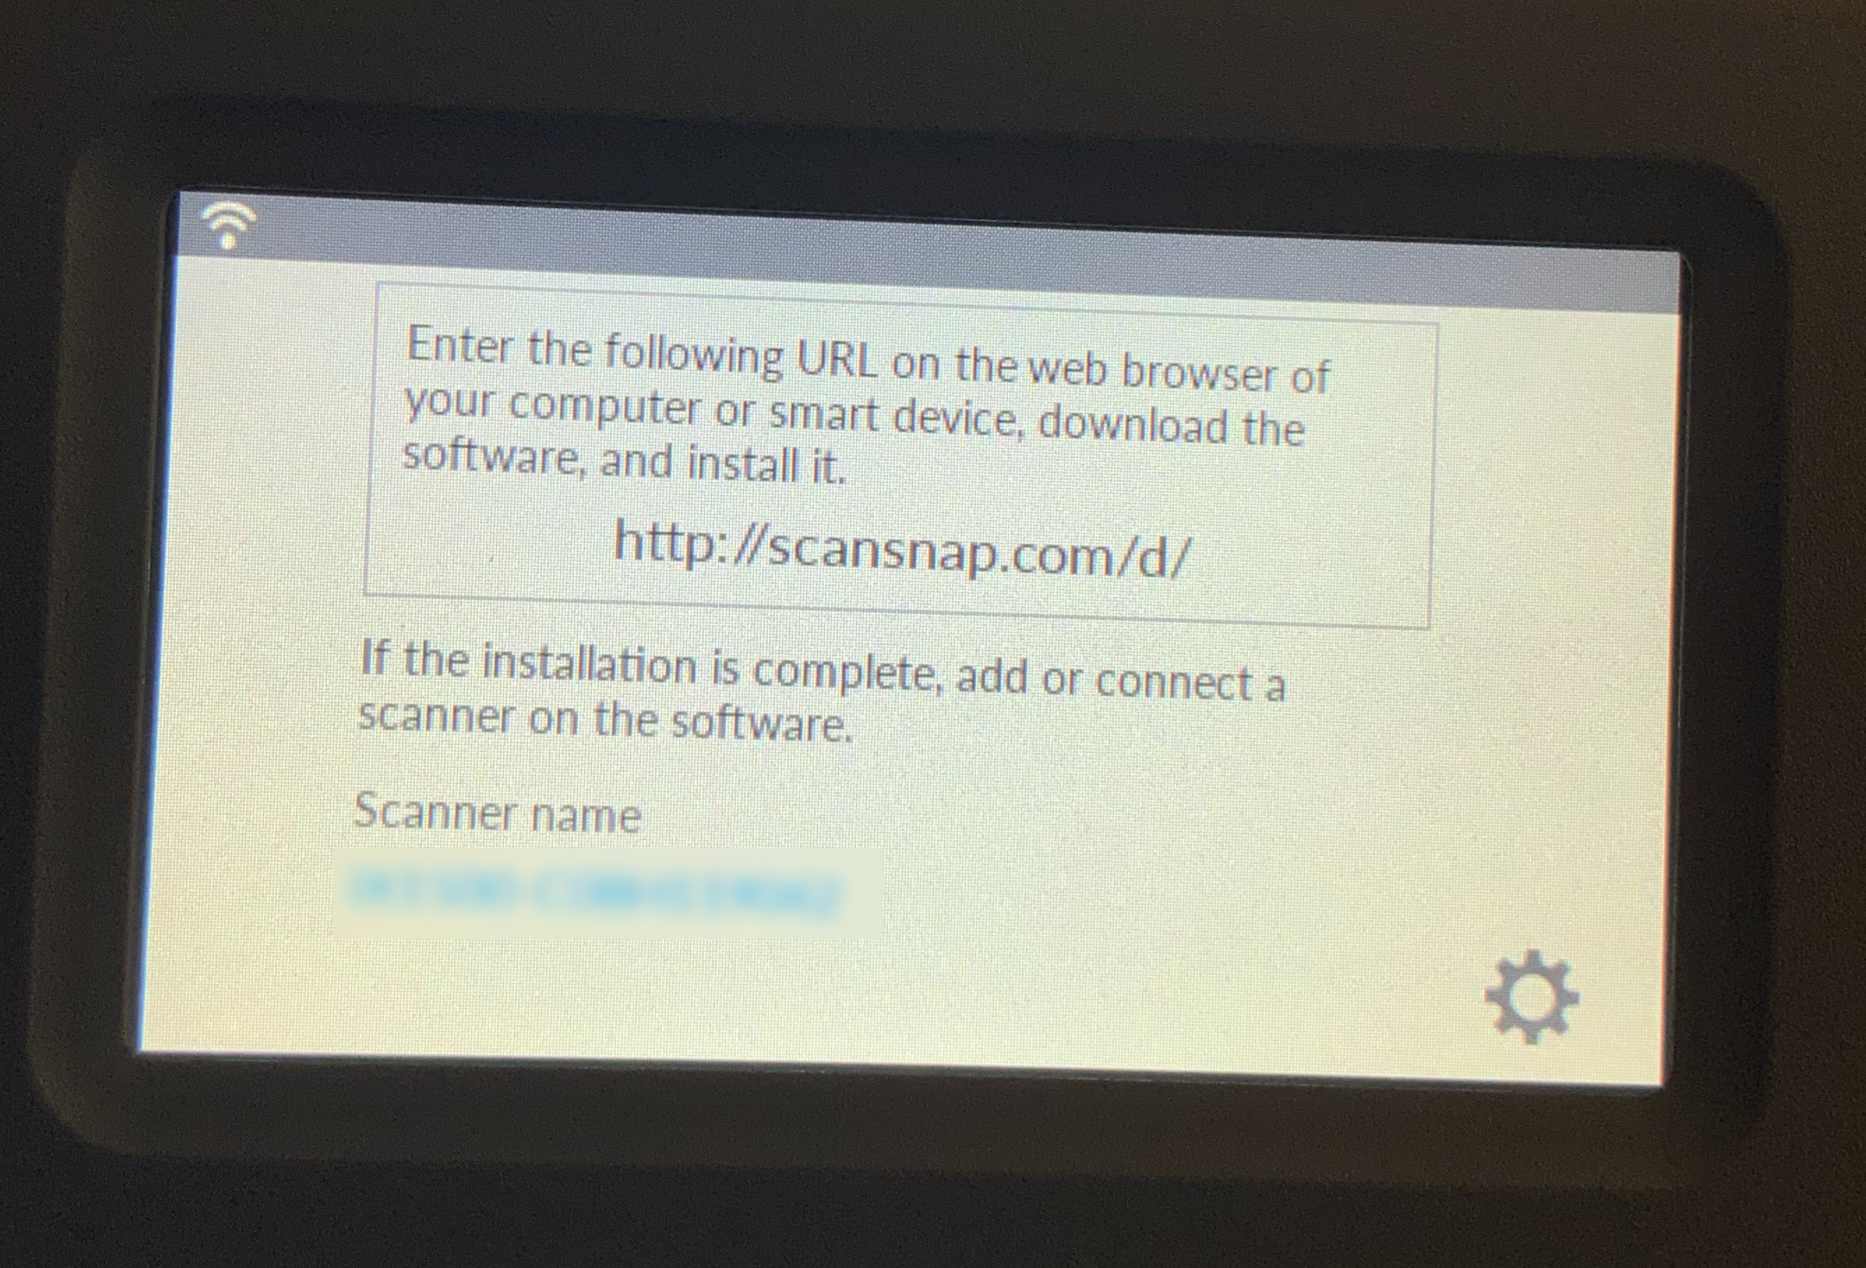
(Wi-Fi AP) Once connection is established, the software download URL will appear (as shown below). Enter the URL into your browser to download the ScanSnap Home software. Follow the instructions here to continue with software setup.
Next Steps
Proceed with the Software Setup Guide here, or check out these supplemental videos for additional tips.
Attributions
Animated GIFs created from adapted footage from the following sources, listed in order of appearance in the article:
Setting up your ScanSnap iX1500 using Windows and USB. Fujitsu ScanSnap US (2020). Source: https://youtu.be/PT7KOWgmb5U
Fujitsu ScanSnap iX1500 Unboxing, Setup, and Overview in 4K. uglypoe (2019). Source: https://youtu.be/UNsQeyUF9Ik