ScanSnap Software Setup
Contents
Downloading and Installing the ScanSnap Software
ScanSnap requires the ScanSnap Home software to be installed to function correctly. Scans can be launched and files organized through the software.
-
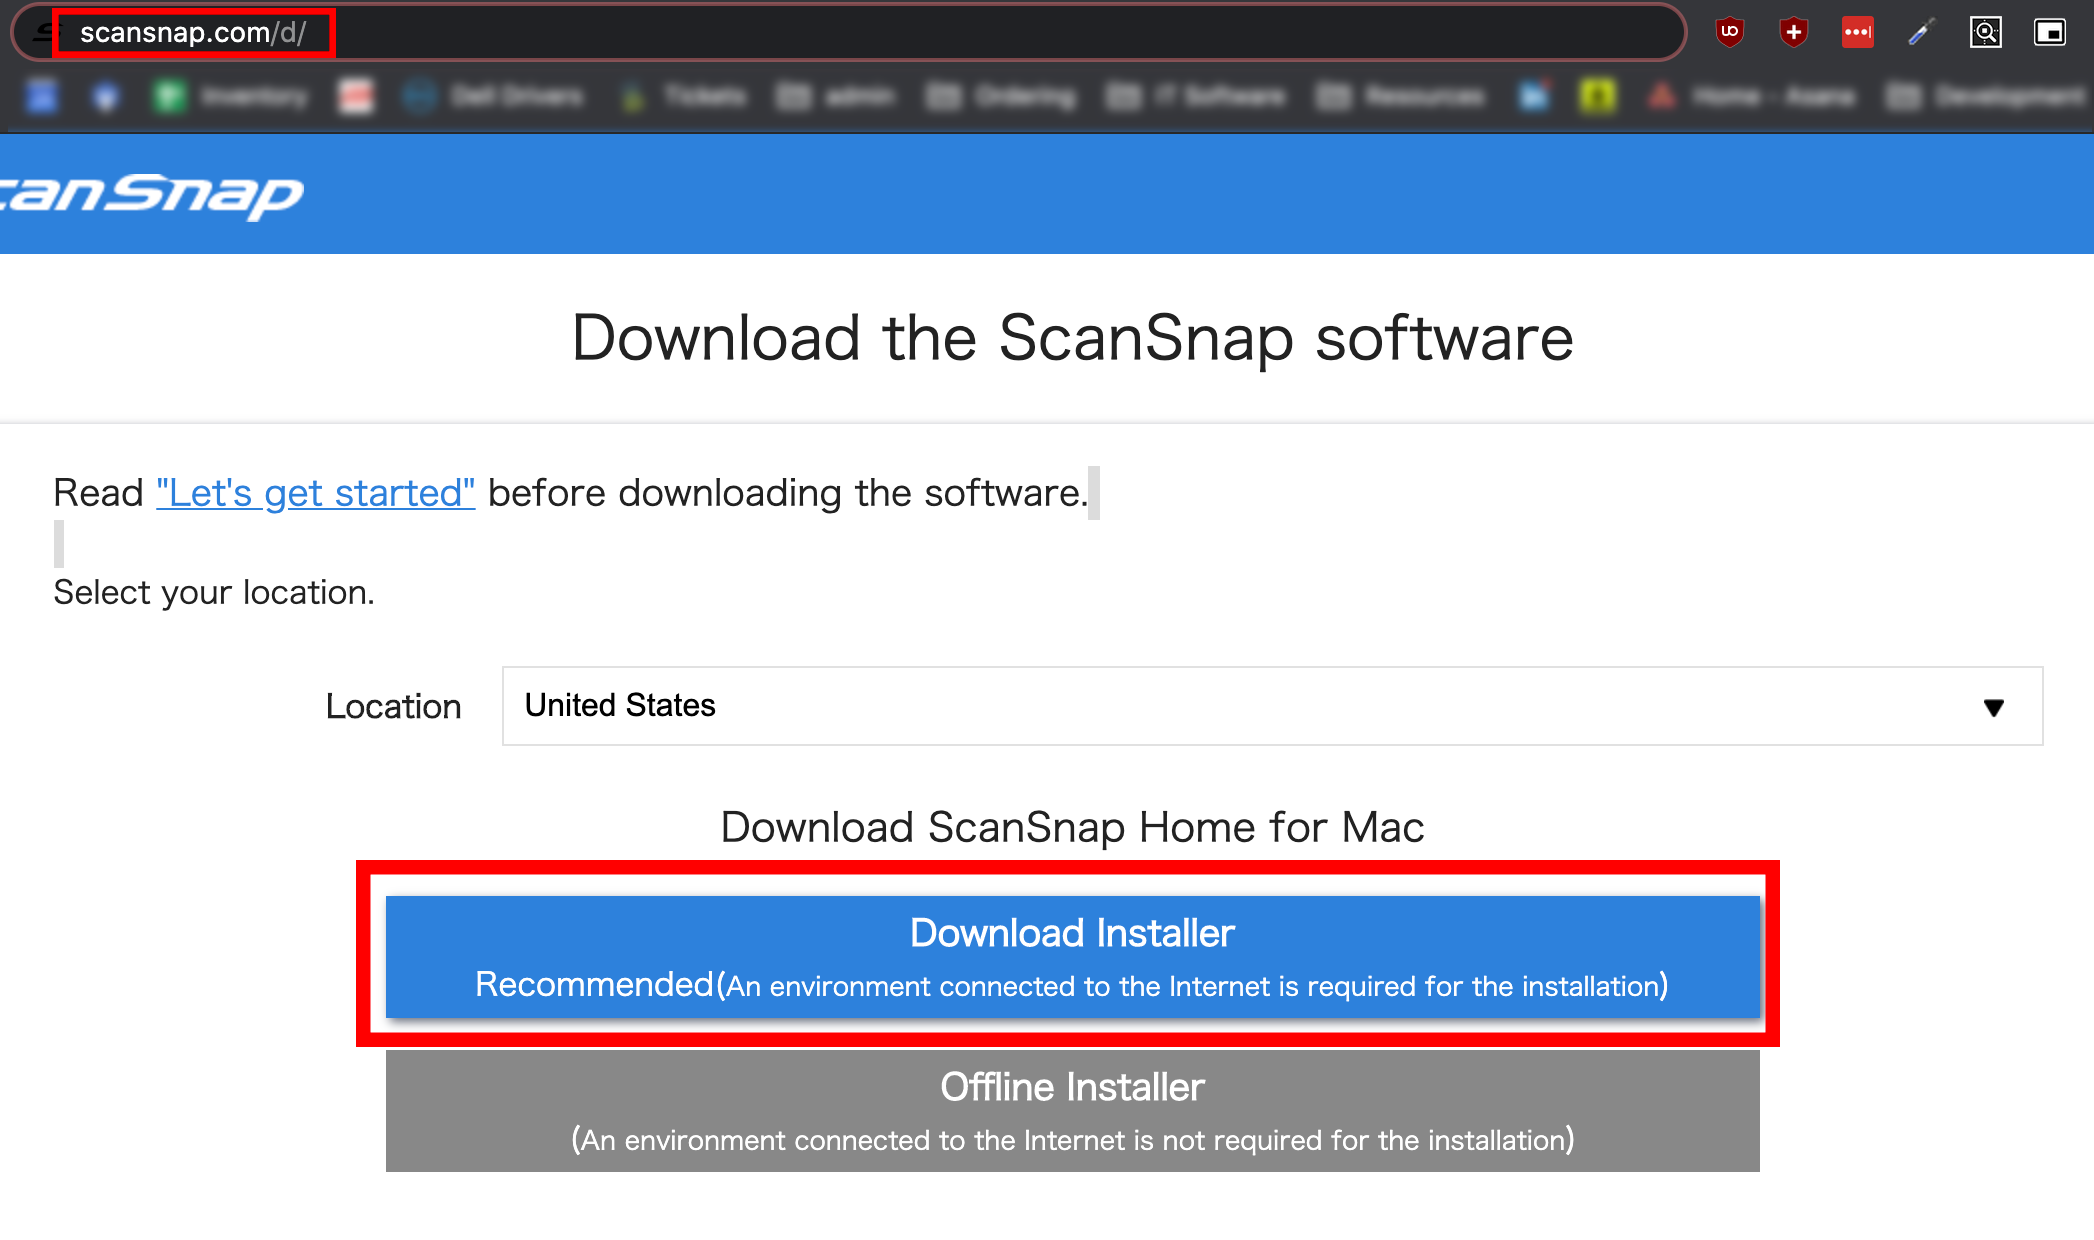
Click here to open the Fujitsu ScanSnap download center, or navigate to
scansnap.com/d/in your browser. -
Your system type should be automatically detected. If the wrong operating system is listed above the download button, scroll to the bottom of the page and click “Download for other OSes” and select the correct installer for your OS.
-
Click the blue Download Installer button.
-
Continue following the steps in the section appropriate for your operating system.
Windows
-
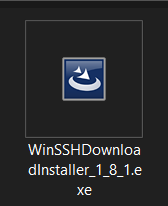
A executable file (.exe) will download. Open the file by double-clicking it.
-
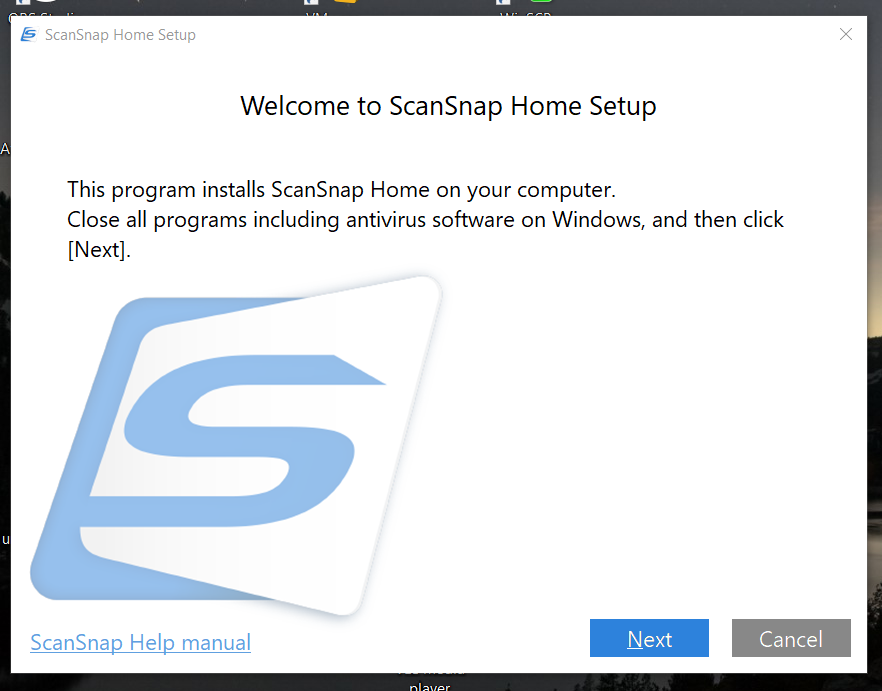
The installer will execute. If you are prompted to approve the installer, click Yes. Click Next to proceed.
-
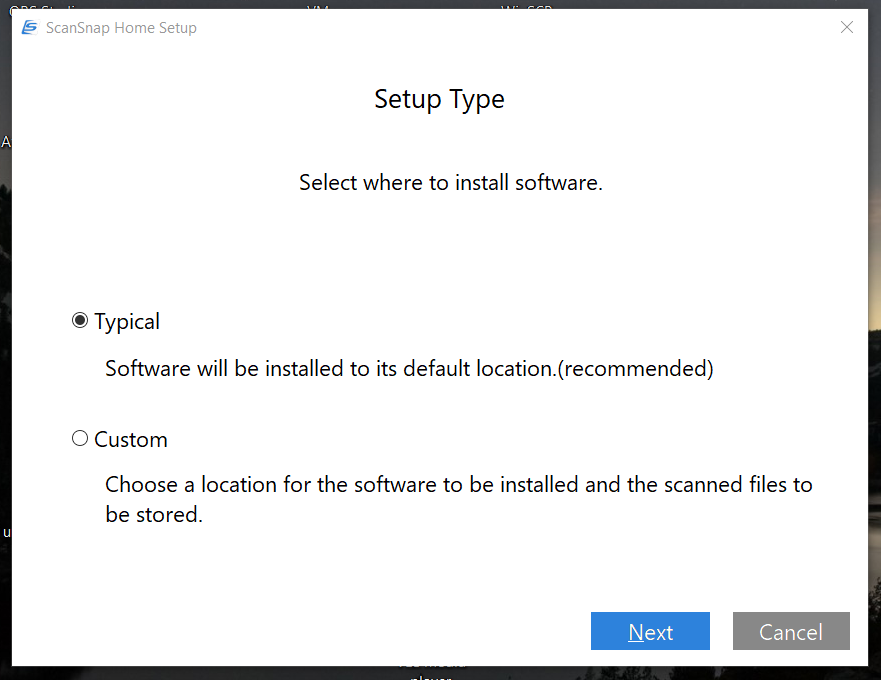
Select the Typical option for Setup Type, then click Next. This will install ScanSnap home to the default location. Only change this if you have a specific reason.
-
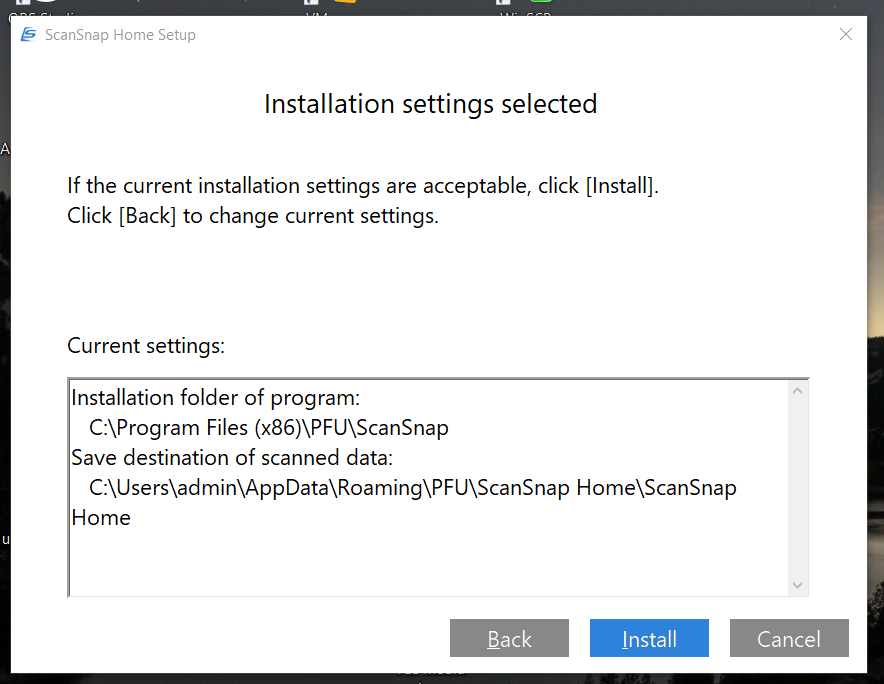
A summary of your selected installation settings will appear. Click Install.
-
Wait while the installation extracts files.

-
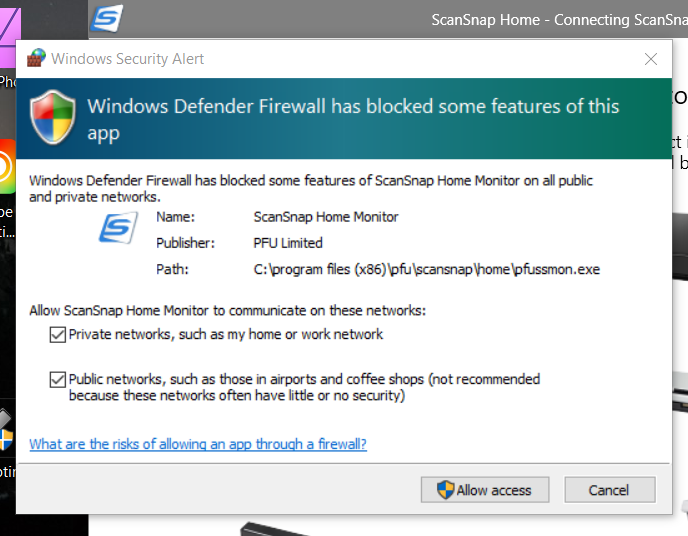
Your firewall will prompt you to allow ScanSnap on your network. This is most often Windows Defender. Make sure to allow ScanSnap on both Private and Public networks. Click Allow access to continue.
-
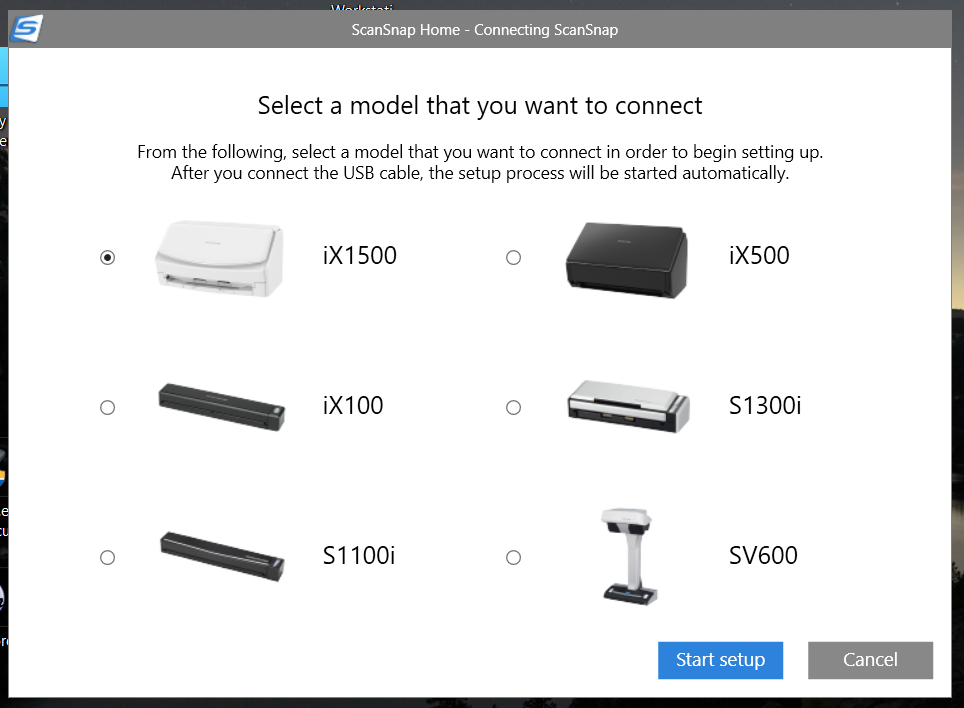
Select your ScanSnap model from the list that appears in the window. Click Start setup to continue.
-
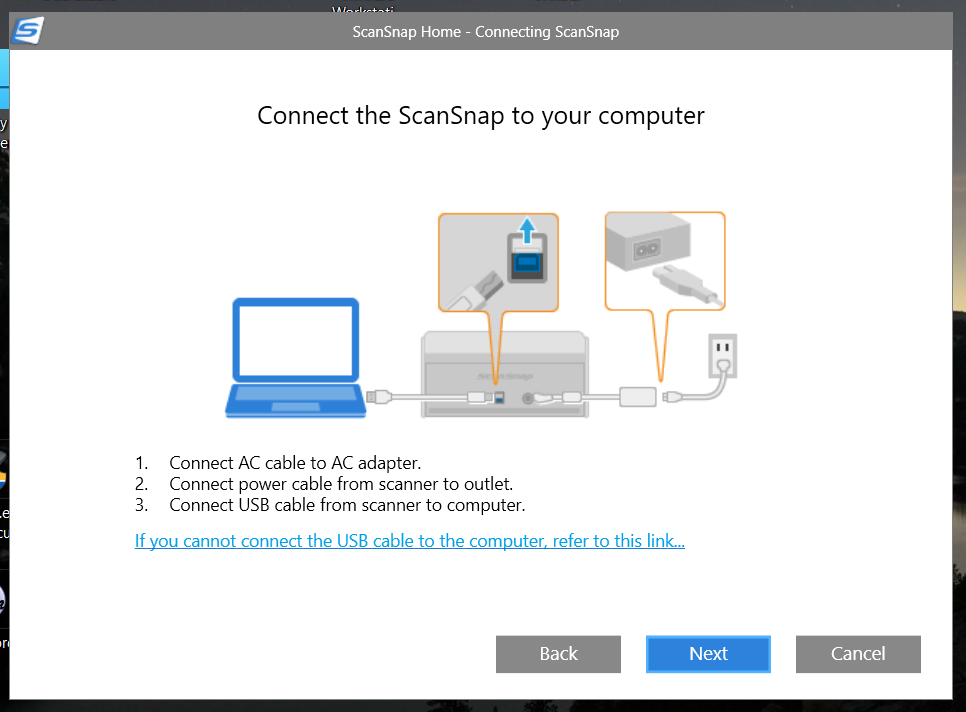
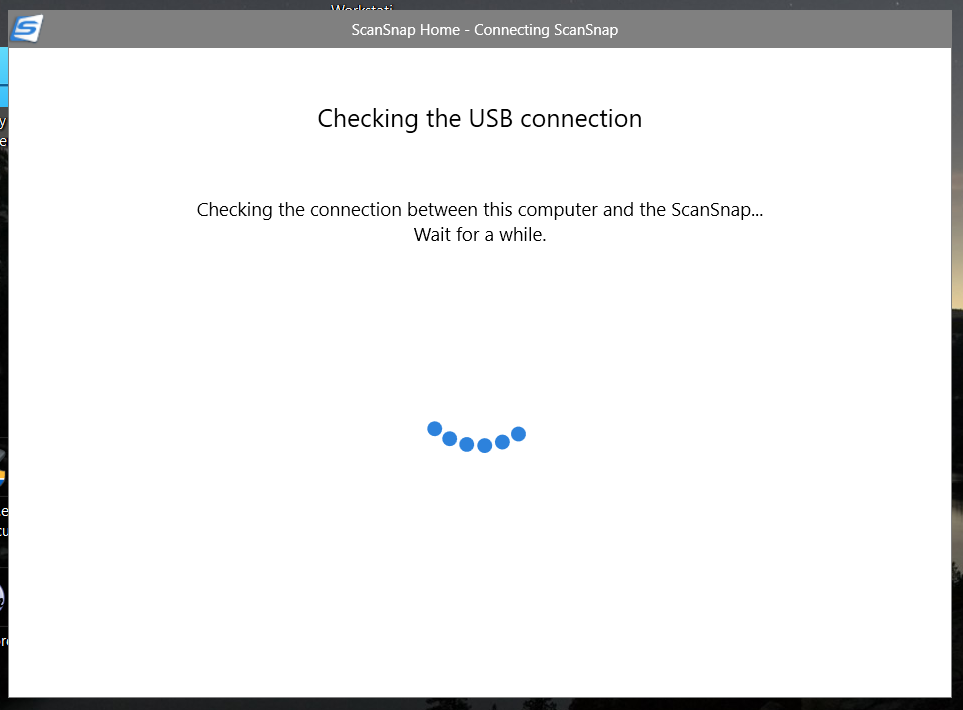
You will be prompted to connect your scanner to your computer via the provided USB cable. Connect your scanner to the computer. The software will begin checking for the scanner.
-
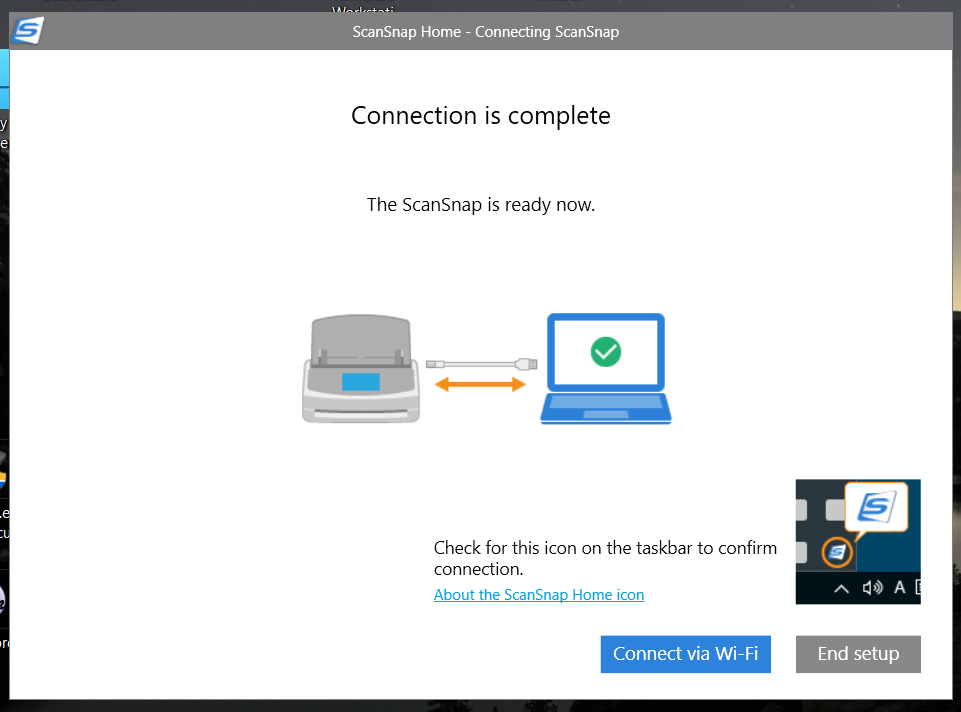
Once the software has successfully detected the scanner, you will see the below page.
-
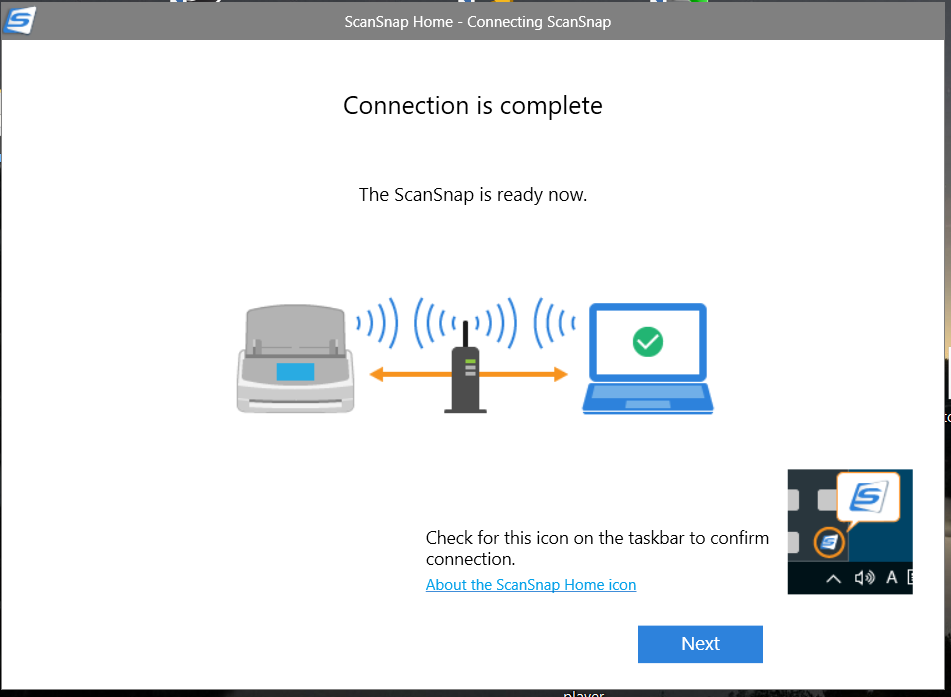
(Optional Wi-Fi Setup) If you’d like to connect your scanner to your computer via Wi-Fi, click Connect via Wi-Fi. Follow the prompts to connect your scanner. When you see the page below, you have successfully setup Wi-Fi scanning.
-
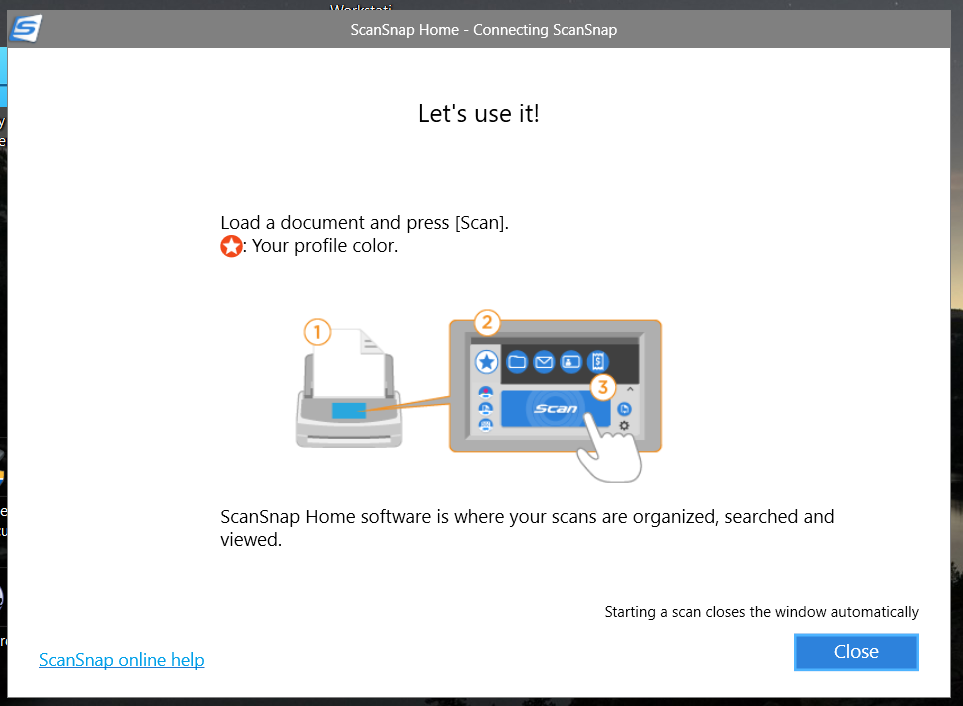
The setup has completed successfully when you see the below page.
Mac OS
-
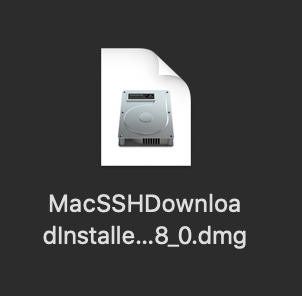
A disk image file (.dmg) will download. Open the file by double-clicking it.
-
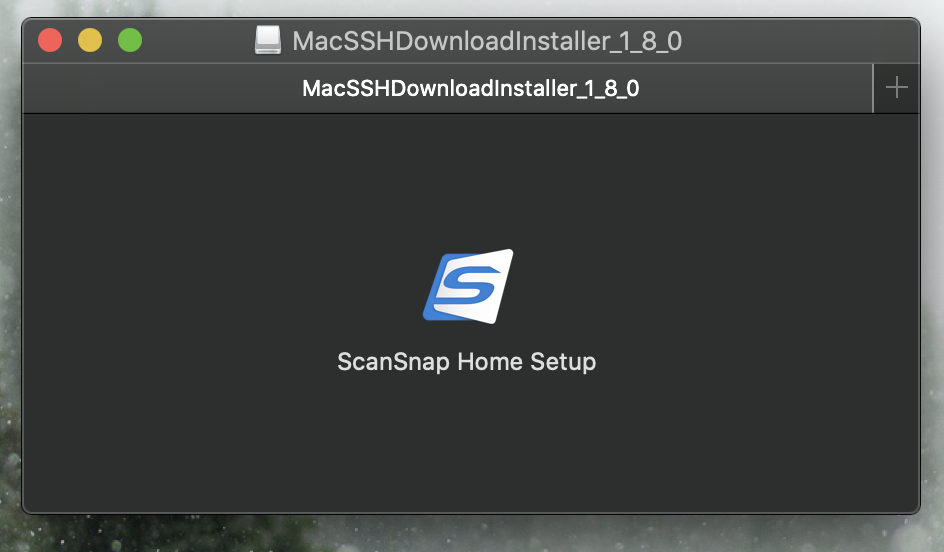
The disk image file will open. Double-click the ScanSnap Home Setup icon inside.
-
A System Integrity window will appear. Verify that the publishing URL is
www.pfu.fujitsu.comand then click Open.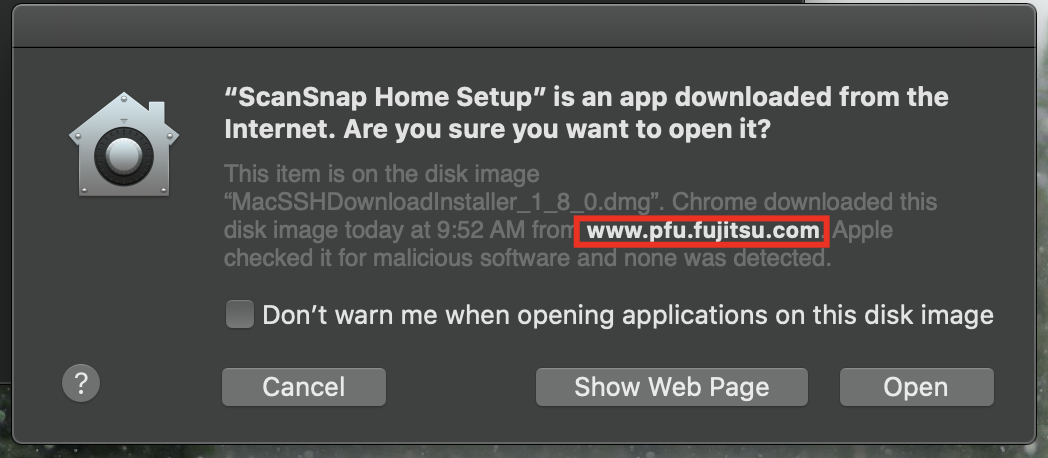
-
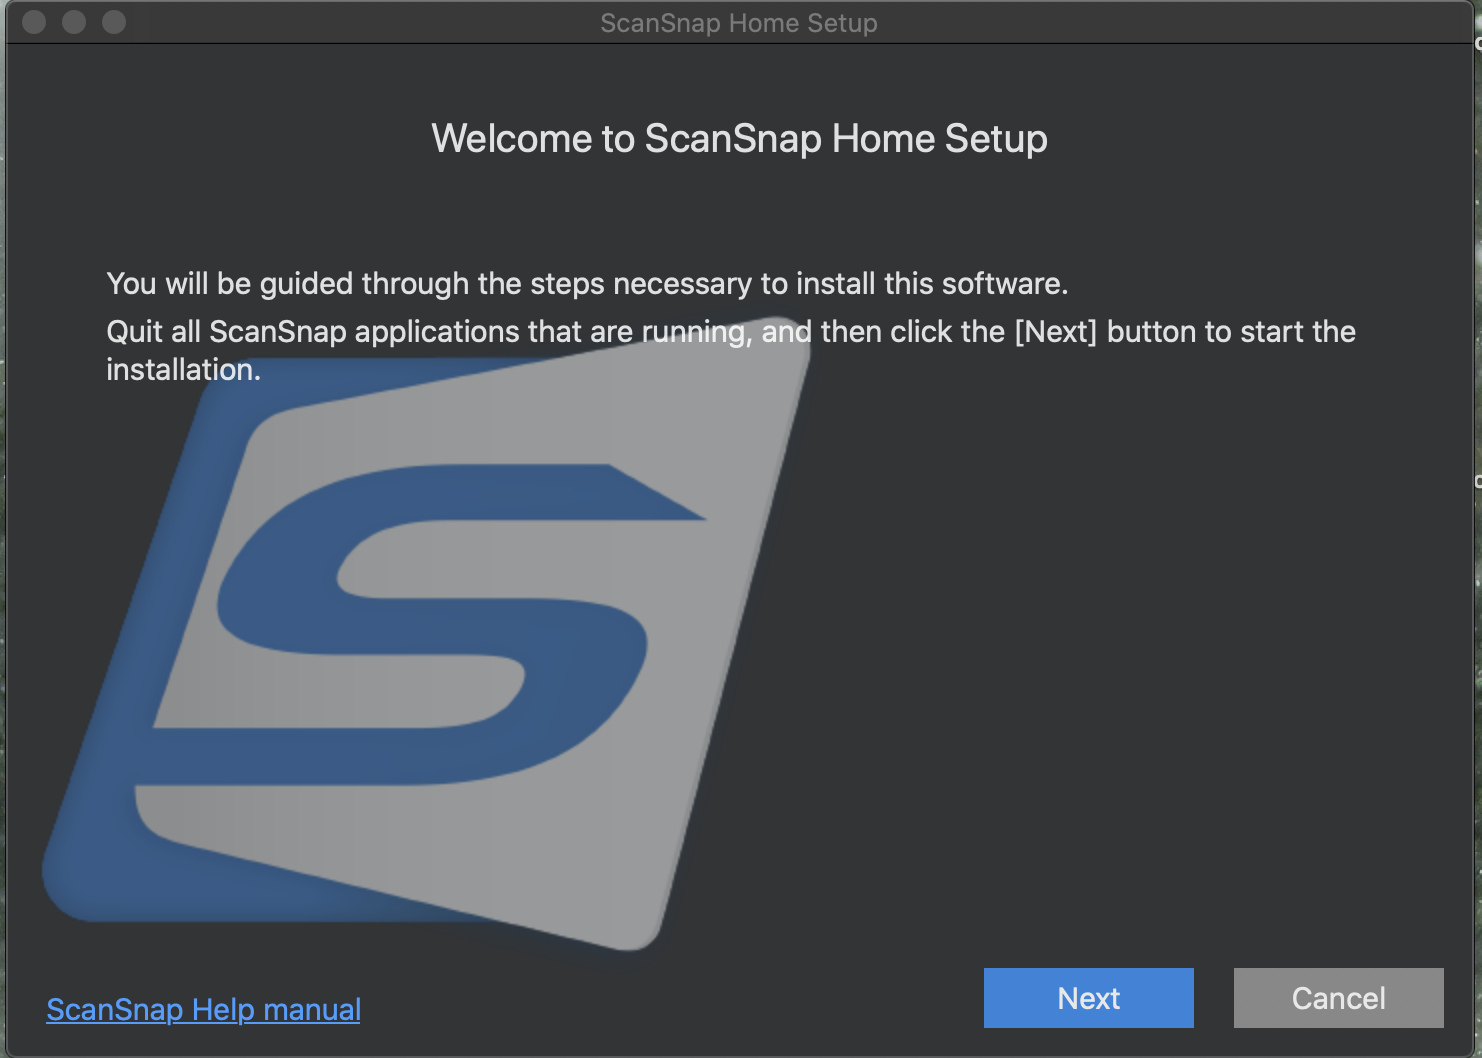
The ScanSnap Home installer will open. Click the blue Next button.
-
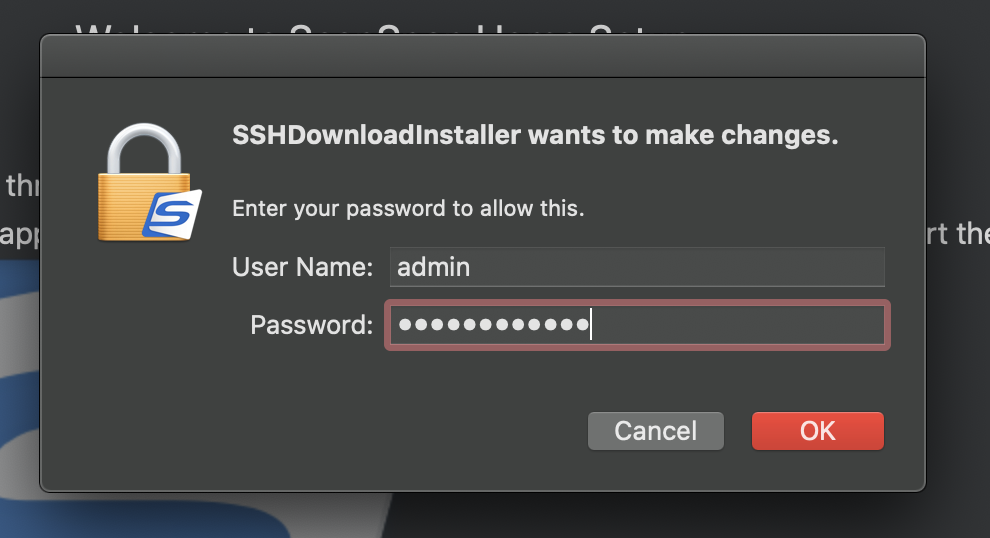
You will be asked to authorize the installer. Enter your password to allow installation.
-
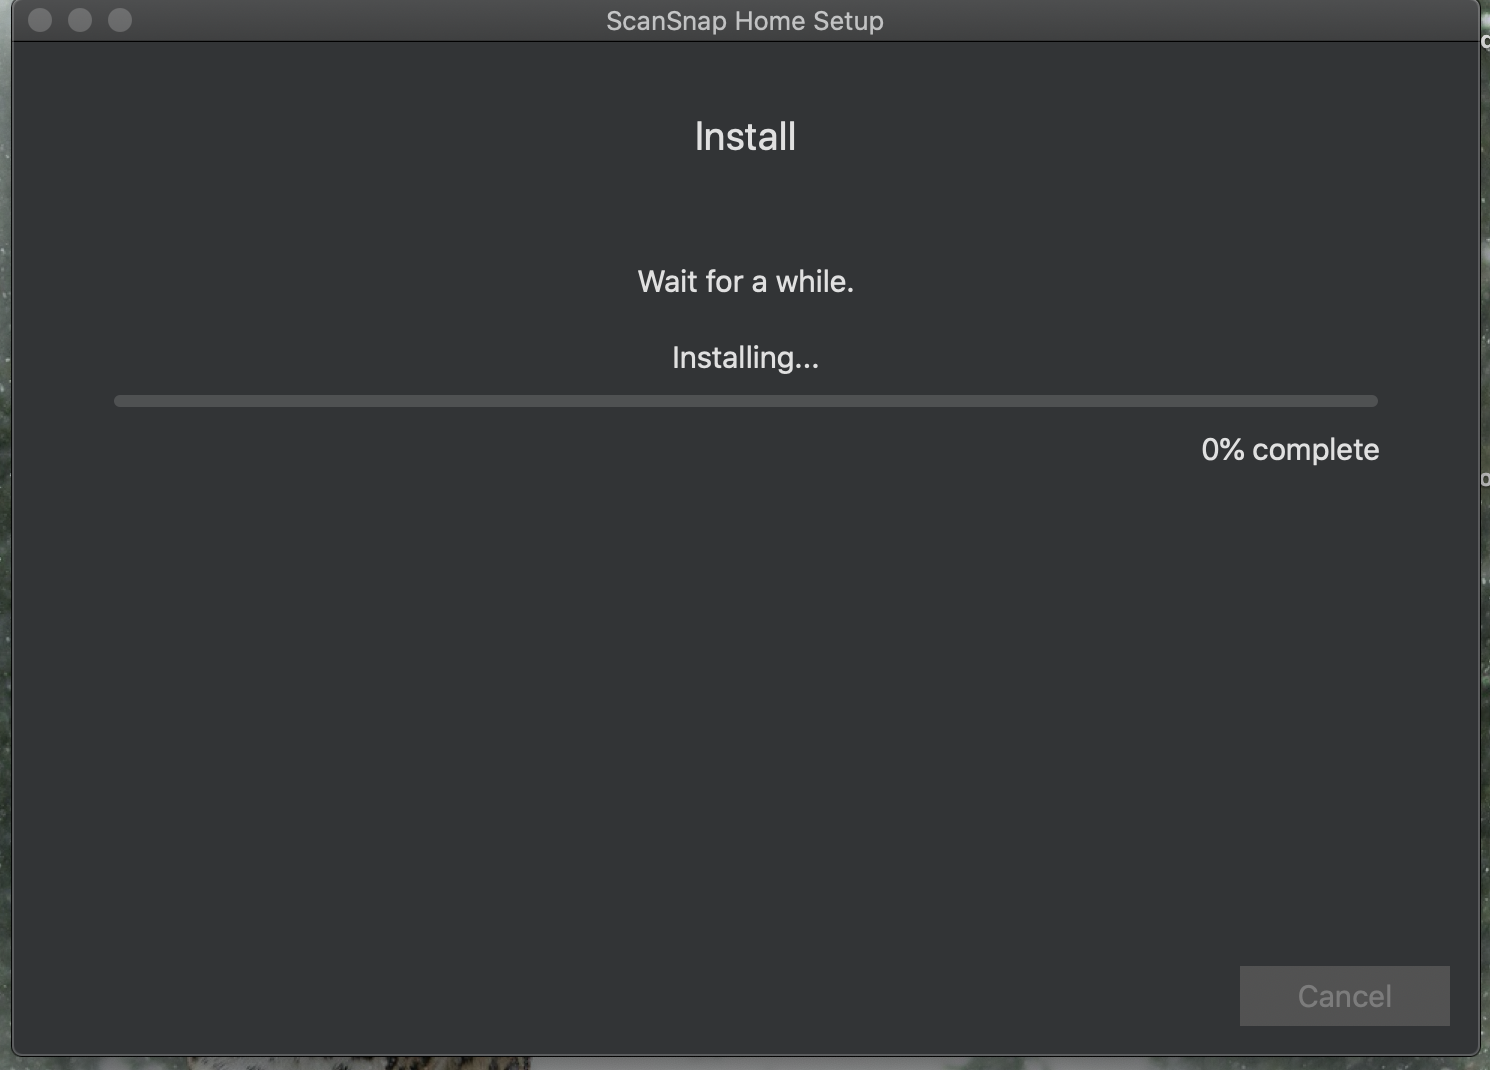
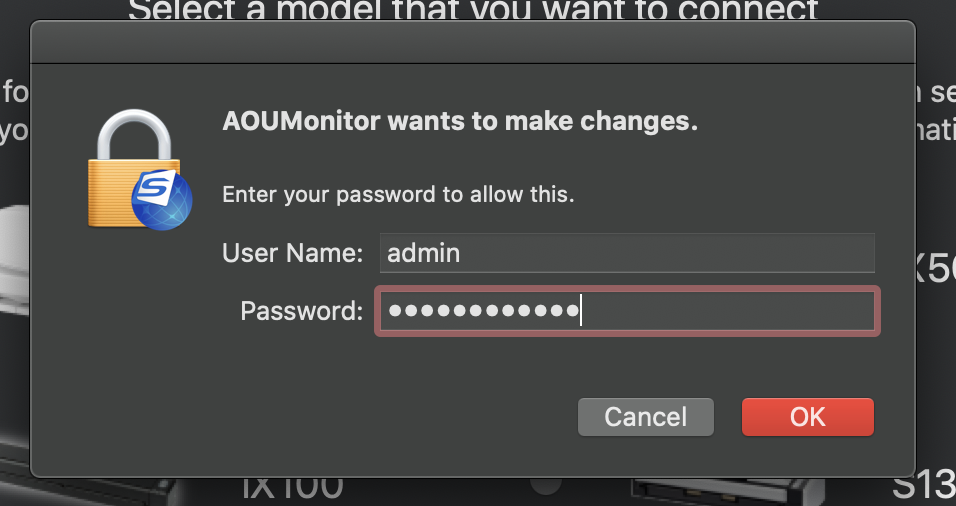
Allow the installer to extract files. You may be prompted to enter your password again once the installation is finished.
-
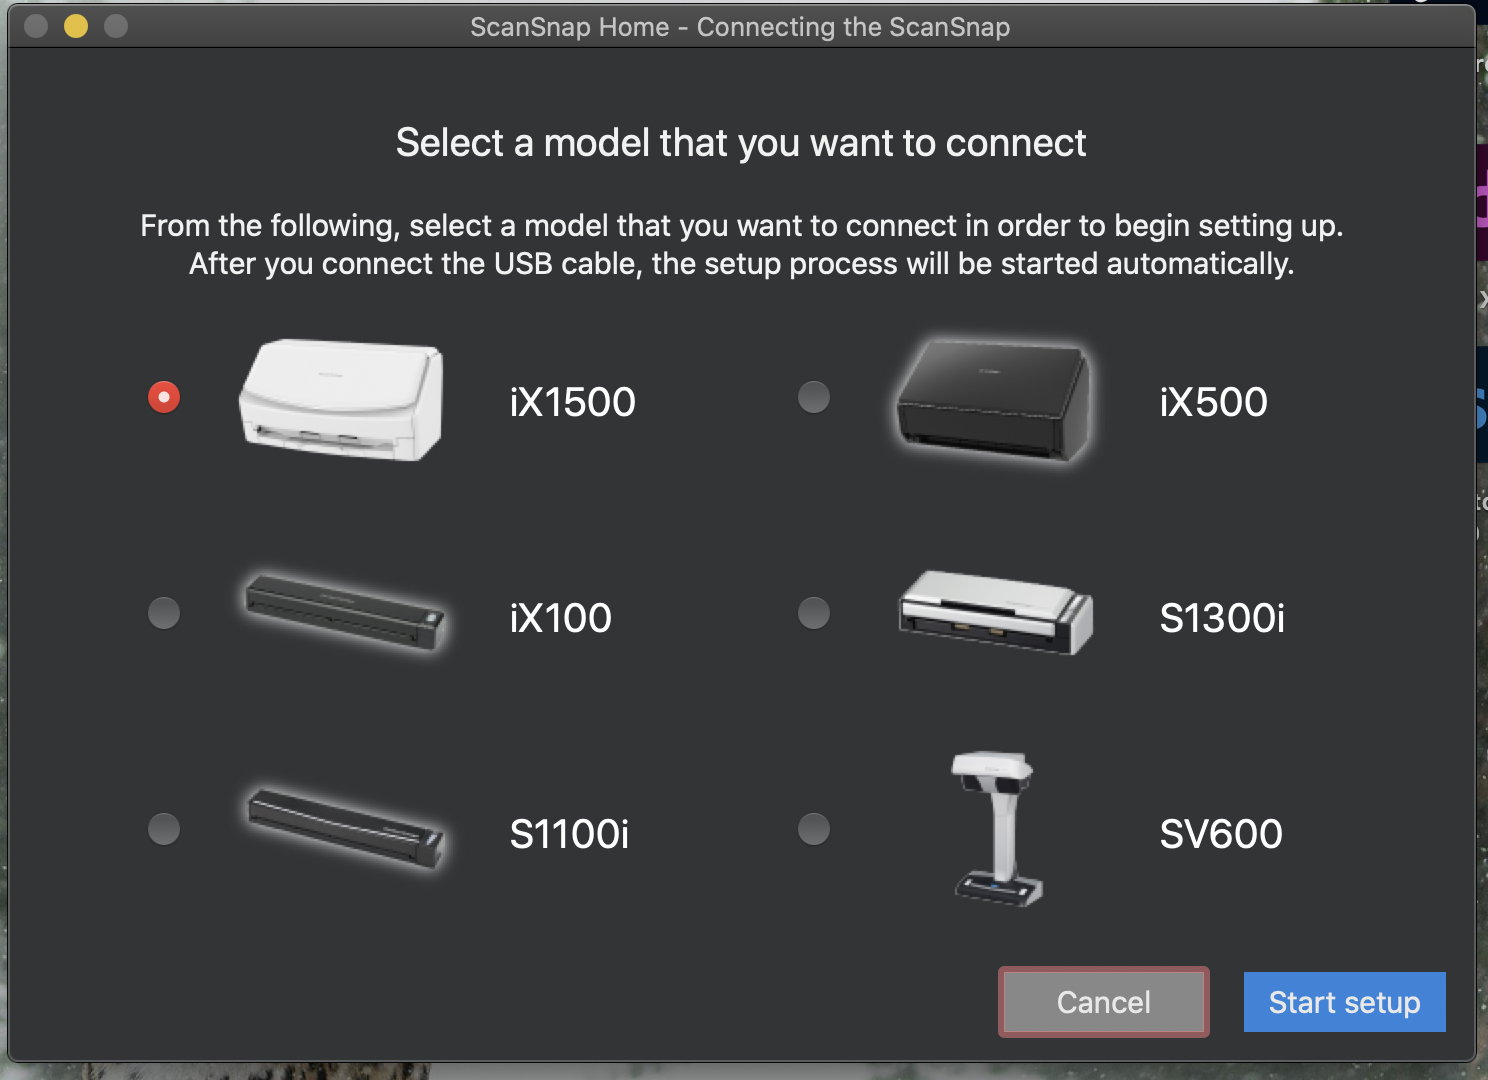
In the setup window, select the model of your scanner and click Start setup.
-
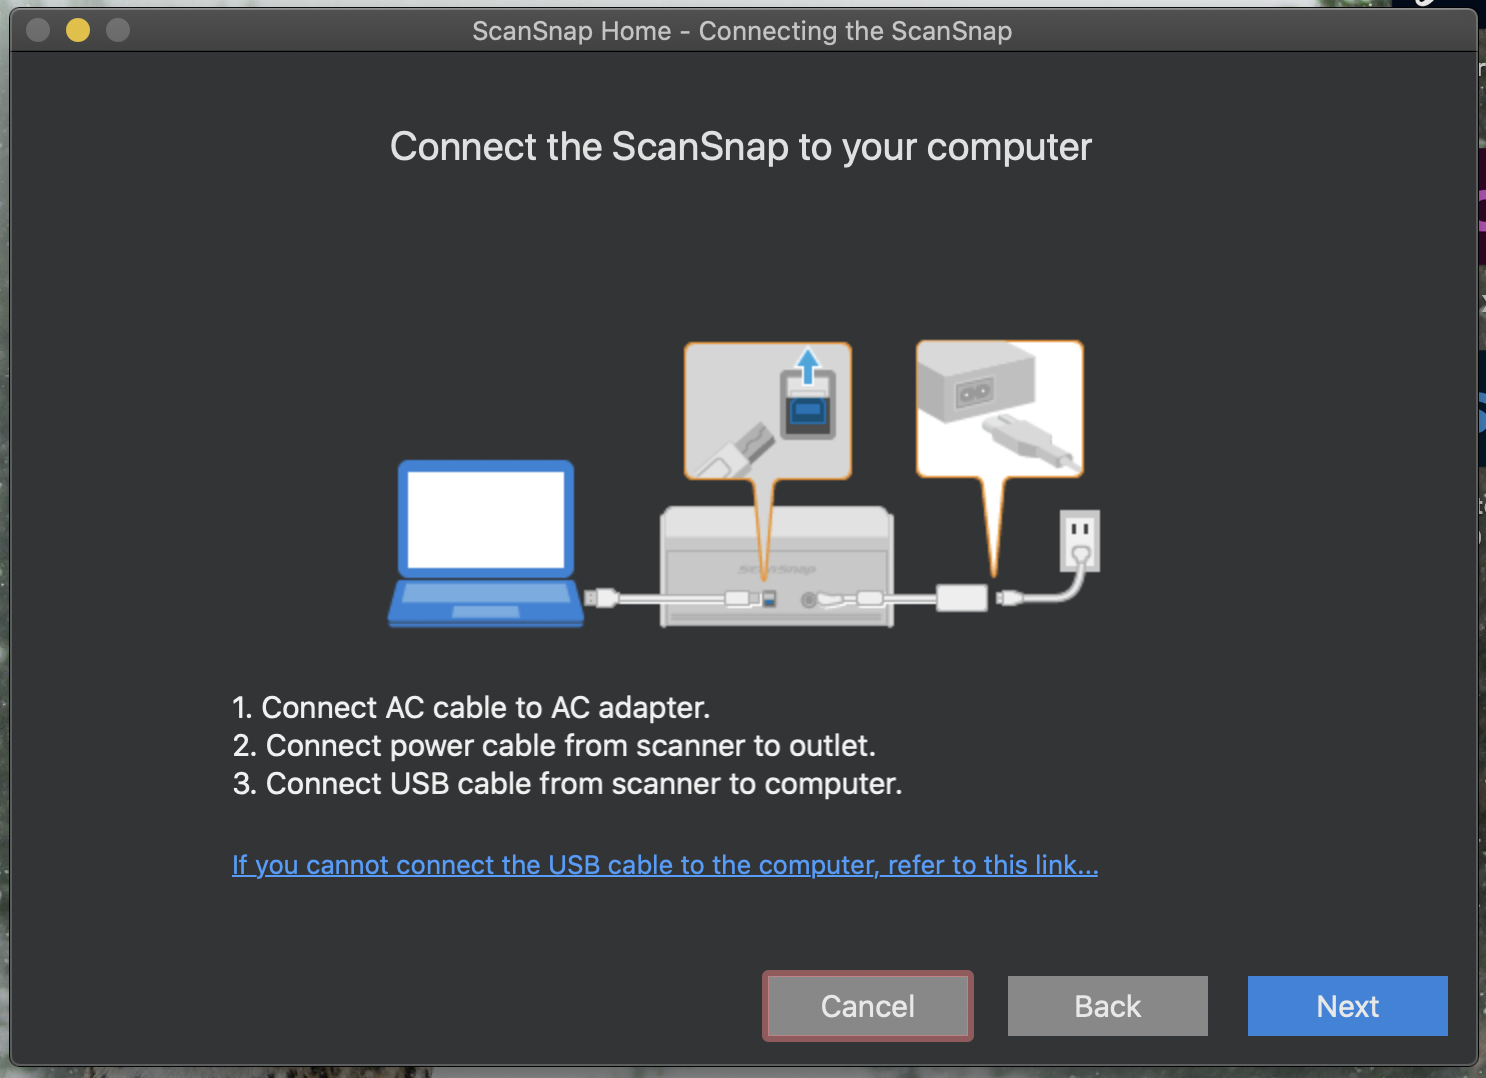
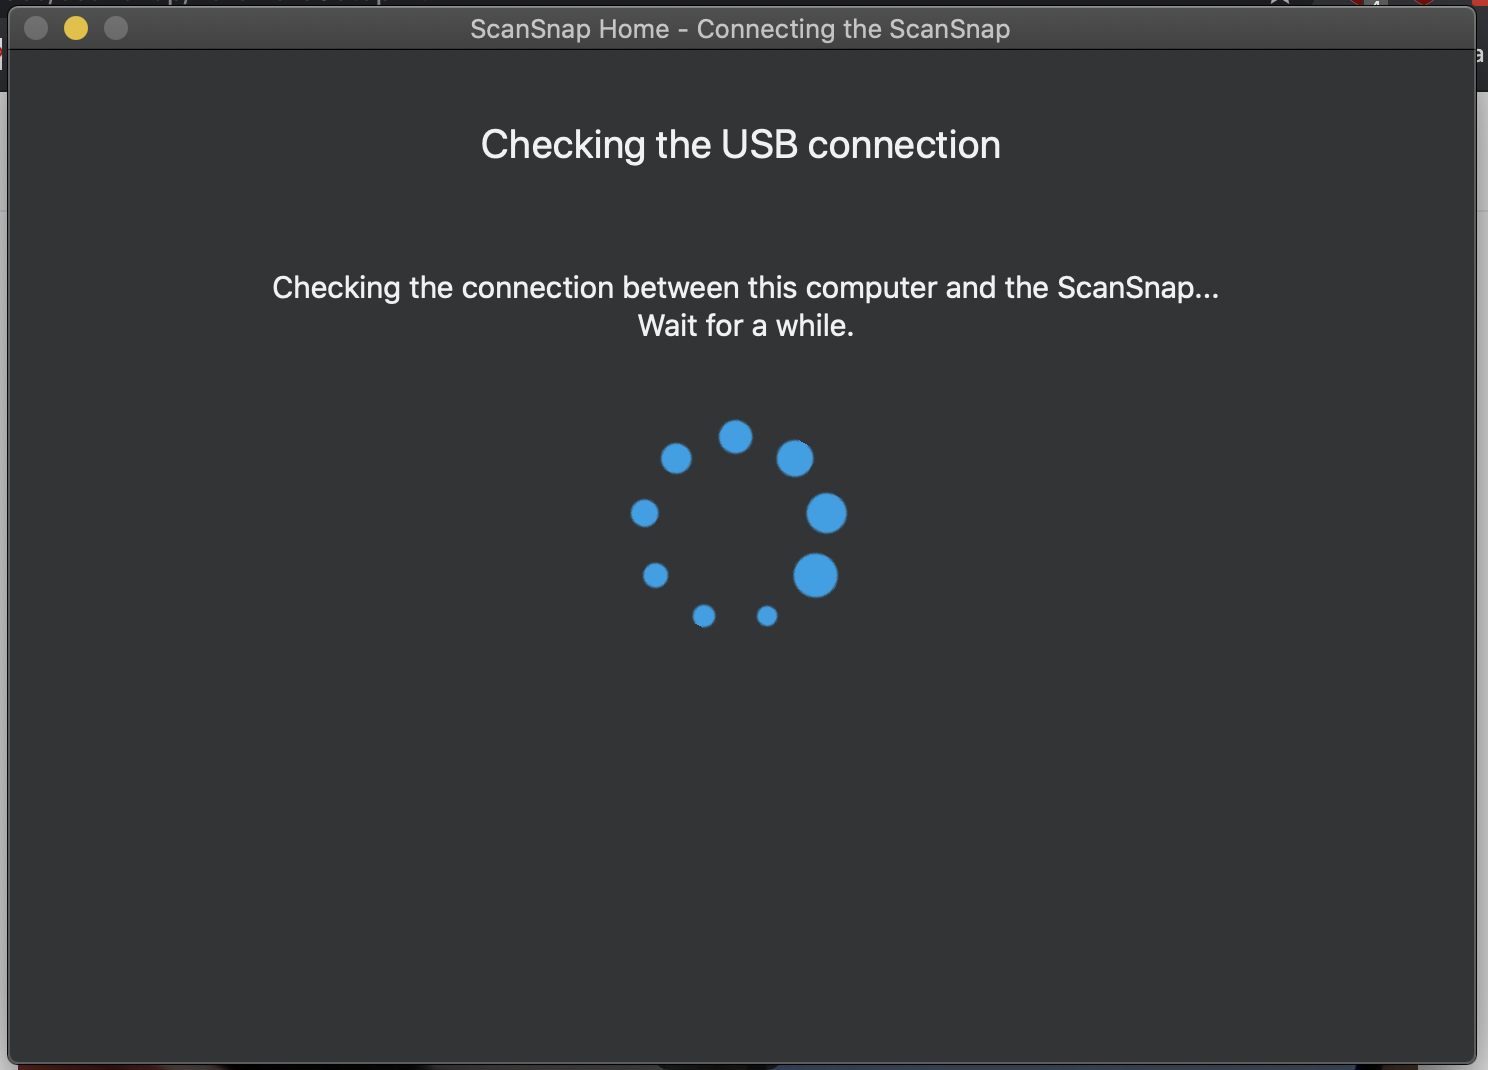
You will be prompted to connect your scanner to your computer via the provided USB cable. Connect your scanner to the computer. The software will begin checking for the scanner.
-
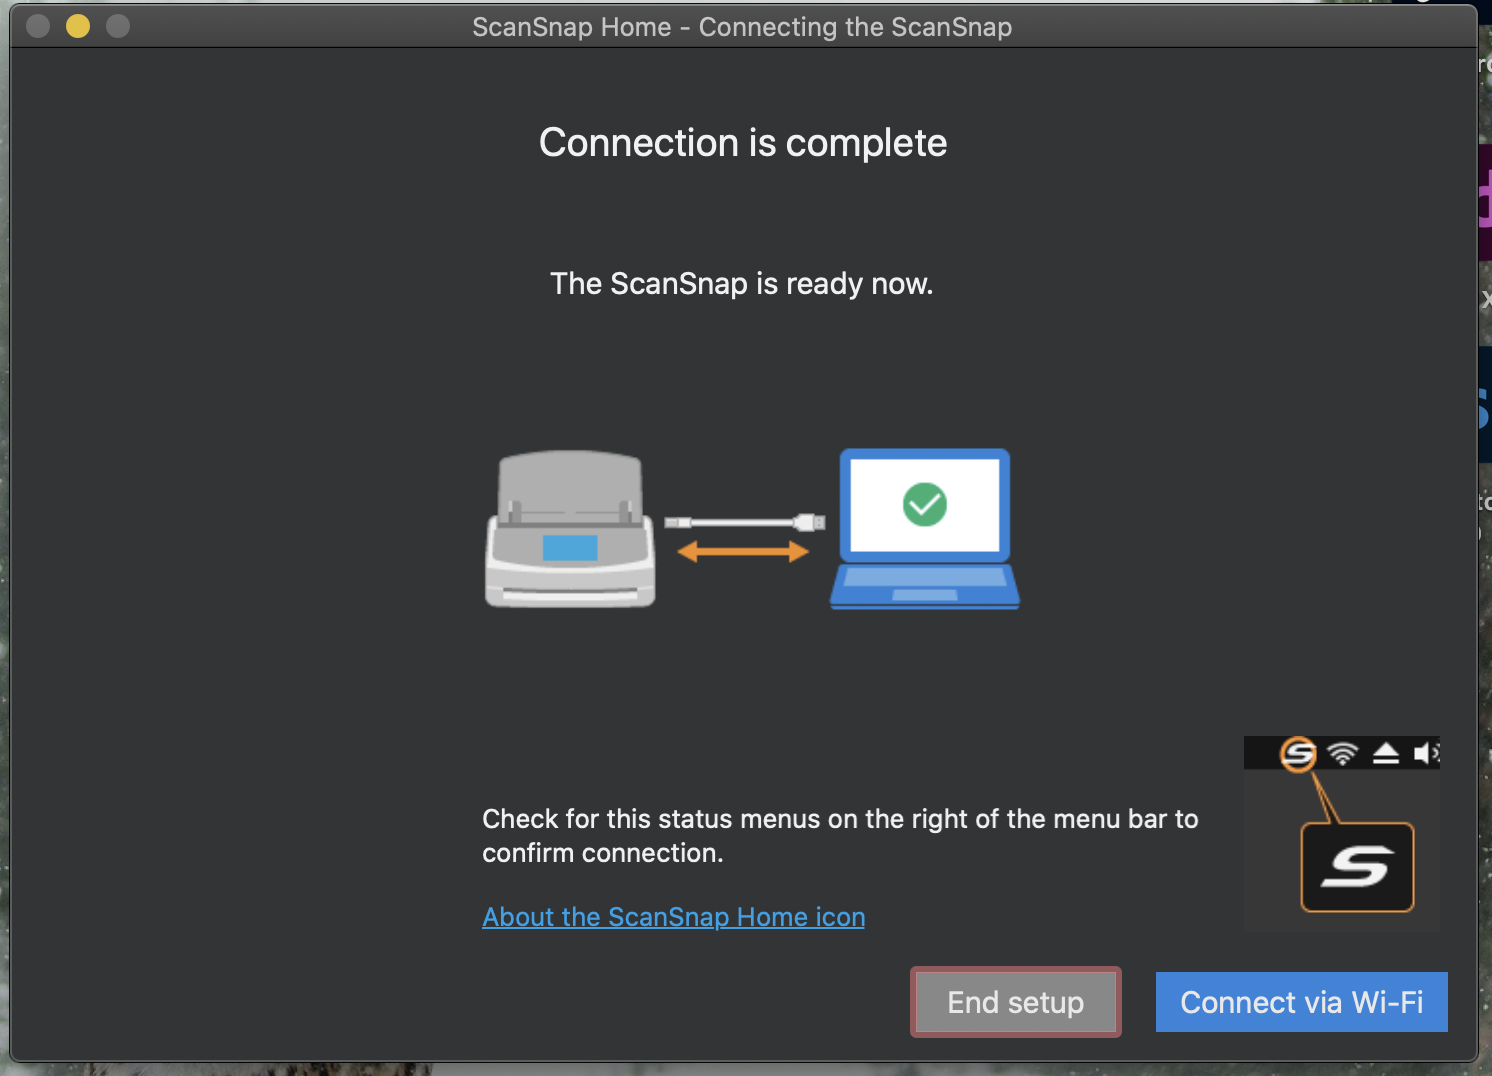
You will see the below page when the software has successfully detected the scanner. If you’d like, you can click End Setup to complete the setup process. If you’d like to see if your scanner can connect to your computer via wireless, click Connect via Wi-Fi.
-
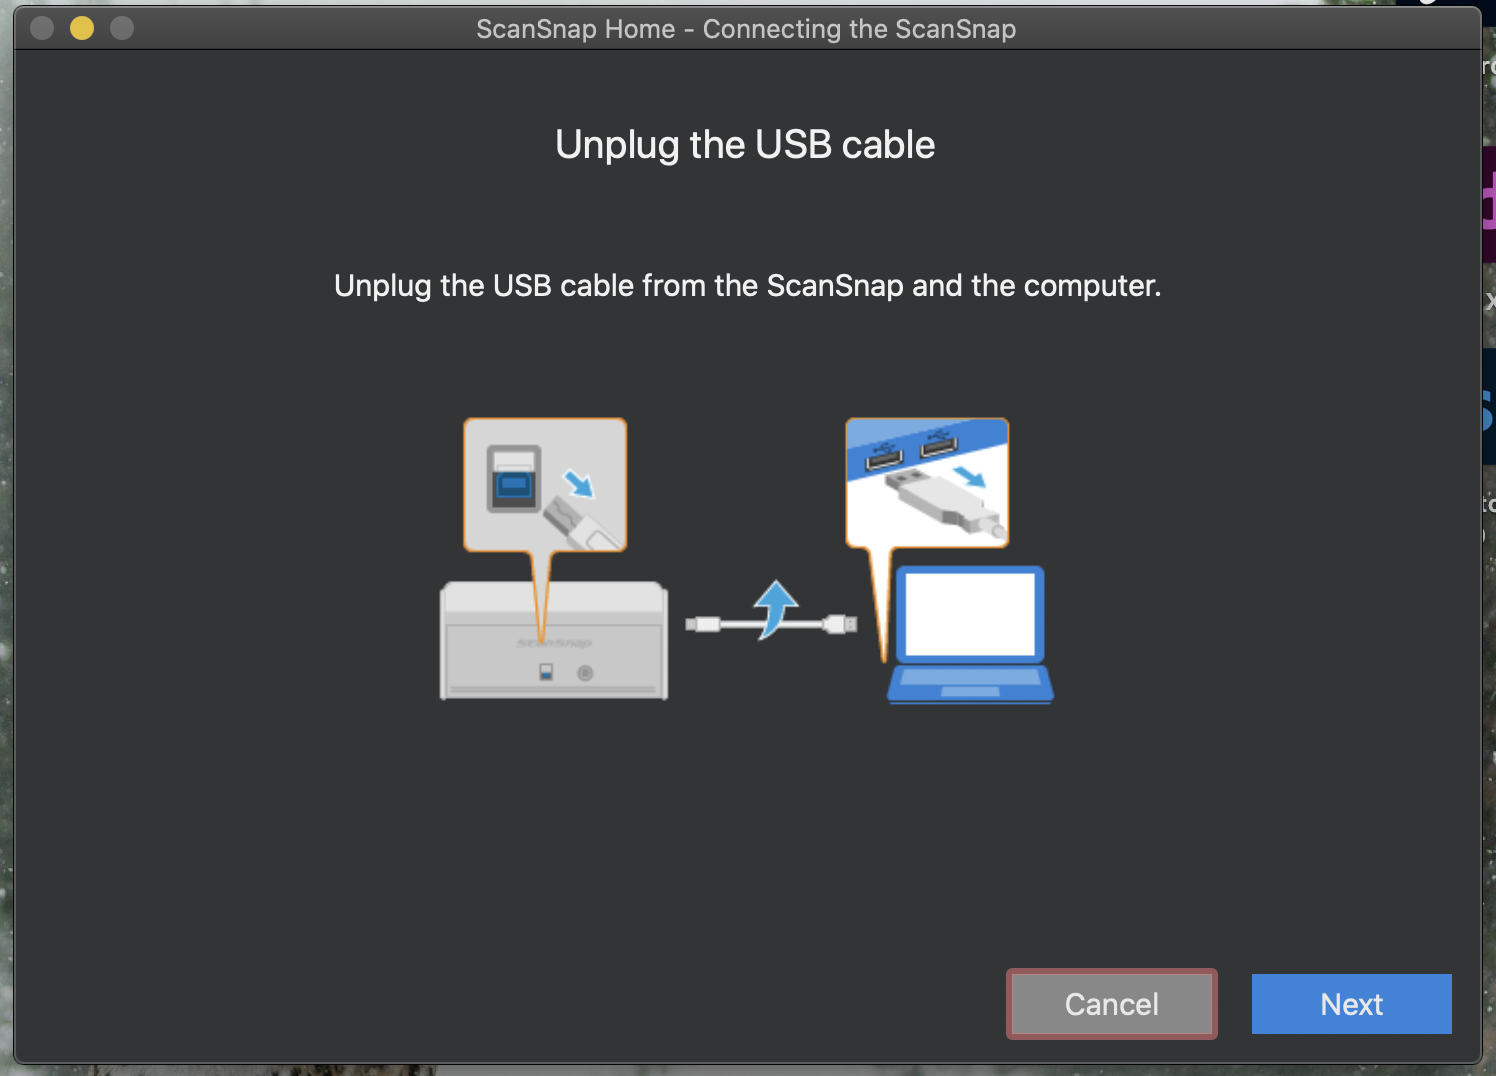
(Optional Wi-Fi Setup) Unplug the USB cable connecting the scanner to the computer when prompted by the software.
-
(Optional Wi-Fi Setup) Wait while the software verifies the Wi-Fi connection.

-
(Optional Wi-Fi Setup) If the connection has been successful you will see the below page. Click Next.
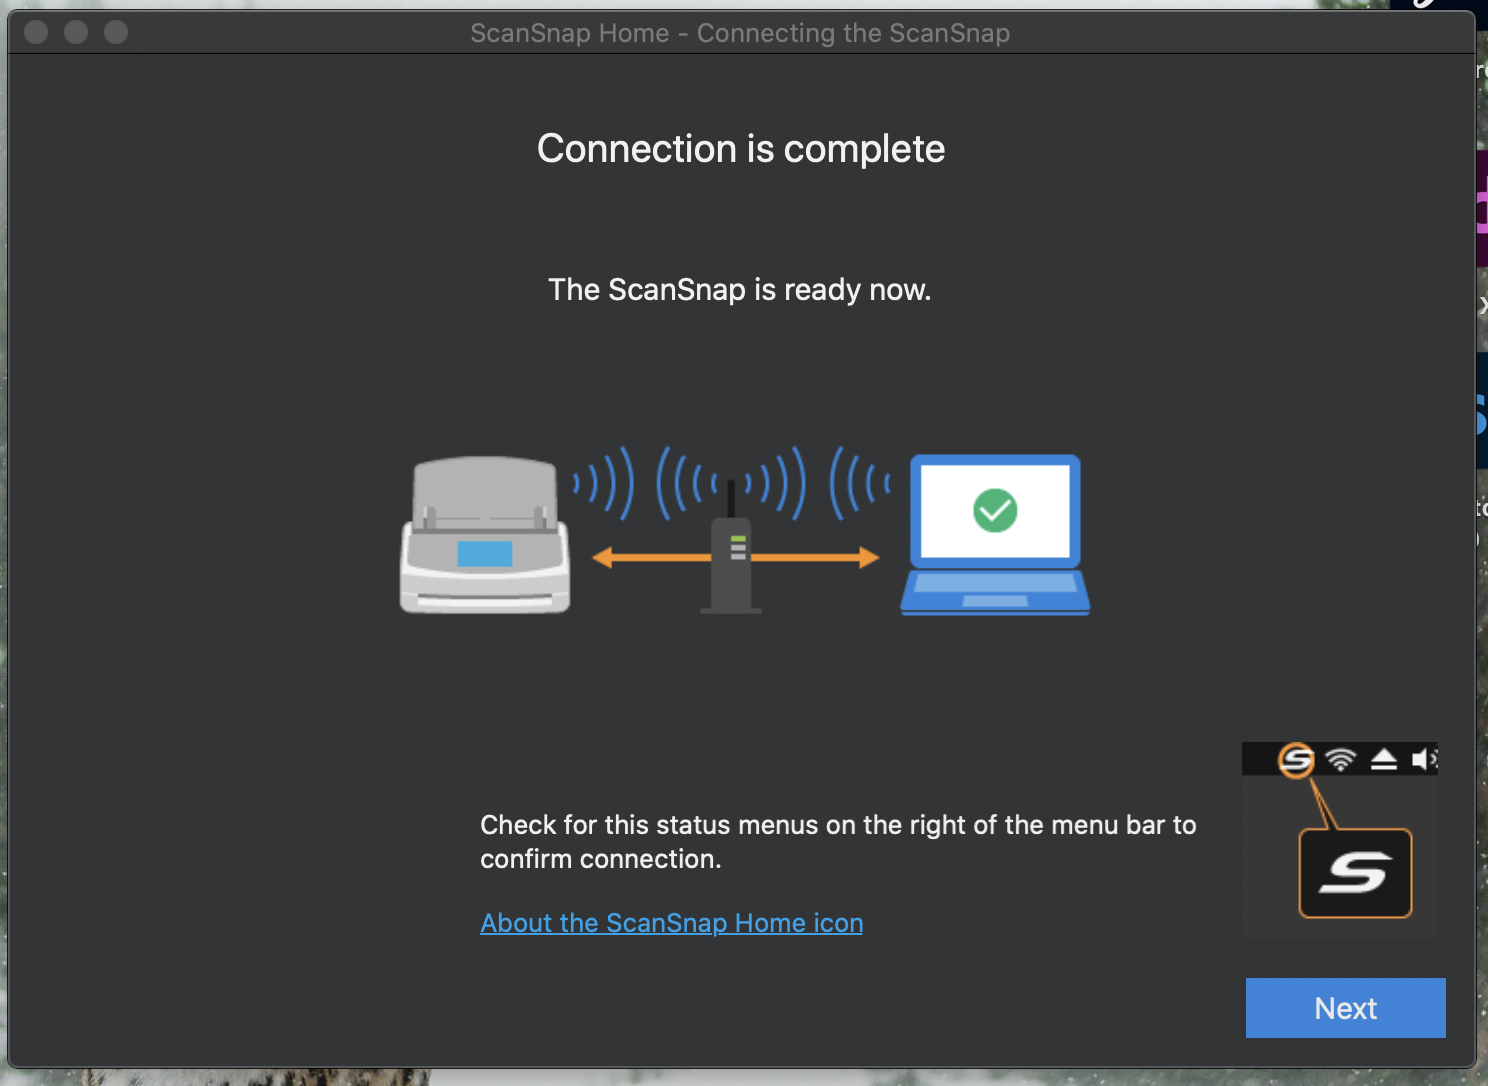
-
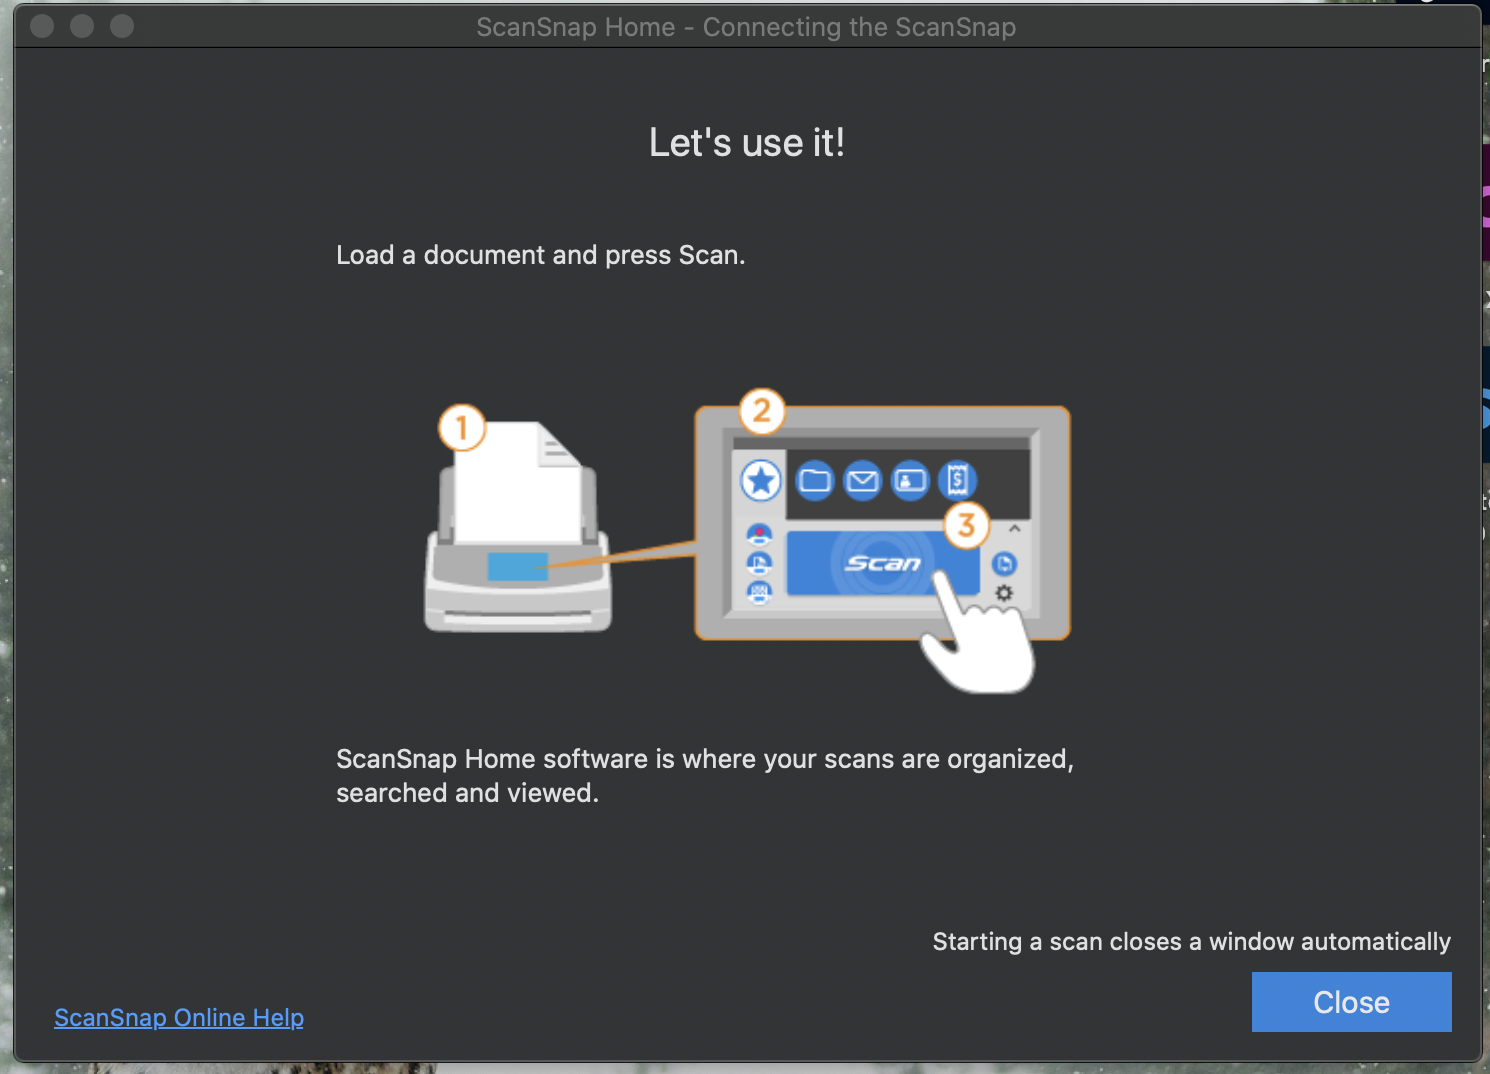
You’ll know the setup is completed when you see the following page:
My OS Isn’t Listed
Please contact your IT administrator for one-on-one assistance.